
Results 11 to 20 of 39
 22Likes
Thread: My first RSO
 LinkBack URL
 About LinkBacks
Threaded View
-
08-10-2015, 05:22 AM #1Senior Member

- Join Date
- Jul 2015
- Posts
- 143
Thanked: 9 My first RSO
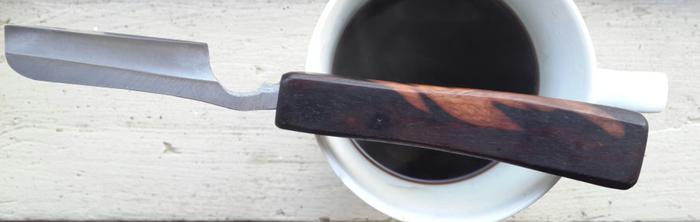
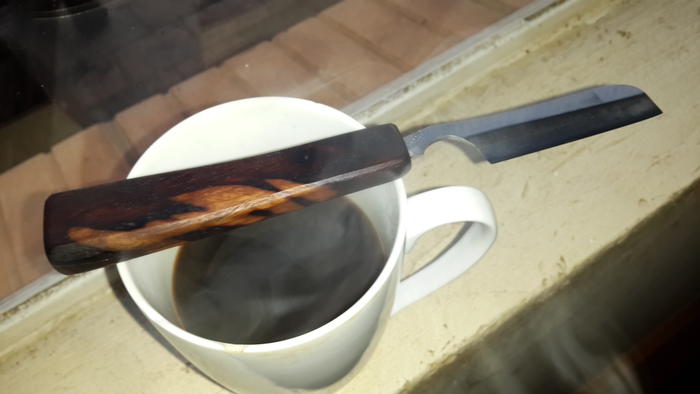
So it is only 2mm k460 stock and I need three layers of tape to get to an angle that actually resembles 15deg inclusive... i have only up to 1600 grit stones... the rest are buffing compound loaded strops and an old cotton webbing belt with a leather strap...
to sharpen i lighten up substantially on the stone for many strokes and then move to coarser buffing compound then finer where i remove the tape so i can apply some pressure to get the compound to flow a bit and still not force the edge around... ditto for the webbing and the leather strap. I think a more complete setup will be much easier... and efficient... and i do not suggest the above as the way to go... merely what is "working" while i learn to do make these things...
It shaves... better than a gyuto...[emoji48] and i haven't shaved in a long time due to the razor rash i used to develop with those 3bladed thingies... so i am still not keen to do the jaw line... i have no razor rash now... not even my throat, which was always a pain... the rest of my shaving kit is our normal bath soap... normal in that we use it generally in the house... but i am fine if my children take a bite out of the soap... so it is actually very gentle coconut oil based soaps... my brush and shaving soap and balm is on the way though...
My wife did her legs yesterday and it would appear that she thinks it is about as good at removing hair as the disposables... although needing a bit more care... with less to go into the landfill... might get her a de at some point... and of course she dislikes the chemicals in the lubricating strips on the razors... we tend to have nothing in the house where we mind eating any of ingredients... strange i know and thw alkali to make the soap alone would be an exception...
The next one is getting sharpened at the moment and the indication is that the geometry and heat treat is better...
I need to make normal western scales though... this kamisori thing is quite stressful putting away... or even down...
Used a 3"wheel and heat treated in the fire place. It is too light will get heavier stock soon...


 Reply With Quote