How I Make Duck Scales 4
by , 07-01-2014 at 03:50 AM (2926 Views)
Continue to the other side:
Now here is where it gets TRICKY!
Go UP in sandpaper grit and continue to sand. I use 400 to 600 or even 1200 depending on how close I am getting to the final shape.
REMEMBER if you go too far you have to start over again!
It is pretty easy to take off wood but not so much to add it! J
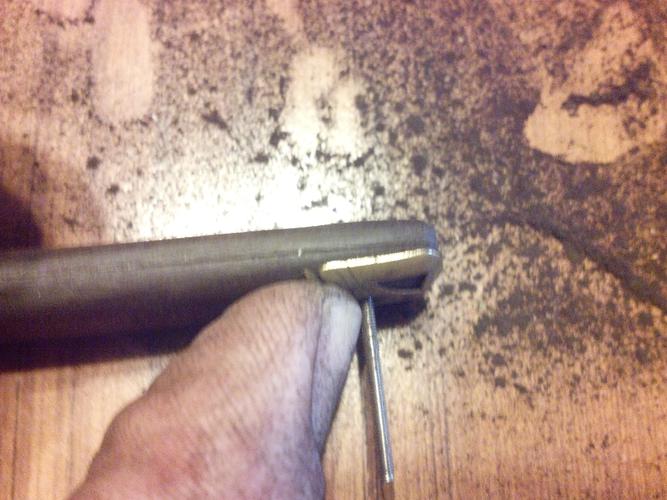
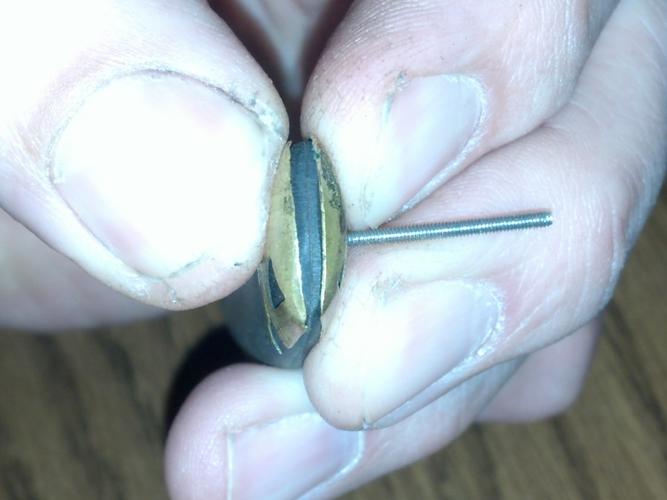
Sand a few strokes then test fit.
Sand, test, sand, test, sand, test, sand, test… <
You get the idea….
(THANKS 10PUPS)
Pretty Close:
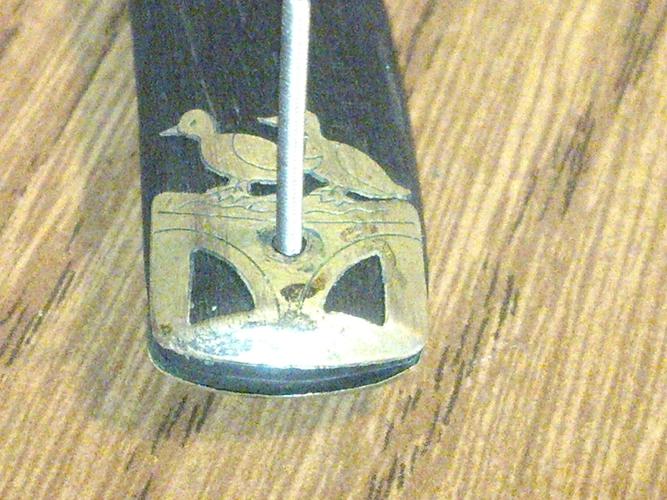
Time to make SURE your inlays
are fitting correctly!
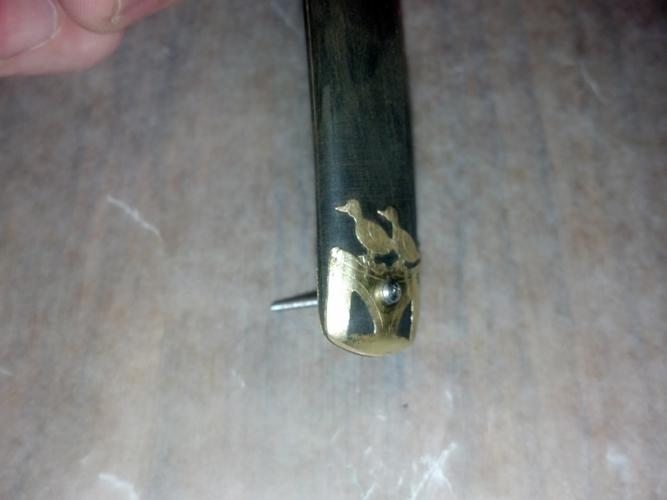
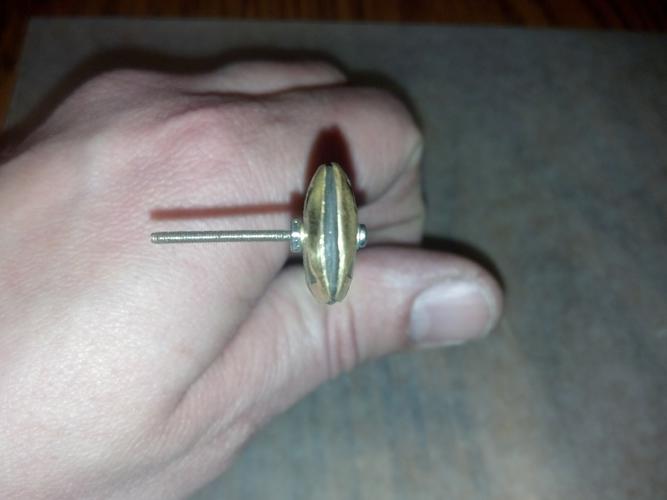
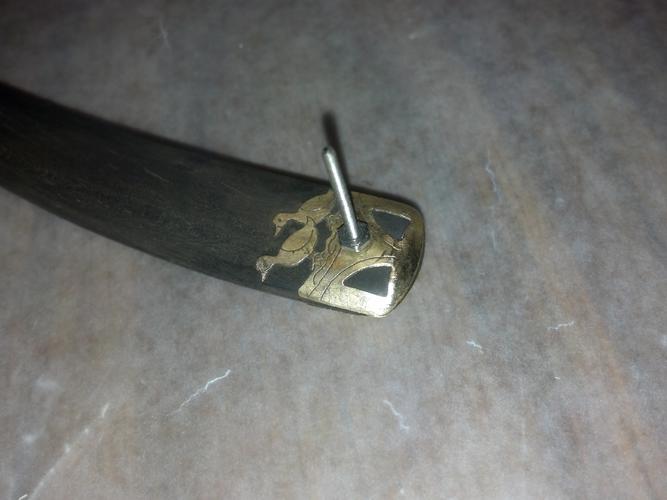
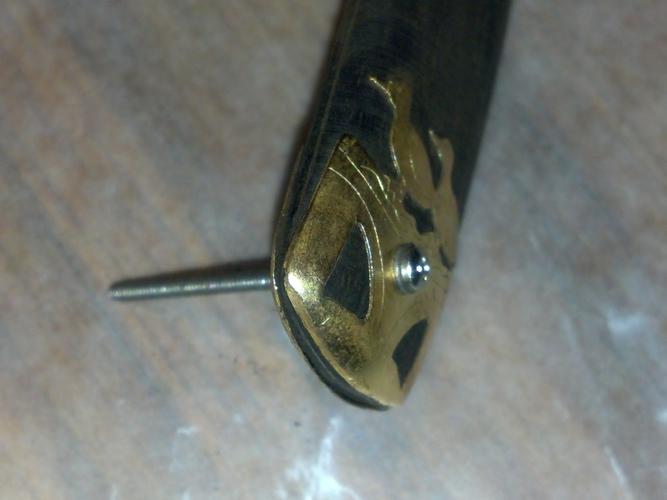
They should be like a glove and just fall into place when you place them on the scales. This will be VERY important later when you are gluing them on!!!!
This is BETTER:
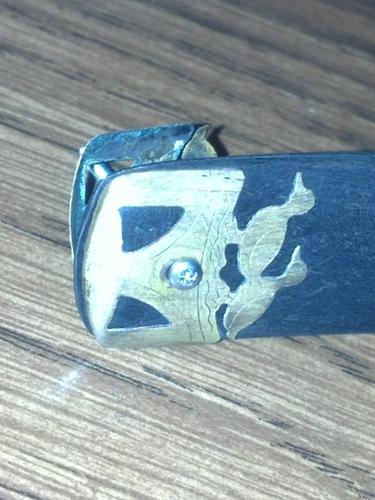
Let’s see what it looks like:
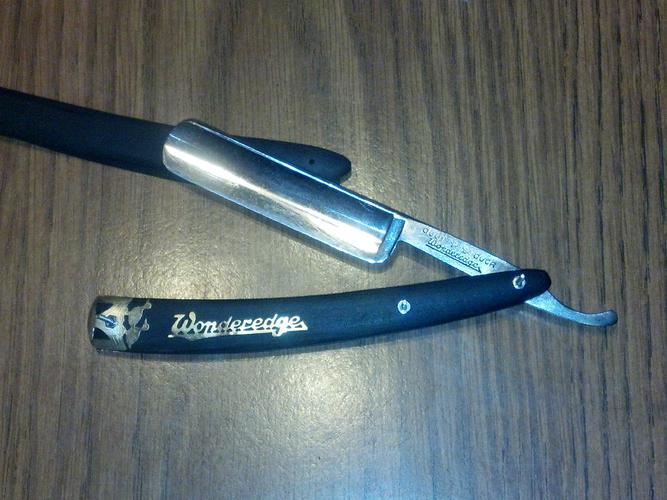
NO finish is on here yet.
See how flat they are lying on the scales?
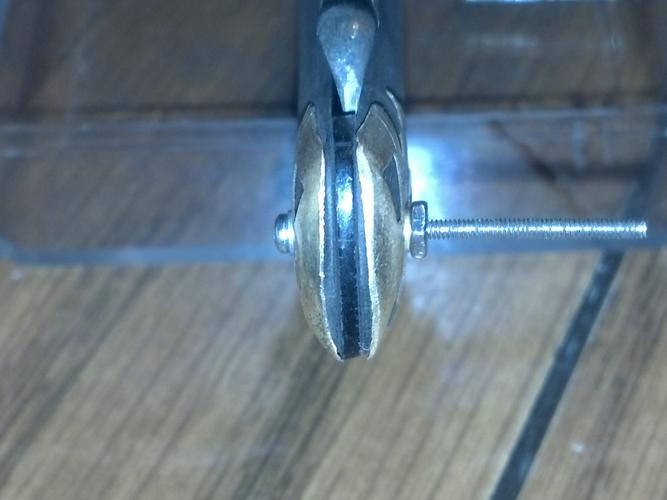
This is really close. A bit more shaping and then seal the scales with your choice of finishes.
I would suggest CA. Follow gssixgun (Glen's) tutorial and you will have a PERFECTLY protected result.
Link:http://straightrazorpalace.com/workshop/64054-ca-super-glue-finishing-hints-tips.html
THANK YOU Glen!
THANK YOU to all the members on SRP who are willing to share their vast knowledge on everything straight razor related!
A HUGE THANK YOU to 10pups!
Without him encouraging me and answering my questions I would have been LOST for a LONG time!
Check out his video tutorial here:http://straightrazorpalace.com/works...es-reaper.html
©Chevhead 2014


