
Results 11 to 20 of 32
 43Likes
 LinkBack URL
 About LinkBacks
-
11-12-2014, 05:56 PM #11Senior Member


- Join Date
- Mar 2012
- Posts
- 476
Thanked: 211 Well, I'm from Belgium, but I like the idea very much! I will see what I can do and will post the pics when ready.
 Originally Posted by pixelfixed

Please excuse me that it will take me more then a few days, I only can do a little each day, very excited though!
Thank you all for such great and very interesting helpful answers!
-
11-13-2014, 10:47 AM #12Senior Member
- Join Date
- Mar 2012
- Posts
- 476
Thanked: 211
Great! I will see in the further restoration if I can find more of the pattern on the rest of the blade, will see Originally Posted by Mike Blue
what I will use to highlight the banding, excited!
-
11-14-2014, 10:49 AM #13Senior Member
- Join Date
- Mar 2012
- Posts
- 476
Thanked: 211
If I should use lemon juice, does anyone know how long the steel needs to make contact with it? Originally Posted by Fikira
I guess I need to rinse the juice of, but do I need to polish it again afterwards?
Thanks!
-
11-14-2014, 11:28 PM #14"My words are of iron..."

- Join Date
- Oct 2006
- Posts
- 1,898
Thanked: 995
This is one of those areas where the final point is what your eye says it will be. Lemon juice is not an aggressive acid and I would suggest this process will take more time than another acid. You're less likely to make a mistake and go too far.
You can always polish again after each juice treatment. You might find you like the acid patinated look, or you might like the polished after etching look. Experiment. Enjoy.
-
11-15-2014, 10:52 AM #15Senior Member
- Join Date
- Mar 2012
- Posts
- 476
Thanked: 211
Sounds good, thanks for the tips! Originally Posted by Mike Blue
I had my first experiment with vinegar, seemed to work very well, the only setback I experienced is staining.
I've got a suspicion that the reason is my degreasing, first I used aceton and then alcohol with chlorhex, the last gave discolorations
here and there when it evaporated, I think (hope) that's the reason the vinegar reacted different on these area's, have you got
the same experiences? What do you use for degreasing? (I think degreasing is important to get the grease off from the diamond polish)
My intent is now to do this with the lemon juice
May I ask why warm vinegar would be preferable to cold vinegar (for the first experiment I used room temperature vinegar for 10')
Kindest regards
-
11-15-2014, 11:35 AM #16Senior Member
- Join Date
- Sep 2009
- Location
- Mouzon, France
- Posts
- 507
Thanked: 116
Warm vinegar will cut faster than cold vinegar.
Mike Blue likes this.
-
The Following User Says Thank You to MichaelP For This Useful Post:
Fikira (11-15-2014)
-
11-24-2014, 01:15 PM #17Senior Member
- Join Date
- Mar 2012
- Posts
- 476
Thanked: 211
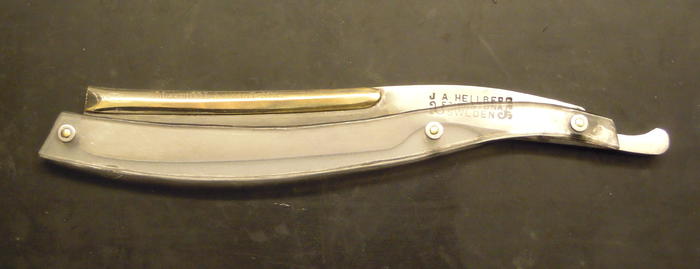
So here are the final results,
I made some new scales (first time, sorry for the mistakes here and there...)
and let the vinegar do its thing, I don't seem to get the darkening completely even, so be it...
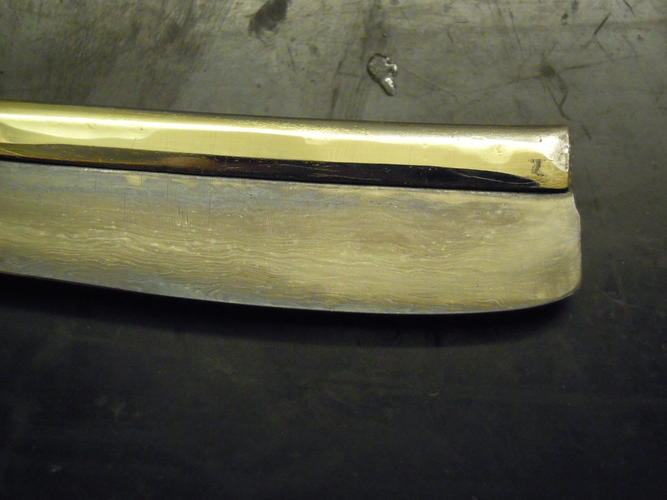
I removed the "spine", put 24u epoxy in between it to prevent water getting under, which previously was the case
What I've learned is that it is best to do that before the darkening, residue of the epoxy tends to give more darkening and "blueing"
It was a very nice experience!
-
11-24-2014, 01:22 PM #18Senior Member
- Join Date
- Mar 2012
- Posts
- 476
Thanked: 211
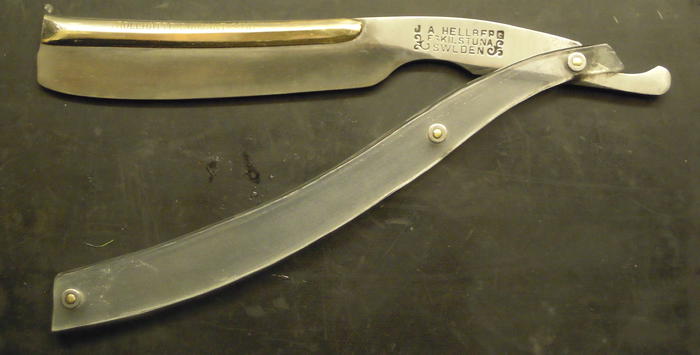
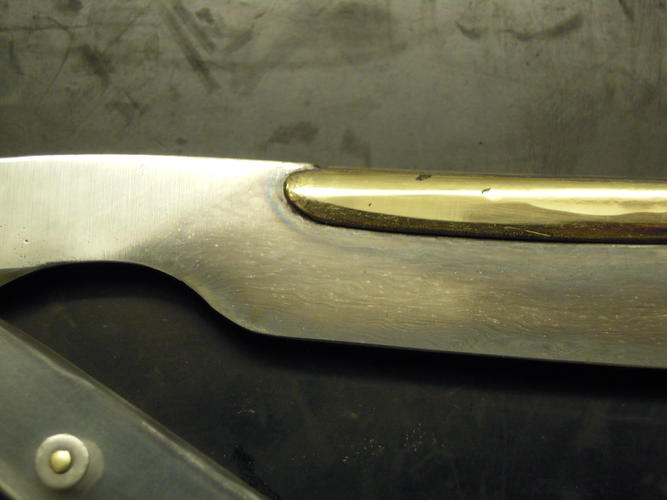
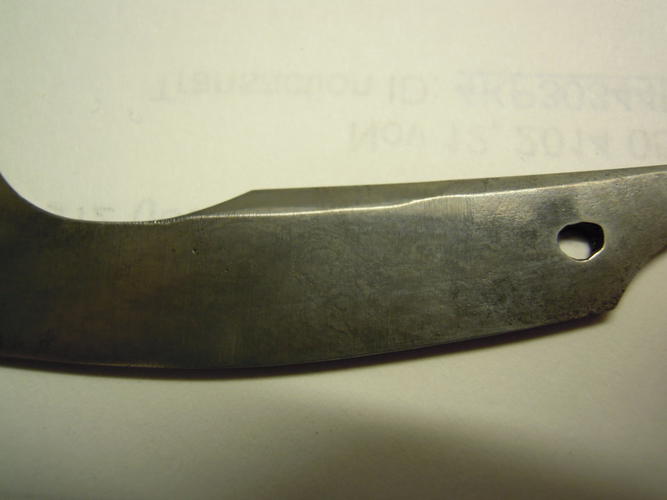
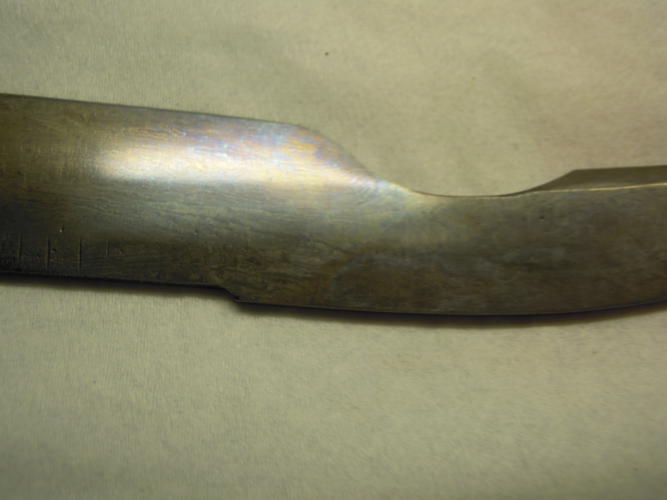
Her are some pics with the "spine" removed
-
The Following User Says Thank You to Fikira For This Useful Post:
Geezer (01-26-2015)
-
11-24-2014, 01:30 PM #19Senior Member
- Join Date
- Mar 2012
- Posts
- 476
Thanked: 211
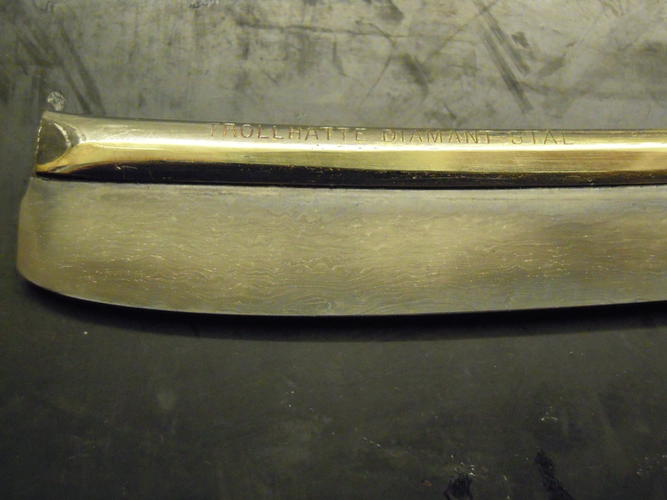
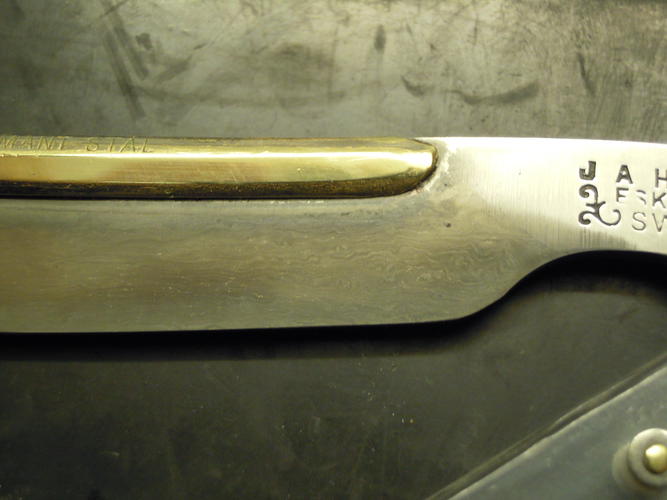
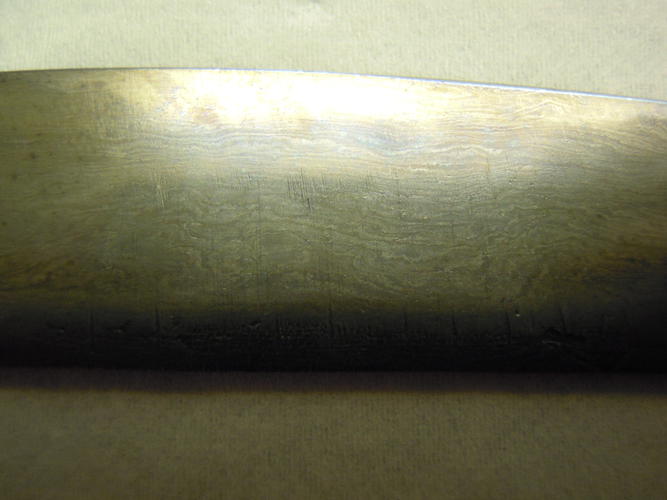
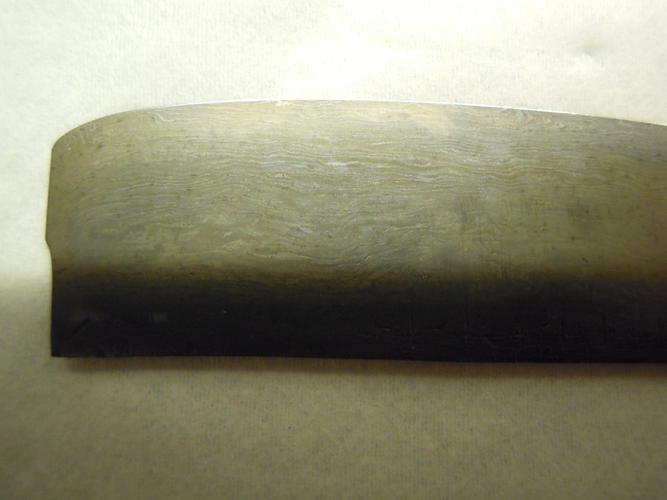
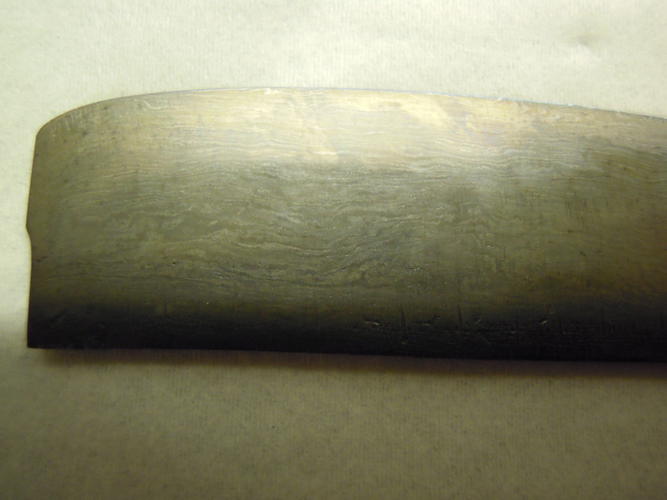
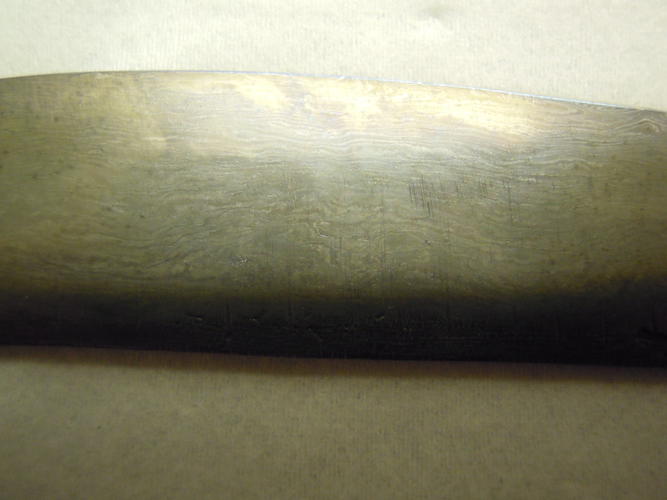
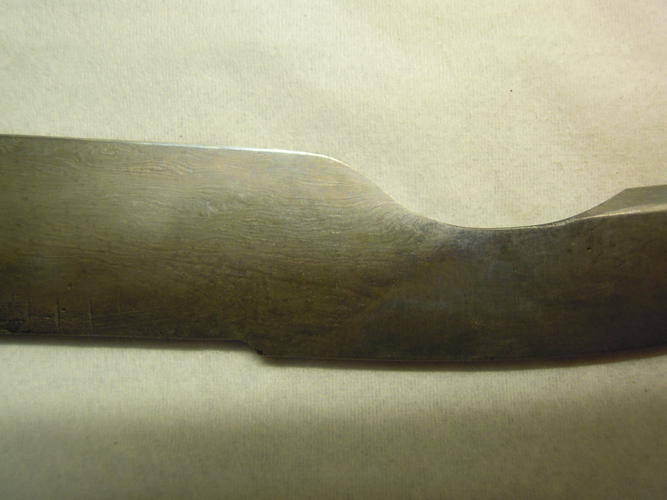
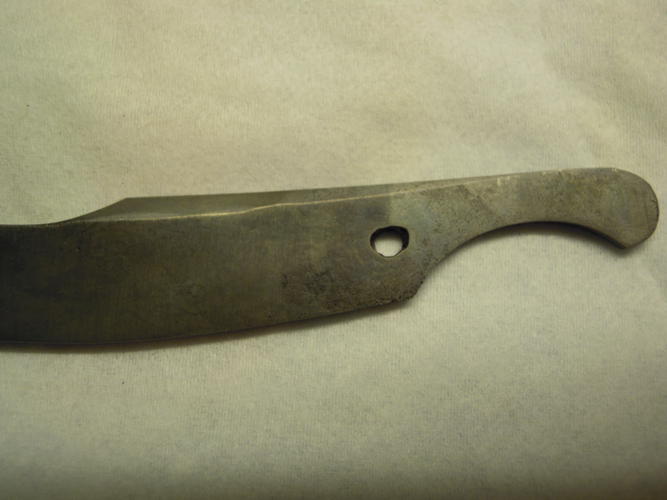
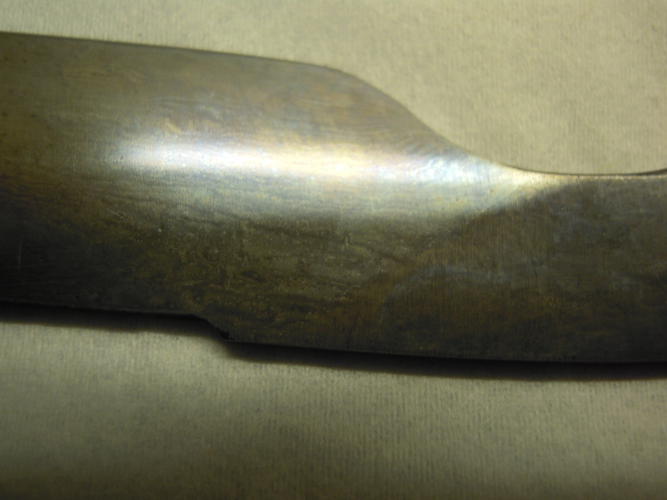
And finally some pics (after vinegar treatment of blade and tang) that show that the lamination is mostly on the blade itself, only a little on the tang, there it resembles a more cloudy shape, on the blade it resembles more stripes
 Geezer and JSmith1983 like this.
-
11-24-2014, 01:37 PM #20
I have a very similar hellberg at home, i will try to remember to see if it's the same. But it will be a few weeks.
I just pop the spine off and give it a wipe from time to time.Bread and water can so easily become tea and toast


 Reply With Quote


