
Results 11 to 20 of 25
 3Likes
 LinkBack URL
 About LinkBacks
-
10-05-2011, 02:42 PM #11what Dad calls me


- Join Date
- Feb 2008
- Location
- Kansas city area USA
- Posts
- 9,173
Thanked: 1677
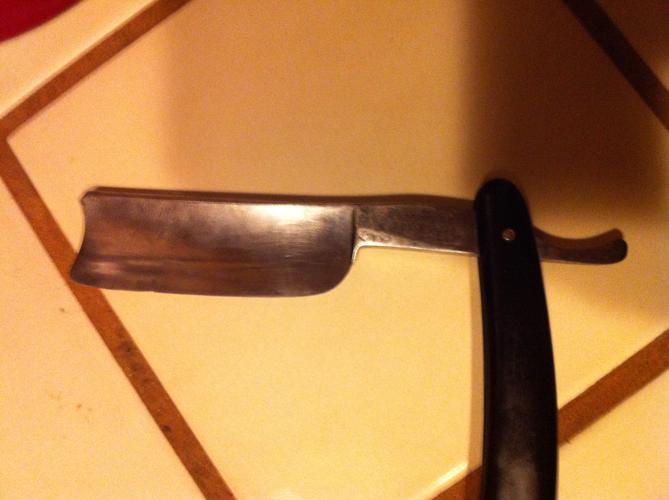
Looks like the perfect resto project to me!
vvti713 likes this.It is easier to fool people than to convince them they have been fooled. Twain
-
10-05-2011, 03:28 PM #12Senior Member

- Join Date
- Jun 2011
- Location
- Torhout, Belgium
- Posts
- 473
Thanked: 41
Nice!
weird things is...it reminds me of my F. Von Brosy...
http://straightrazorpalace.com/show-...t-chopper.html
Has the same shape
-
10-06-2011, 06:29 PM #13Member

- Join Date
- Sep 2011
- Posts
- 35
Thanked: 3
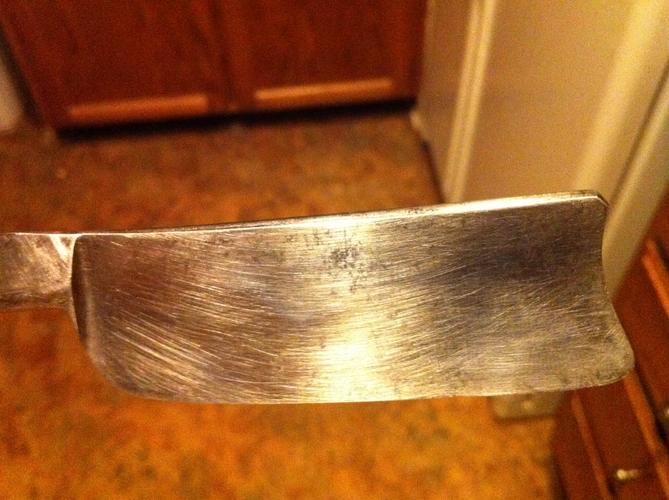
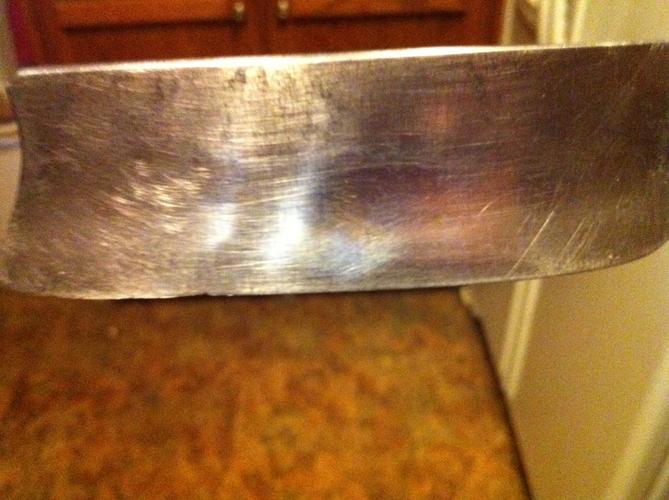
Happy to say, you ar both correct! I started in with some 180 and after about 30 minutes had this (below). I'm really happy with how it's turning out and not really that much effort. There are still some gray spot that I think is minor pitting, so I need to keep at it with the 180 for a little while then progress up through 2000 as I want to try for a mirror shine. there is a spot on the edge of the blade that had some rust and now looks a little jagged with pitting right above it (pic 3). It looks like maybe 1/8 +/- will have to be sanded/honed away, so not too bad.
I did manage to open my thumb up a little while working behind the heel, so now I've put the blade on hold while I make a Bill Ellis safety jig (hopefully finish that tonight).
One question. As this is a restoration learner for me, should I remove the scales? They are tight and in great condition, though probably not origional but this is also the only wat to shine up the entire blade... what are your thoughts?
-
10-06-2011, 06:32 PM #14Member
- Join Date
- Sep 2011
- Posts
- 35
Thanked: 3
WOW! They look like exacty copies! That beast will clean up real pretty! have yo ushined it up yet? Originally Posted by Dimitry

-
10-06-2011, 07:09 PM #15Senior Member
- Join Date
- Jun 2011
- Location
- Torhout, Belgium
- Posts
- 473
Thanked: 41
Indeed, they look like exact copies. Originally Posted by johnny2274
I will have to make it a 8/8 + one instead of an 9/8 one because the edge is also jagged on mine.
I'm in the same stage momentarily as you are.
Now I'm still sanding away the pitting and black rust. Tried to sharpen it and got an nice edge on it...so that's prommising .
.
I want to clean the wole blade, so I took the scales of but kept the original washers to re-use them
-
10-06-2011, 07:28 PM #16Member
- Join Date
- Sep 2011
- Posts
- 35
Thanked: 3
Good idea on keeping the washers. I might try that myself and just put the same scales back on it so i get the experience.
Also I jus forund this Herder on the bay. Look familiar? LOL
Huge Rich Abr Herder-Solingen 15/16 Very heavy straight razor | eBay
-
10-06-2011, 07:56 PM #17Senior Member
- Join Date
- Jun 2011
- Location
- Torhout, Belgium
- Posts
- 473
Thanked: 41
Wow, looks very familiar Originally Posted by johnny2274
 !
!
-
10-07-2011, 01:04 AM #18Senior Member

- Join Date
- Apr 2008
- Location
- Saint Paul, Minnesota, United States
- Posts
- 2,944
Thanked: 433
Nice job!! The edge looks way better than I thought it would from the 1st set of pics. It should come out really nice!
-
10-07-2011, 07:47 PM #19Member
- Join Date
- Sep 2011
- Posts
- 35
Thanked: 3
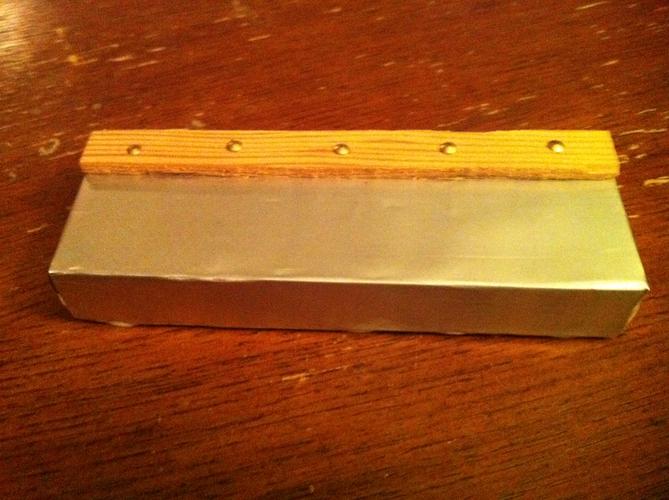
Ok, safety jig is done (safety 3rd right). Going to try and get this baby shining this weekend!
-
10-07-2011, 07:49 PM #20Senior Member
- Join Date
- Jun 2011
- Location
- Torhout, Belgium
- Posts
- 473
Thanked: 41
Nice!
got mine shining like a mirror, but did not get rid of all the pitting.
If it doesn't harm the edge...I won't sand it down completly, as there is a chance I might ruin the blade...
Don't think I'll keep the razor though..Those big ones just aren't my thing I guess.


 Reply With Quote