
Results 11 to 20 of 23
 11Likes
Thread: 4x new (old) Razors !!
 LinkBack URL
 About LinkBacks
-
05-26-2012, 04:49 AM #11The Great & Powerful Oz


- Join Date
- May 2008
- Location
- Bodalla, NSW
- Posts
- 15,638
Thanked: 3751 I come from an automotive background too but I can tell you with body panels you have a whole lot more steel to work with.
 Originally Posted by donalexander


What may appear as surface rust can become a chip in the edge when honing. In such a thin piece of steel as a razor's edge it takes little to compromise its integrity. Get yourself some magnification & take a look as the jobs progress, you'll see what we're on about. The early bevel setting stage will likely see you with some microchipping. That's not to say you won't find healthy steel as the honing progresses. I've restored a lot of edges on a gamble & if a clean bevel came up they all shaved well. G'luck, as has been noted they are some quality brands.
That first Elliot may need some work on the stabiliser as you go. Hard to tell from the pics but just keep an eye out as you hone that the hone marks don't creep onto the stabiliser. It can lift the heel off the stone causing the toe to get sharper than the heel. Modifying the stabiliser can futureproof an other wise problem geometry. Some reading below:
http://straightrazorpalace.com/advan...ing-heels.htmlLast edited by onimaru55; 05-26-2012 at 04:55 AM.
-
The Following User Says Thank You to onimaru55 For This Useful Post:
donalexander (05-26-2012)
-
05-26-2012, 04:54 AM #12Obsessive compulsive

- Join Date
- Feb 2010
- Location
- New Zealand
- Posts
- 1,315
Thanked: 323
↑↑ Gospel.
-
05-26-2012, 05:09 AM #13
Here is my annotation to your photograph pointing out where the steel is rotten through and cannot hold an edge that can shave: Originally Posted by donalexander
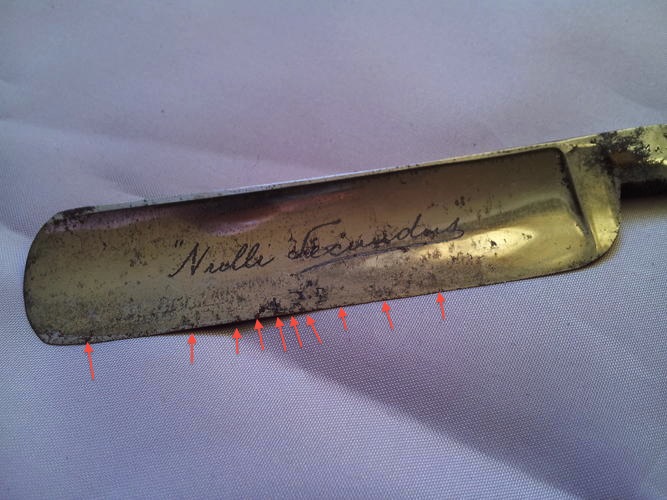
You need to have perfectly clean steel all along the edge, and from the looks of that razor it may not be possible at this stage.
-
05-26-2012, 09:09 AM #14Member
- Join Date
- May 2012
- Location
- New Zealand
- Posts
- 78
Thanked: 2
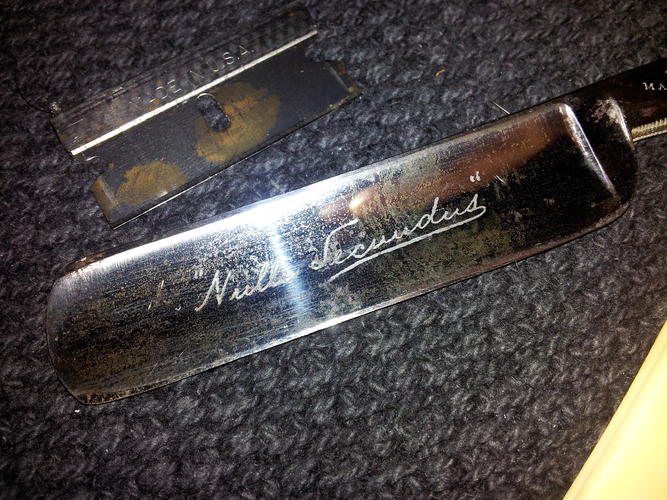
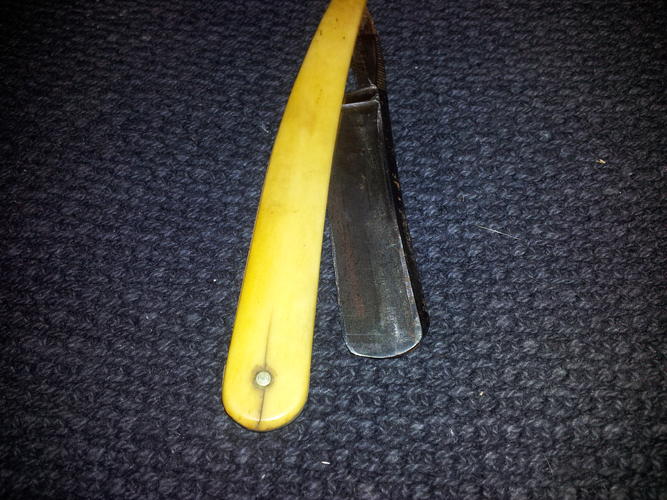
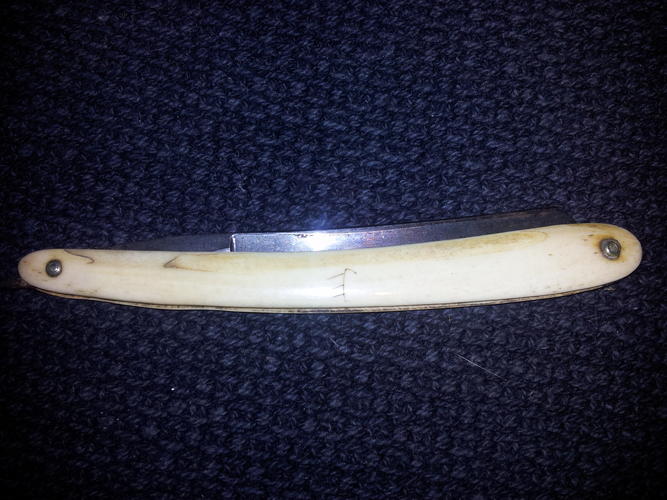
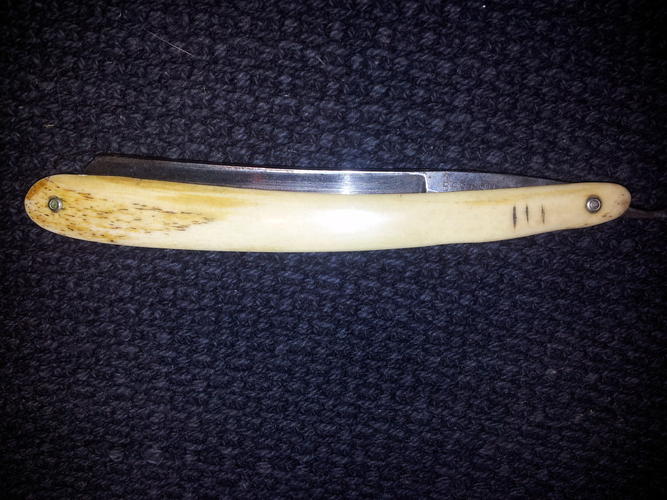
Have a look at these photos (had to use the flash as its night time over here) tell me what you think Originally Posted by gugi

-
05-26-2012, 09:23 AM #15Member
- Join Date
- May 2012
- Location
- New Zealand
- Posts
- 78
Thanked: 2
I just ran that little razor over the 'razor' lol and what is left is similar to the little razor which is most likely finger prints that have gone rusty, I believe she will clean up just fine.
It is really hard to tell from pics and in this case it looked worse than it was.
-
05-26-2012, 09:39 AM #16Member
- Join Date
- May 2012
- Location
- New Zealand
- Posts
- 78
Thanked: 2
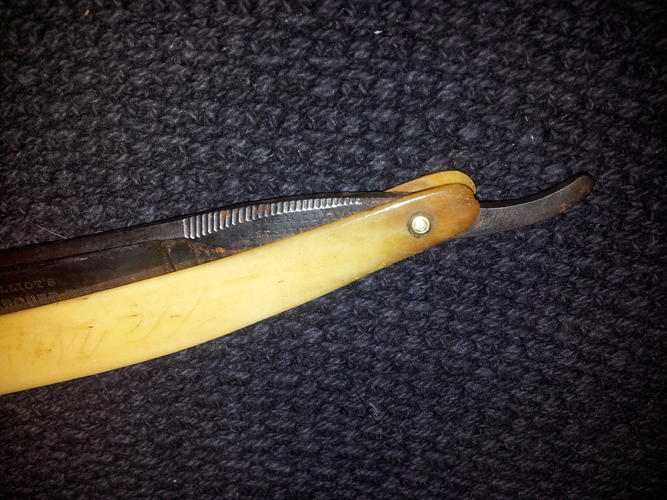
Also I think I will re-scale the two bone ones as the JOSEPH ELLIOT has a crack at the bottom pin and the WARRANTED one is not in good condition, know of any threads on what to use for new pins etc?
-
05-26-2012, 10:31 AM #17Senior Member

- Join Date
- Jun 2009
- Location
- Colorado Springs
- Posts
- 1,769
Thanked: 1045
You can pick up a little lighted monocular 60x for around 10$ on ebay I think? I use the for the edge, when I have a lot of pits. Then i just hone. Through to the line of no pits to get a good edge... I have a couple like that. They don't make great sellors, but they are good enough for the rotation at home.
-
05-26-2012, 10:36 AM #18Senior Member


- Join Date
- May 2011
- Location
- Redbank, Queensland, Australia
- Posts
- 1,639
Thanked: 291
[QUOTE=donalexander;971199]Also I think I will re-scale the two bone ones as the JOSEPH ELLIOT has a crack at the bottom pin and the WARRANTED one is not in good condition, know of any threads on what to use for new pins etc?
[QUOTE]
Plenty of good info in the 'Workshop' sticky, mate
I use 1/16" brazing rod and washers from micro-fastenersScottGoodman and collo77 like this.
-
The Following User Says Thank You to Havachat45 For This Useful Post:
donalexander (05-26-2012)
-
05-26-2012, 01:46 PM #19aka shooter74743


- Join Date
- Sep 2009
- Location
- SE Oklahoma/NE Texas
- Posts
- 7,285
- Blog Entries
- 4
Thanked: 1936
The ONLY way to check if the rust is too bad is to take it to a bevel setting stone (you don't have to truly set the bevel) for a little bit and then look at the edge under magnification. I personally use 60x & higher.
Sometimes you can hone past rust in the edge...most of the time you can't as rust can be like lava tubes...you never know how or where it will tunnel.
-
05-26-2012, 03:59 PM #20Senior Member

- Join Date
- Jan 2011
- Location
- Roseville,Kali
- Posts
- 10,432
Thanked: 2027
Lava Tubes? I like the anology


 Reply With Quote
