
Results 1 to 3 of 3
 2Likes
 LinkBack URL
 About LinkBacks
-
02-19-2012, 03:46 PM #1Member


- Join Date
- Feb 2012
- Location
- Rochester, NY
- Posts
- 36
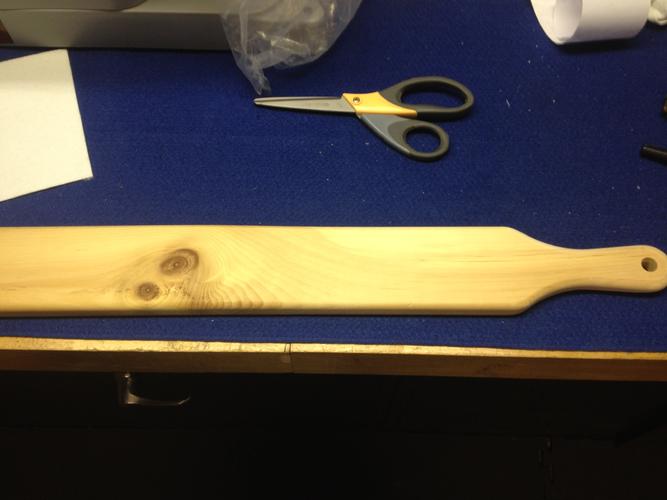
Thanked: 4 My Home Made Double Sided Wool Felt and Balsa Paddle Strop
Hi All,
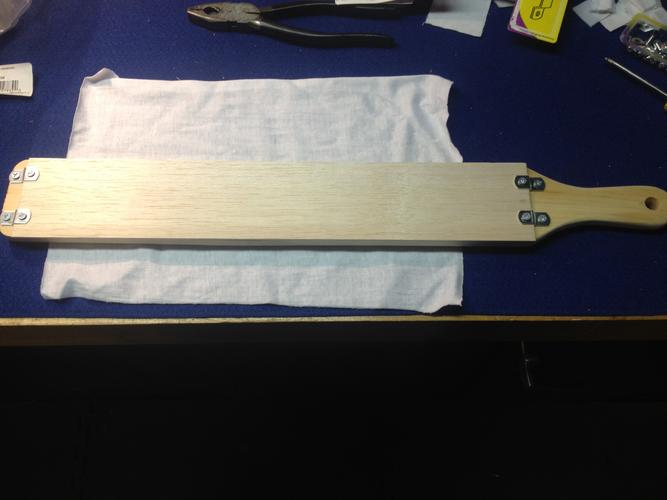
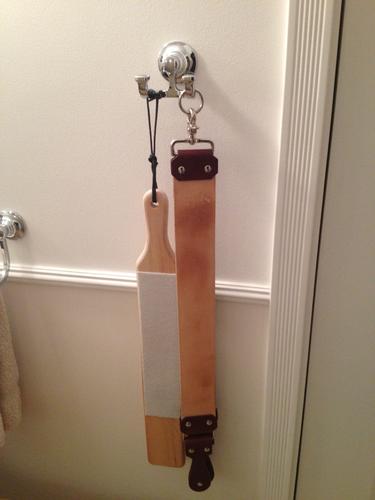
Relative Newbie to straight razor shaving. Months of reading and watching videos on everything having to do with straight razors and then adding to my knowledge on wet honing (already own and use a set of Norton 4000 - 8000 grt), I thought I would post my latest project and get your professional feedback on it. Go ahead, I can take the criticism so tear it apart if you must (lol). I needed more of course after the 8000 hone and I am inpatient waiting for a Japanese 12,000 grt wet stone I ordered from Japan so I thought I would make this while I wait. Right now trying it dry but I will be trying it with .5 diamond paste/spray and .5 Chromium Oxide paste.
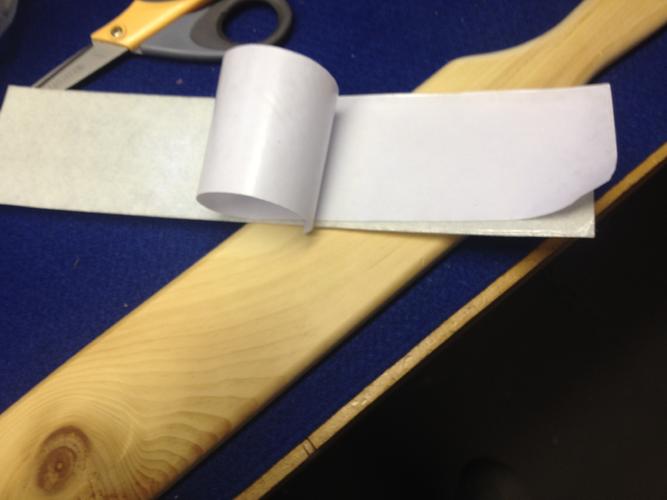
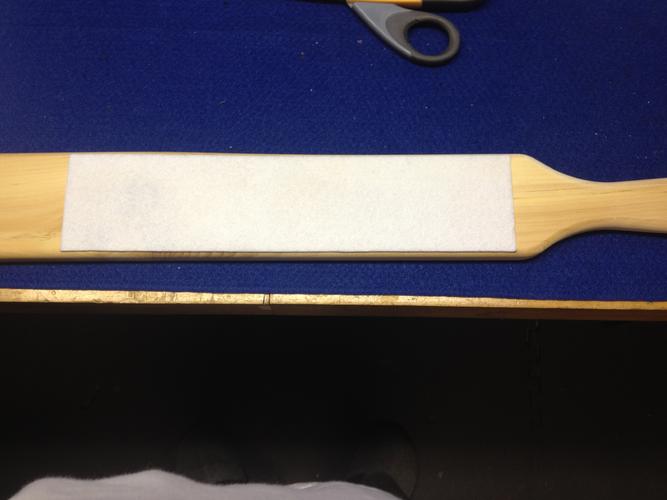
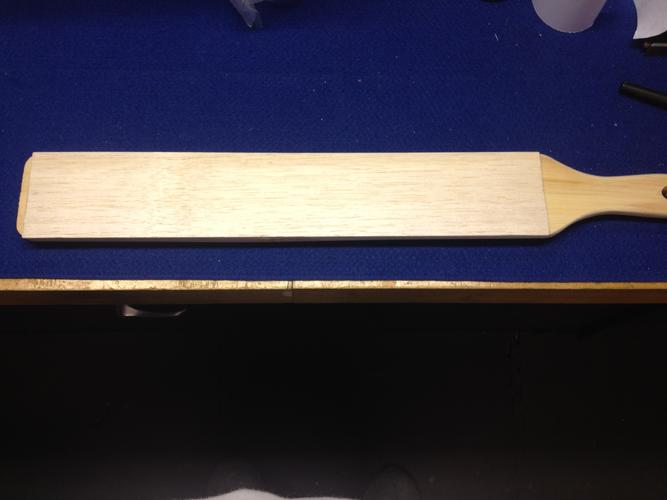
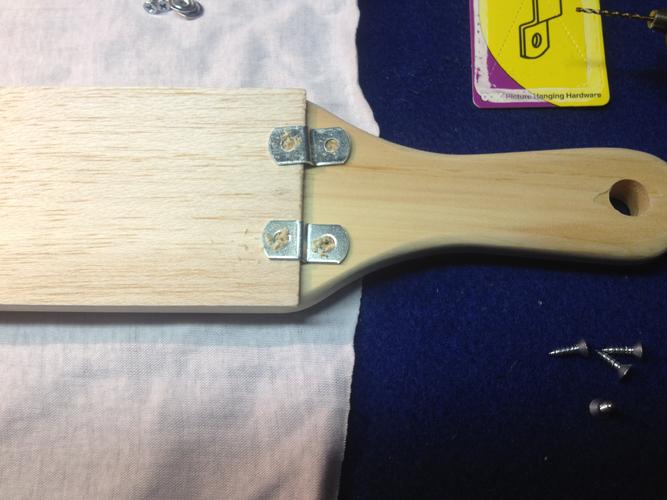
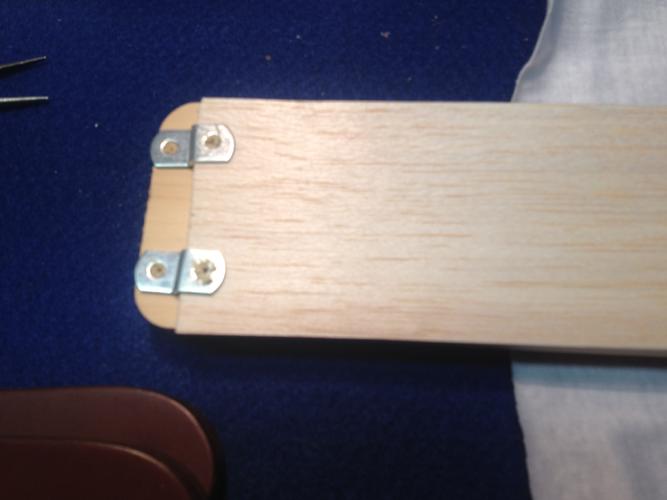
Here is what I did: I went to AC Moore Crafts and picked up the paddle (could have made it in my wood shop but saved time), 9X12 Wool Felt with sticky backing, 1/8"X3'X36" of balsa, and a small pkg of 1/4 offsets used for picture frames so that I can remove the balsa at any time without having to glue it down which is what other guys were struggling with. I sanded down the paddle's handle area starting with 100 going up to 600 grt but left the wood raw. No need to finish it but you certainly could. I cut the felt once for a strip and peeled off the sticky back and after prepping the wood surface, adhered it to the paddle. It did not need to go all the way to the end. As for the balsa, the width was perfect. All I had to do was make one cut with an axacto knife, scoring LIGHTLY along a straight edge leaving enough room for the offsets. I then predrilled the holes for the offsets and using my own 1/8" wood screws, I HAND tightened them (go easy here or you may crack the balsa). Of course I couldn't wait to try it and that day a razor showed up from ebay that needed honing, then onto my Dbl sided paddle strop DRY and super light strokes (20 each side), then onto my Tony Miller strop linen (30) then leather (50) and SHAVE TEST. She was pretty good....not perfect better than the others enough so that after shaving, I took all my other newly purchased razors to the paddle then back to the TM strop! Cant wait to shave again! I just refinished my bathroom myself and took some pics I will post to show the strop there and how I hang them. Thanks for reading all of this. Sorry its so long - its my first post.
Last edited by NicksnCuts; 02-20-2012 at 02:32 AM.
pixelfixed and twogun like this.
-
02-19-2012, 03:58 PM #2Member
- Join Date
- Feb 2012
- Location
- Rochester, NY
- Posts
- 36
Thanked: 4
PS...
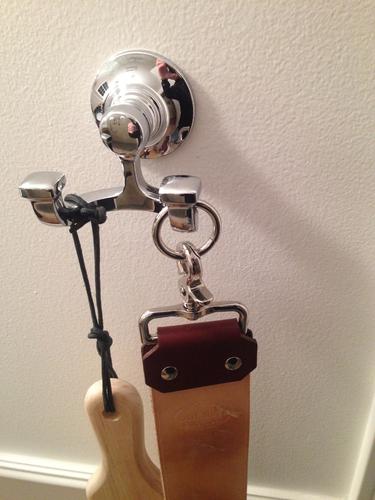
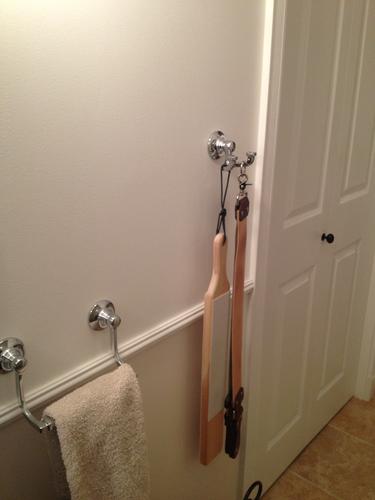
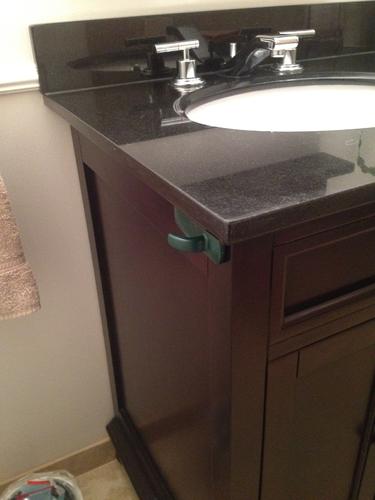
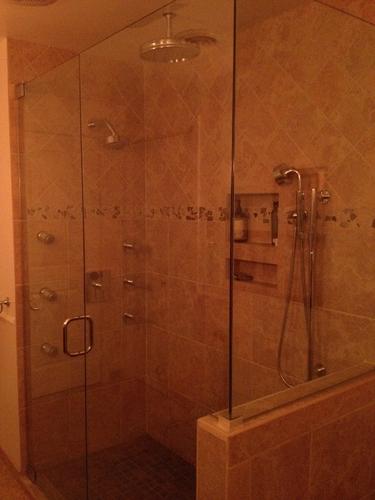
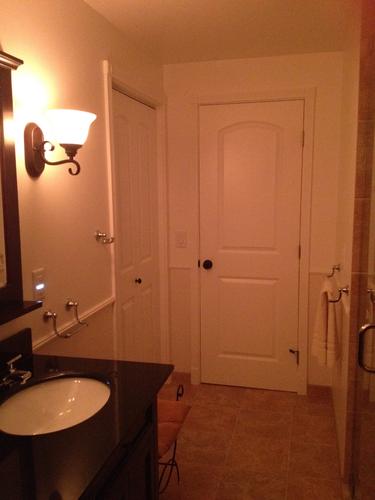
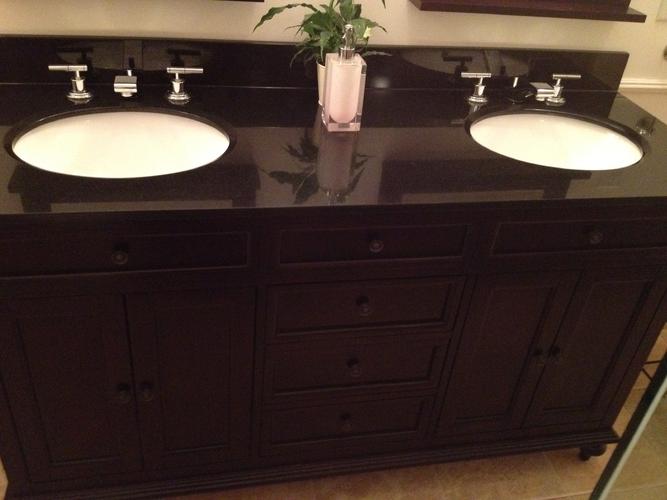
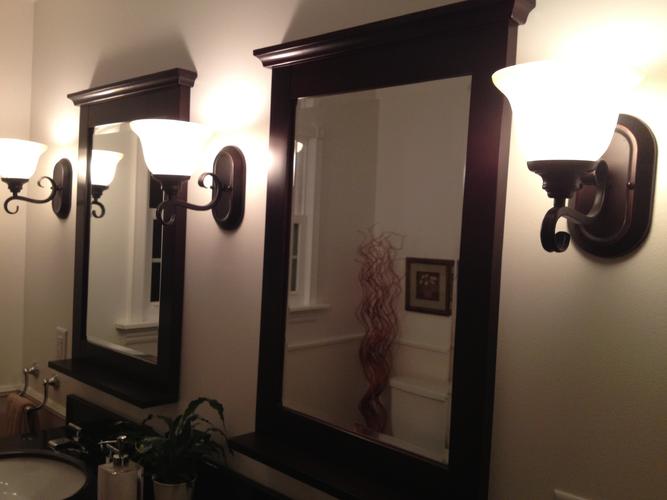
I did a little light sanding around the edge of balsa to match the paddle as it was a bit off around the edges. I also rounded the edges to match the lines of the paddle but that didn't show in the picks. I use one of those easy on easy off no residue hooks on the side of my $1800 72" double bowl cabinet for stropping. I mounted it sideways as I pull the strop out to the side. It has a 5lb max rating which works fine and I didn't have to drill into my new cabinet so when I sell the house just pull the tab and prestoooooo, nothing there! I am 5'7" tall and shrinking by the day so that height works well. I also have an antique strop in the custom made closet next to the strops in the pics above which is real sweet that I use from time to time (not shown). I know its not a bathroom remodel blog but thought I would post the rest of my bathroom remodel job as I pretty proud of it. So far, no leaks! and the most important piece...the wife likes it because I added the ceiling heater blower and let her add a few paintings. I LOVE shaving in what feels like a high end hotel LOL (looks much better in person)
 Attachment 90488
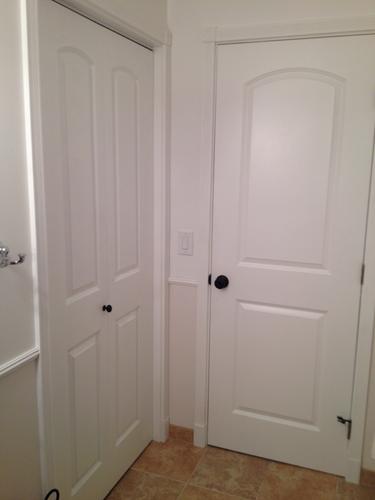
Last edited by NicksnCuts; 02-20-2012 at 02:37 AM.
-
02-20-2012, 05:05 PM #3Member
- Join Date
- Feb 2012
- Location
- Rochester, NY
- Posts
- 36
Thanked: 4
I cant seem to edit the first post but I forgot to mention that you need to place TWO strips of the hard WOOL FELT if using the same stickie back felt pads that I used as they are only 1/8" thick and provide no padding whatsoever. I found layering two was perfect...which I did AFTER these pics were taken (sorry). I can make these for anyone who is challenged in this are. I would have to charge a minimum of $30 plus shipping....say $12 FedEx insured. At that price, I am not making any money really. It is my give back to the SRP community for all the help I have received here! So if you want one, email me your information. I would accept Paypal only. Thanks.
PS
If you want one stained dark or a clear minwax coating, I can do that as well (included). Any special rings or hooks though would be extra.


 Reply With Quote