
Results 1 to 8 of 8
 6Likes

Thread: Wade & Butcher *Special* Project
 LinkBack URL
 About LinkBacks
-
10-01-2013, 09:26 PM #1Chewie360

- Join Date
- Sep 2013
- Location
- Phoenix
- Posts
- 33
Thanked: 7 Wade & Butcher *Special* Project
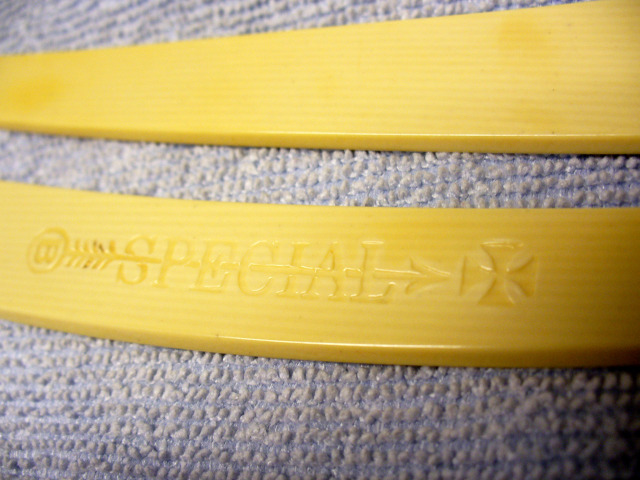
A couple of you may have seen in the Razor forum my post about a recent eBay purchase. I got my hands on a W&B Special blade with no scales for a reasonable price. One of the other members has been a helluva guy and offered to donate some W&B Special scales. Take a look at the pics below if you please. I would like to know (if any of you know) what the correct pin/rod material would be.
I've also seen other posts that suggest the "Special" engraving on the scales may have also been red at some point. Now I don't want to go overboard in a resto-project, but I would certainly like whatever steps I DO take to be correct.
Thanks,
Aaron
 Geezer likes this.
-
10-01-2013, 09:29 PM #2Senior Member

- Join Date
- Jun 2013
- Location
- Pompano Beach, FL
- Posts
- 4,048
Thanked: 636
I am not sure if there is a special pin but I use brass rod that comes in a 3' length and brass spacer washers inside the scales and small brass washers outside.
-
10-01-2013, 10:09 PM #3Senior Member

- Join Date
- Feb 2007
- Posts
- 392
Thanked: 105
The one I have has nickel silver pins and the scales have a gold fill on the impression.
V/R
Tim
-
10-01-2013, 10:52 PM #4Senior Member

- Join Date
- Jul 2008
- Location
- Knoxville, TN
- Posts
- 874
Thanked: 312
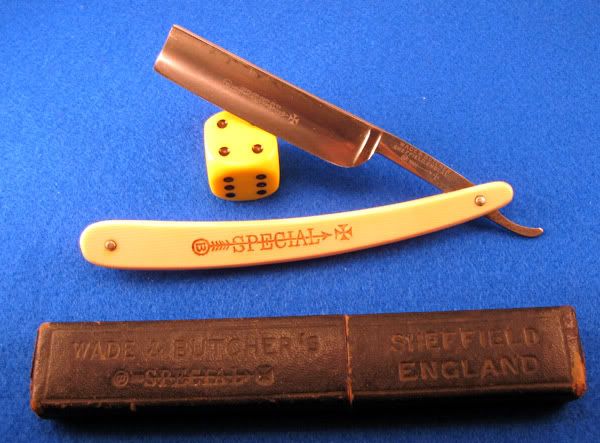
Mine looks like this. I've also seen them done in black.
Regards - Walt
-
The Following User Says Thank You to Walt For This Useful Post:
Geezer (10-05-2013)
-
10-04-2013, 02:25 PM #5Chewie360
- Join Date
- Sep 2013
- Location
- Phoenix
- Posts
- 33
Thanked: 7
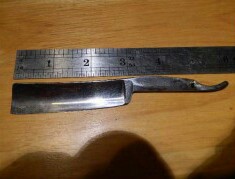
I received my blade yesterday and I was pleasantly surprised at its condition. I've attached a few more pics as it looked when I took it out of the package. Let the advice fly guys.
Donated scales are on the way. There is some minor etching, but the edge appears to be in fantastic shape. I'll keep you updated as progress continues.Geezer likes this.
-
10-04-2013, 09:09 PM #6Senior Member

- Join Date
- Dec 2012
- Location
- Perth, West Australia
- Posts
- 1,431
Thanked: 497
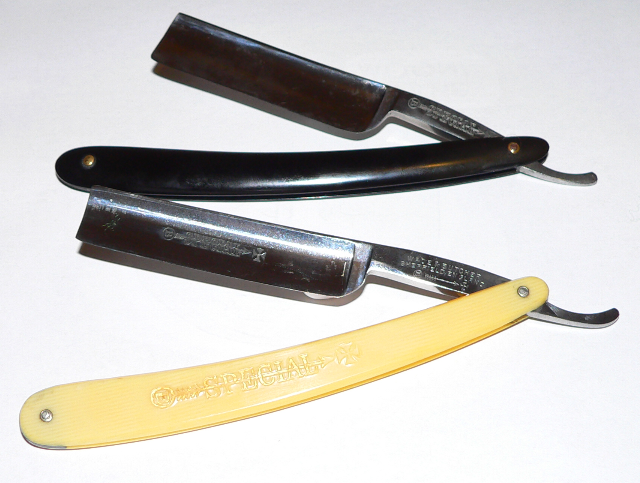
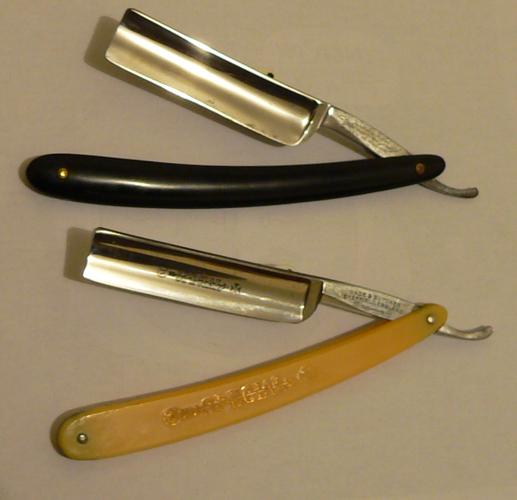
Chewie, here are mine. The black-scaled razor seems to be a dead ringer for yours, "SPECIAL" on the tang but not on the blade.
Seems to be brass washers and steel pins and lead wedge.
The other one is similiar to Walt's and has steel pins and washers and a black non-metal wedge.
The imprint on the scales has traces of gold paint.
My eyes aren't what they once were, so I could be wrong about the pin / washer combos
Good luck with your restore and please keep us informed....with plenty of pics !!
Bongo.
Last edited by bongo; 10-04-2013 at 09:13 PM.
-
10-04-2013, 11:23 PM #7Senior Member

- Join Date
- Apr 2009
- Location
- Boulder County CO
- Posts
- 1,004
Thanked: 127
Going to be a fun project Chewie! Guys will jump in with more advice than you can take in I suspect, but what do you think you need to get started? (Aside from the scales). I did't see it mentioned but generally 1/16" is the size of the pins used on that blade - but you can get pretty creative with that as well. I normally buy pin material in rod form from a local hobby store but you can pick them up many places.
If you haven't been through it all yet, here's a good link to some posts here that will help as well. http://straightrazorpalace.com/works...wers-here.html There are quite a few more links you can use but that's a start. Have fun!
-
10-08-2013, 07:45 PM #8Chewie360
- Join Date
- Sep 2013
- Location
- Phoenix
- Posts
- 33
Thanked: 7
While working on the blade, I found a slight frown in the edge. As a Quality Manager, small details sometimes eat at my sub-conscience before I'm aware of them. As I was testing a polishing compound, the curvature of the edge didn't seem... constant. So I set (as yet unhoned) edge on my glass top desk and rocked it back and forth. Sure enough, right about the spot of the discoloration in the picture below, there was a flat spot (can YOU find it?).
I sharpened the edge lightly against some 320 sand paper to reshape the profile, and now have a smoother, more consistent arc to the edge. Most of the discoloration has been removed, which unfortunately revealed some deeper etching. One is closer to the edge than I would like, and on a double-hollow, I'm afraid any serious effort to remove it would likely just cause damage. I'll post a pic of that later today.


 Reply With Quote