
Results 1 to 4 of 4
 4Likes
Thread: Shumate 5/8 restore
 LinkBack URL
 About LinkBacks
-
10-30-2013, 03:17 AM #1Senior Member


- Join Date
- May 2011
- Location
- Ipswich, Australia
- Posts
- 481
Thanked: 64 Shumate 5/8 restore
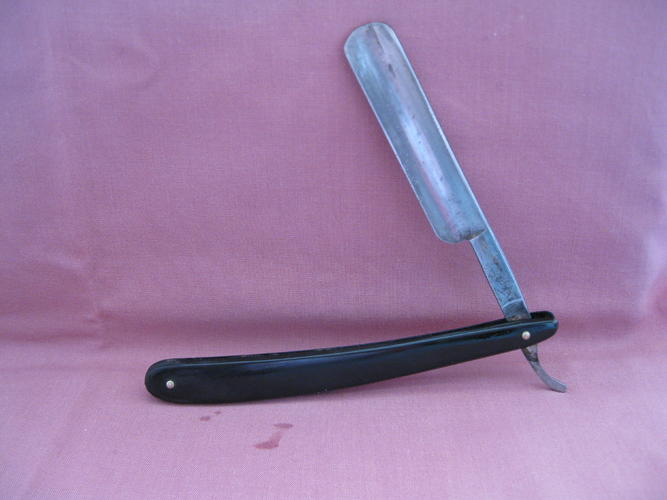
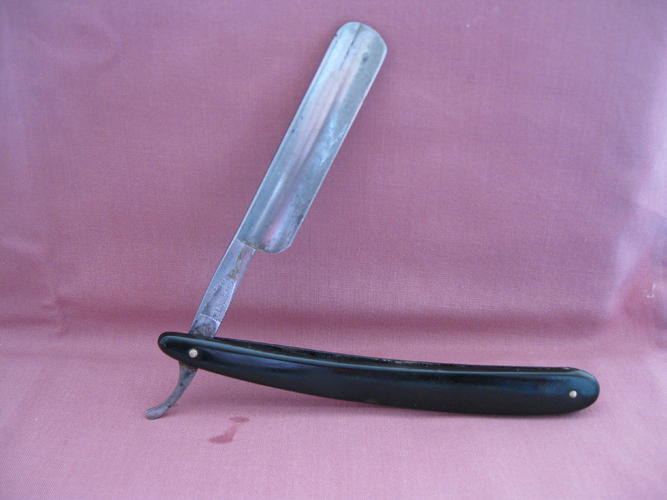
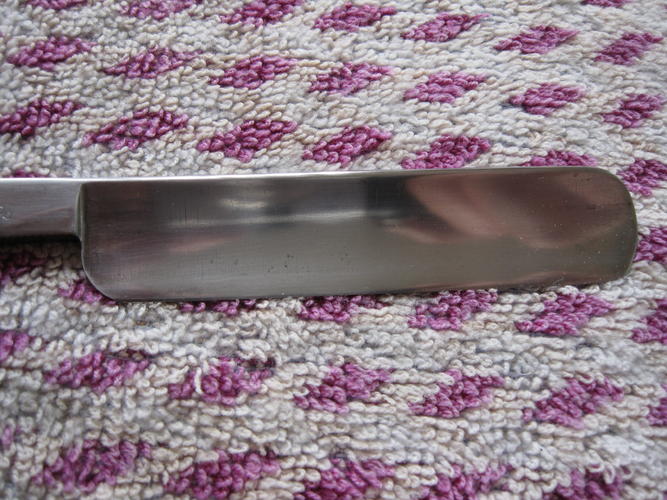
Just started doing my next restore, a Schumate 5/8 full hollow.
This one arrived with a set of black plastic scales in fairly good condition.
Bevel looked good with no nasty gremlins to be seen, just a small chip in the edge near the toe end
It would remove arm hair at skin level with a little pressure.
Pics below of how it arrived
 Leatherstockiings likes this.
-
10-30-2013, 03:40 AM #2Senior Member
- Join Date
- May 2011
- Location
- Ipswich, Australia
- Posts
- 481
Thanked: 64
As I took it apart I broke one of the scales because I was too rushed doing the job
Dumb mistake, pushing too hard when I should be going slow and steady
So a new set of scales will be made to go with the restored blade
Not going for a super shiny brand new look on this one, I want to try a satin finish if I can find the info on this.
I know its here somewhere, just need to find it
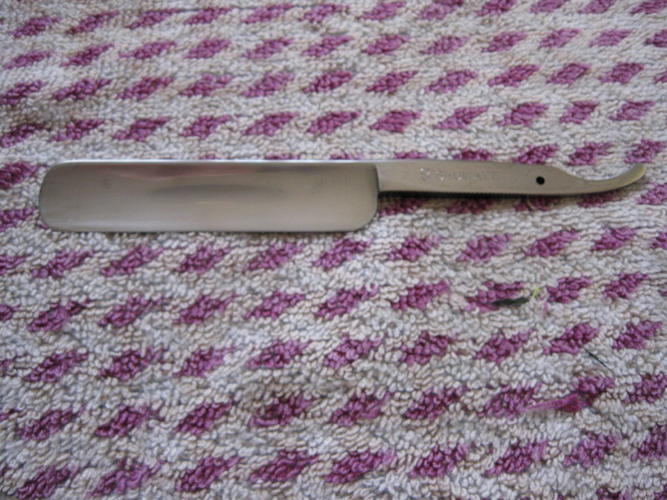
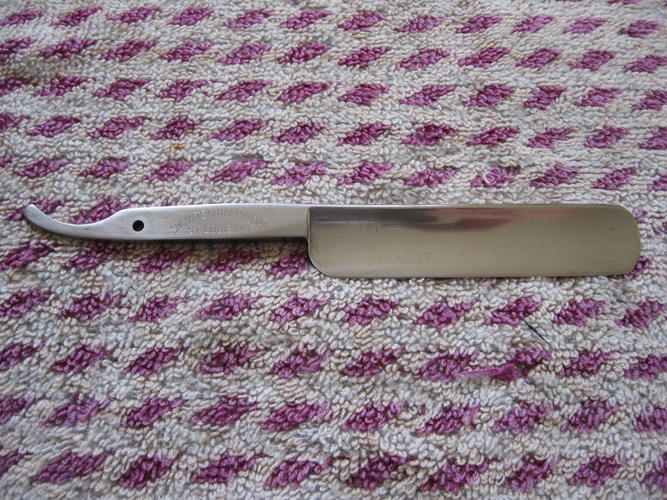
A couple of progress pics for those who like them
After 400 grit wet/dry

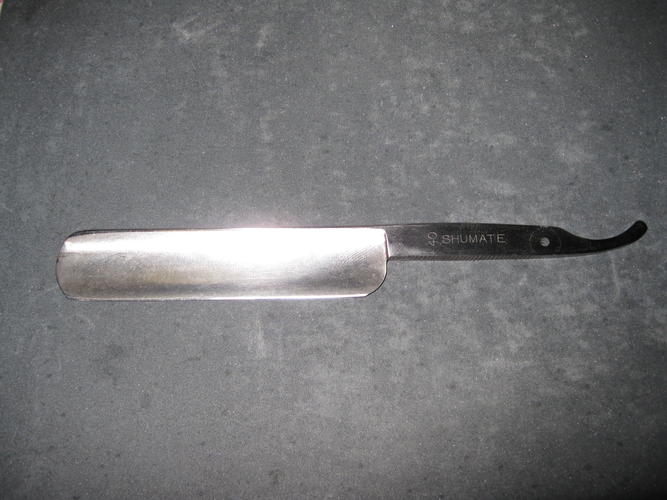
After 600 wet/dry
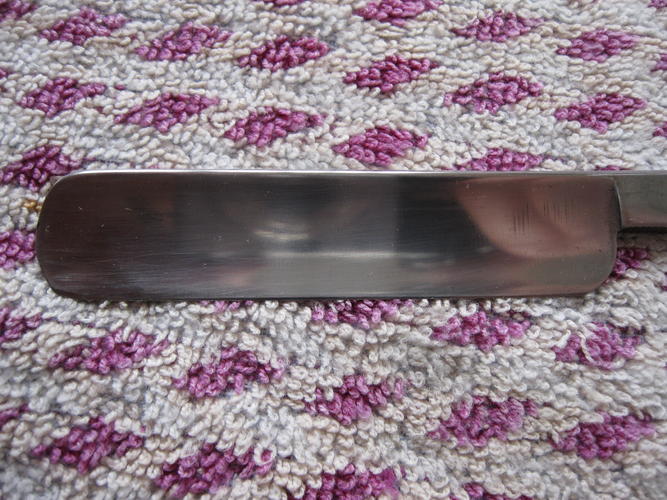
After 800 wet/dry
 pfries and Leatherstockiings like this.
-
11-01-2013, 12:45 AM #3Senior Member
- Join Date
- May 2011
- Location
- Ipswich, Australia
- Posts
- 481
Thanked: 64
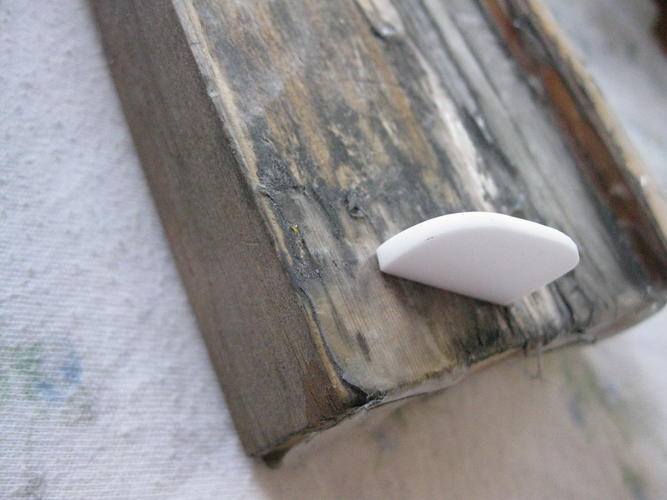
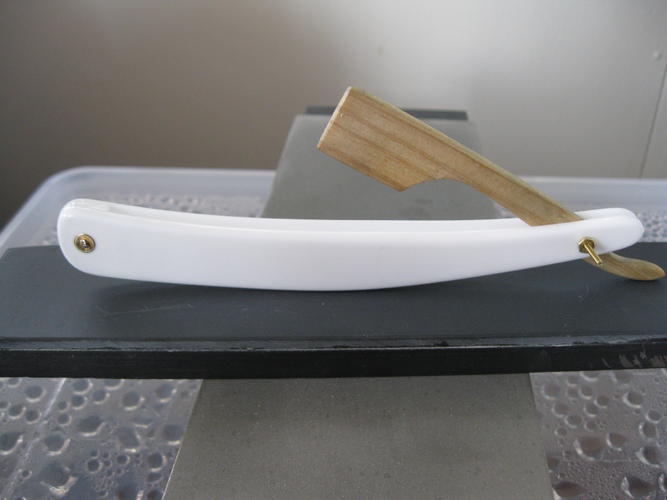
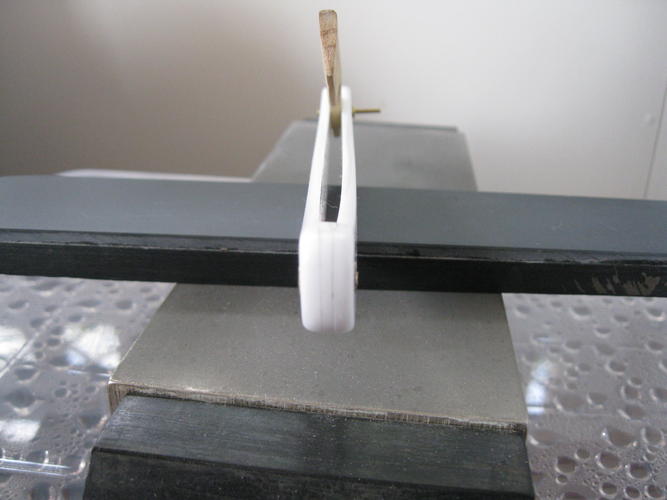
Decided to make the scales for this razor, nothing too elaborate
A set of white acrylic scales and matching wedge.
Then did the mock up fit, this part seems to be OK, pics below
Having trouble trying to get a satin finish on the razor
Tried using a scotch brite pad from SWMBO's kitchen supplies
So far just getting what appear to be deep scratches on the razor
Wondering whether some fine steel wool may be a better option
Attachment 145081
Attachment 145082Last edited by RickyBeeroun222; 11-01-2013 at 12:53 AM. Reason: add more info
Leatherstockiings likes this.
-
11-02-2013, 07:18 AM #4Senior Member
- Join Date
- May 2011
- Location
- Ipswich, Australia
- Posts
- 481
Thanked: 64
Finished result in Custom built & Restorations
Went without the Satin finish, maybe try again after some testing.rLast edited by RickyBeeroun222; 11-02-2013 at 11:46 AM. Reason: correction


 Reply With Quote