
Results 11 to 18 of 18
 16Likes
Thread: Dahlgren Ongoing Resurrection
 LinkBack URL
 About LinkBacks
-
12-12-2013, 01:52 AM #11the deepest roots


- Join Date
- Feb 2011
- Location
- Seattle
- Posts
- 1,221
Thanked: 169
I think the blade face looks fine... is it the picture or is the dahlgren etch getting burned?
-
12-12-2013, 07:02 AM #12Senior Member

- Join Date
- Dec 2012
- Location
- Perth, West Australia
- Posts
- 1,431
Thanked: 497
I would really like to see a pic of your workshop set-up

Greasless buffing compounds are something new to me,
and I'm seriously thinking of getting a few more buffing machines
to help the restoration process after hand-sanding.
Any advice / observations would be most welcome !!
Bongo.http://straightrazorplace.com/workshop/18504-welcome-workshop-how-do-i-where-do-i-what-do-i-answers-here.html
-
12-12-2013, 11:54 PM #13Senior Member

- Join Date
- Apr 2009
- Location
- Boulder County CO
- Posts
- 1,004
Thanked: 127
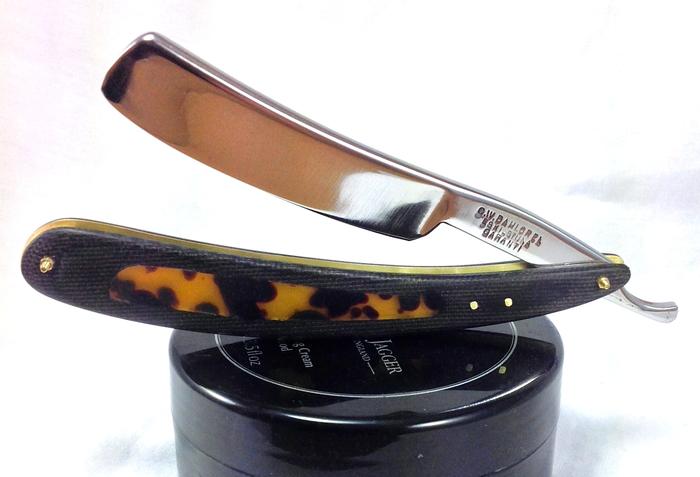
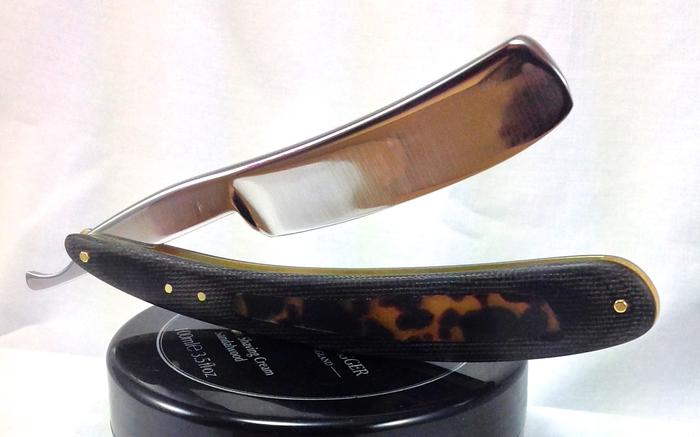
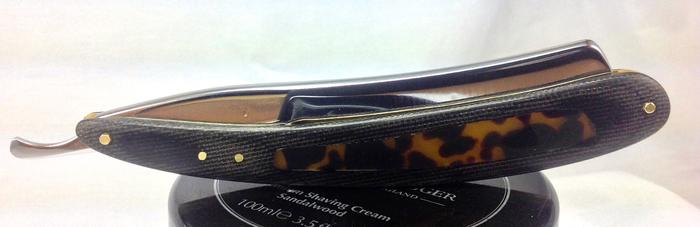
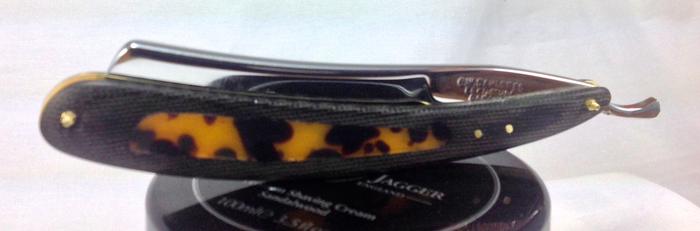
Finally got to this one for a few hours. Went back to 600 grit on the wheels and gave it a good going over a few times. Once it looked like the scratches from 400 were gone, I went to hand sanding since I don't have any greaseless above 600 grit - does anyone know of 800 greaseless? Hand sanded dry at 800 until the marks from 600 were gone as well (no reason for dry sanding other than it's a bit chilly in the shop so I wanted to keep my hands dry). Then 1K, 2K, and 3K - all dry sanding. I started to use micro mesh but after the first pad (3200 I think) it just didn't look like it was of much help. Went back to the wheels, started with black (emery), white (diamond), green (stainless), and then red (rouge). Wiped it down well with a clean cloth between the colors and decided it looked good.
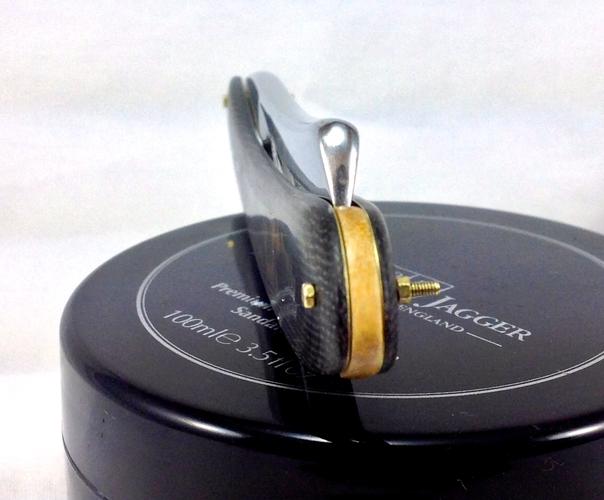
After I finished all that I remembered the scales I'd been working on that I test fitted and put Inga into them again. Still a good fit! So here we are - Inga may be ready to go for scales but she still needs the bevel set and honing.
Take a look please and let me know if it appears this is good to go. Unlike last attempt, the photos don't show much in the way of glaringly obvious (or deep) scratches remaining. Some small amount still exist, but it takes some turning to catch the light "just so" before you can see them - and they're just shallow scratches. The only question I still have now is do I leave it shiny or take this down some to a satin finish. This is pinned up temporarily using micro fasteners until I decide to leave the blade as is or drop it back down to a stain finish.
 Lemur likes this.
-
12-12-2013, 11:59 PM #14Senior Member
- Join Date
- Apr 2009
- Location
- Boulder County CO
- Posts
- 1,004
Thanked: 127
TwistedOak that's just the photo and maybe a bit of rouge in the letters. I keep my fingers on the blade while buff in and grinding so I feel any heat long before any damage can happen to the blade. Just finished a second go at it and I think the gunk that was in the etching is out of it now. I'm finding that greaseless doesn't get into etching but once I go to the colors, sometimes black collects in depressions and the red rouge definitely gets into everything until it's wiped out. Looking that this last set of pics I think some rouge might still be in the lettering though.
Bongo it's dark now but I'll try to remember to get some pics tomorrow. Gonna be embarrassing because it's a complete mess. I really need to reorganize it but haven't had a chance so there's stuff everywhere. It's certainly not as spacious or well organized as Glen's though!Last edited by AirColorado; 12-13-2013 at 02:48 PM.
-
12-16-2013, 03:35 PM #15Senior Member
- Join Date
- Apr 2009
- Location
- Boulder County CO
- Posts
- 1,004
Thanked: 127
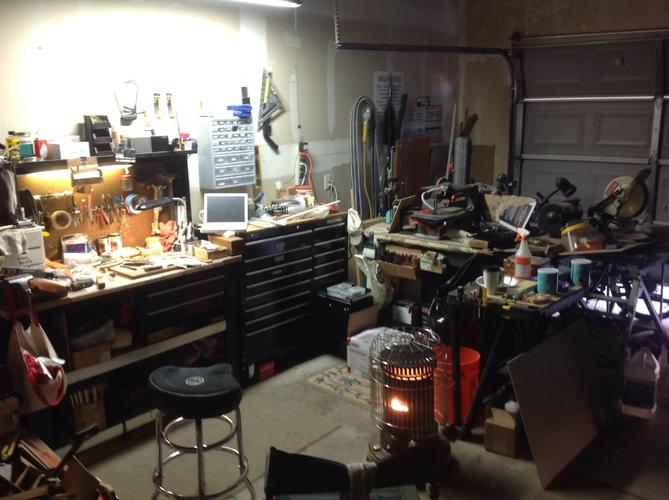
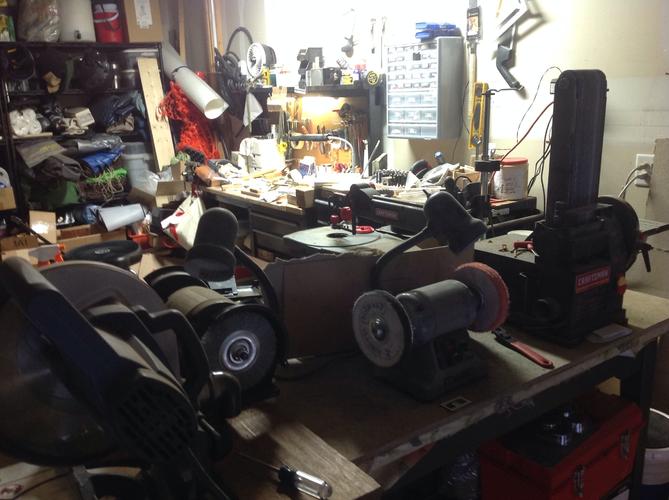
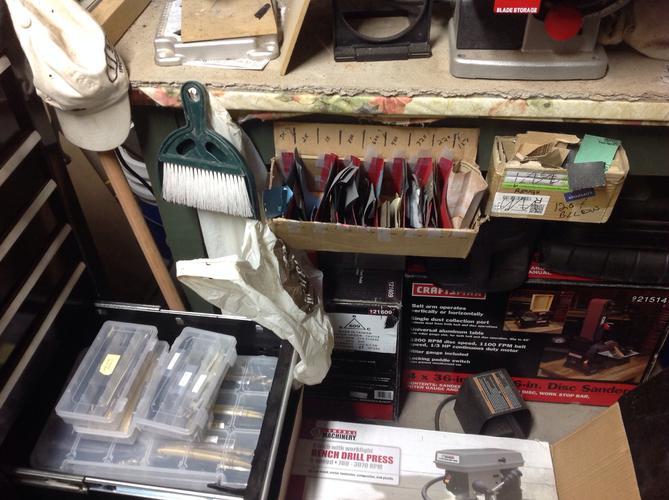
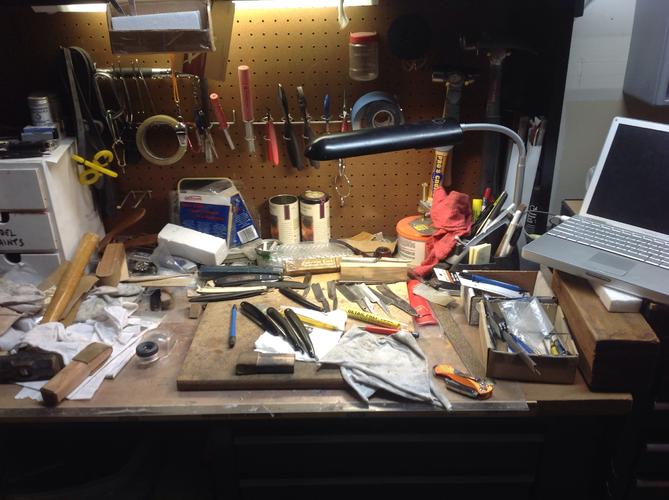
Okay Bongo, here's my shop. Pretty messy right now. On the table opposite the scrollsaw are my buffers (in another photo). There's a pic showing my wet/dry papers. Got tired of searching through piles of paper so I made up a little holder where grits are segregated. That's just for bits I've used once. The full unused sheets are in a file box under the bench.
In the lower right drawer of the tool cabinet are a few hundred blades. They're all in those plastic holders sorted by type. Seems there is an inordinate number of Geaves and W&Bs in there that I need to give some attention to.
You may be able to see two buffers but one has a saw blocking it normally. I have to move the saw to get to the second one. I really have to organize.
-
The Following User Says Thank You to AirColorado For This Useful Post:
bongo (12-16-2013)
-
12-16-2013, 04:15 PM #16Senior Member
- Join Date
- Dec 2012
- Location
- Perth, West Australia
- Posts
- 1,431
Thanked: 497
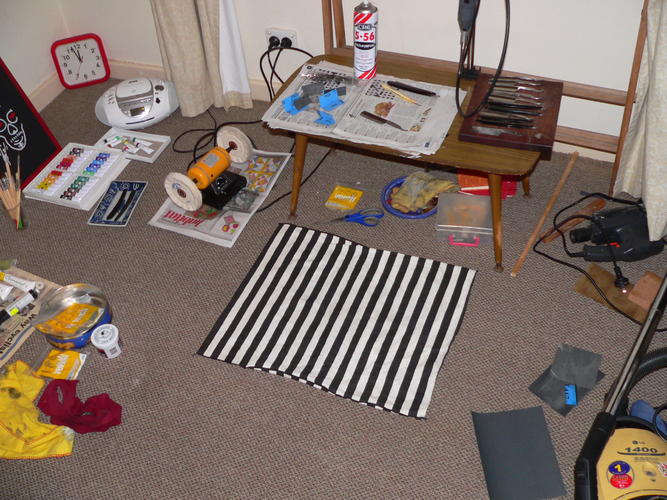
Mike, that looks very primitive compared to my hi-tech workshop !!
Note my ultra-super cushion cover, and my super-duper carpet and the
state of the art work bench
Seriously though, that's a great workshop and I can only dream of having
a place like that to work in....
Now, some more info on greaseless compounds that you work with, please !!
Bongo.
 http://straightrazorplace.com/workshop/18504-welcome-workshop-how-do-i-where-do-i-what-do-i-answers-here.html
-
12-16-2013, 04:40 PM #17Senior Member
- Join Date
- Apr 2009
- Location
- Boulder County CO
- Posts
- 1,004
Thanked: 127
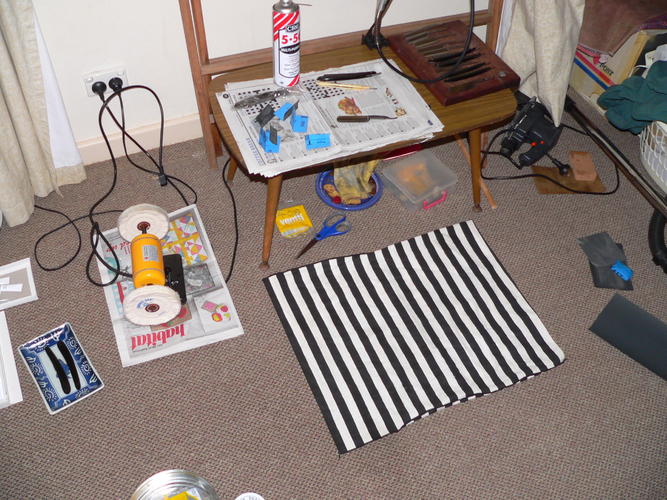
Thanks for the pics Bongo. You know, that cushion cover will be the envy of many here! :-) But, I can picture how one might sit/kneel to access that buffer - you may want to find a way to put it up on something higher - or wear a cup while buffing! Otherwise what the hell - if it works it's good!
This setup of mine is okay but far from ideal. Certainly not on par with Maximillian or Glen's. For a few years my work area for blades was on a single table in my basement, but it got unmanageable at some point. Once my wife ventured into the area she made noise about moving it all into the garage or building an unattached shop. Being basically lazy I chose the garage - of course she wouldn't give up her Volvo's half of the garage so I'm squeezed into what you see. It works but is cramped. Maybe this spring I'll get a concrete pad poured and build a proper shop. We'll see.
-
The Following User Says Thank You to AirColorado For This Useful Post:
bongo (12-16-2013)
-
12-17-2013, 12:21 AM #18Senior Member
- Join Date
- Apr 2009
- Location
- Boulder County CO
- Posts
- 1,004
Thanked: 127
Are you sure? I have to warn you that you'll absolutely trash that room! I mean greaseless compound skid marks on the ceiling, walls, and carpet. And they will be dark and thick and the consistency of hard plastic! Even with a box surrounding the buffer that stuff still manages to get out. I usually apply the stuff with the garage door partly open and use a cardboard setup to catch most of it, but I still managed to get skid marks up on the partly opened garage door. If you don't mind, let me know and I'll send you some links - but I want pictures! I mean good detailed photos of the damage! Originally Posted by bongo


-
The Following User Says Thank You to AirColorado For This Useful Post:
bongo (12-17-2013)


 Reply With Quote