Thank you for the edge view! That is a totally different material than the few vintage Illinois strops that I owned. I appreciate the clarification!Quote:
Originally Posted by sharptonn
~Geezer
Printable View
Thank you for the edge view! That is a totally different material than the few vintage Illinois strops that I owned. I appreciate the clarification!Quote:
Originally Posted by sharptonn
~Geezer
TBH, it looks like if the thin fabric wears-down, you will be stropping on that latex or plastic stuff in the middle?
Here's a bit of fun from over the last week. A combination of newly acquired sanding skills, and also my first stab at fabricating scales.
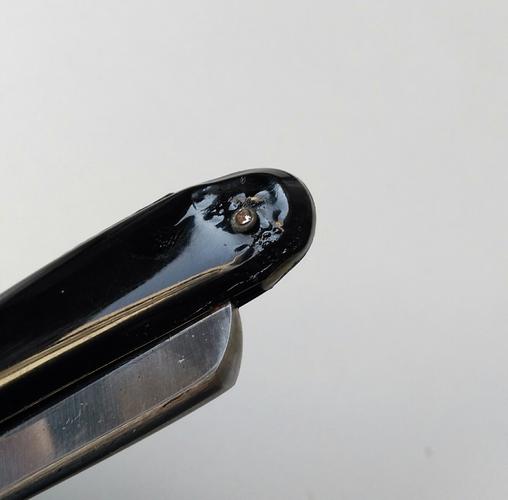
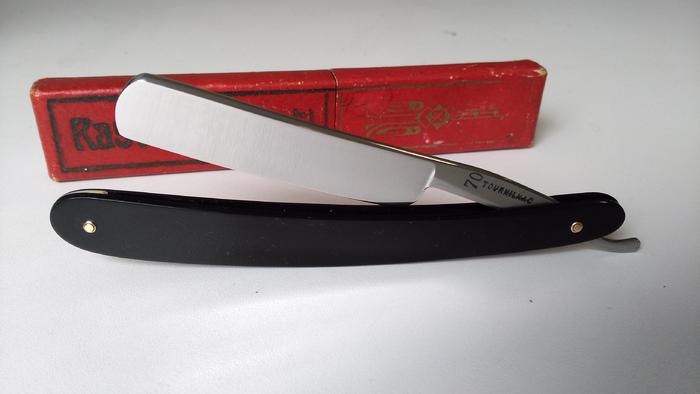
This is the problem, a nice razor, but degraded celluloid starting in the wedge, leading to some rust on the toe:
Attachment 310828Attachment 310829
The razor seemed to be in nice condition apart from the *tiny* bit of rust on the toe, and all it needed was some new scales.
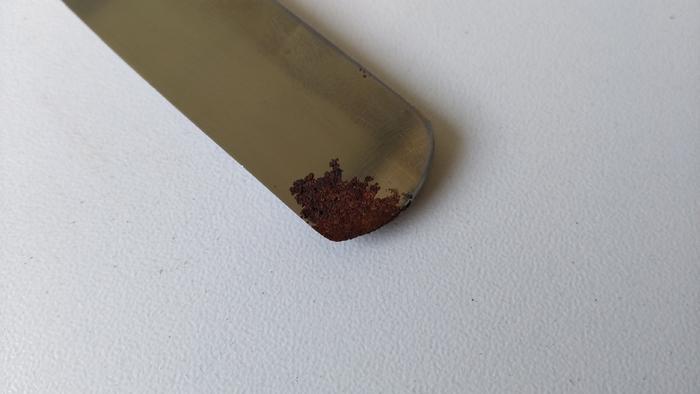
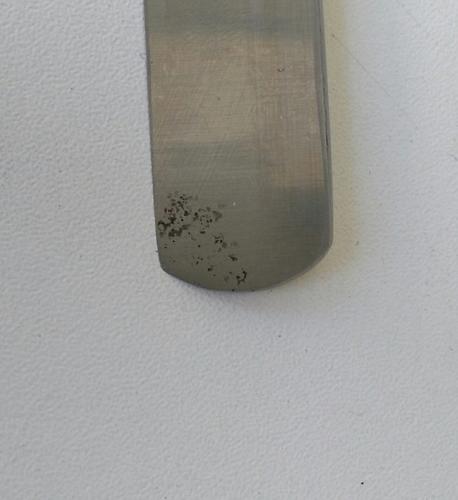
This is the pitting after an exploratory sand:
Attachment 310830Attachment 310831
Of course, I now realise that if you are gong to sand any part of a blade, you need to sand all of it...
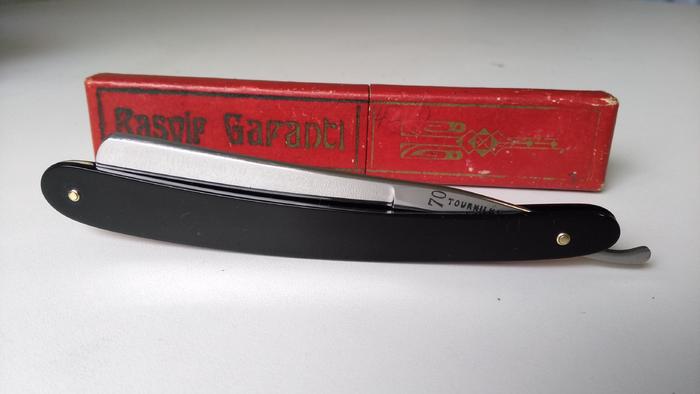
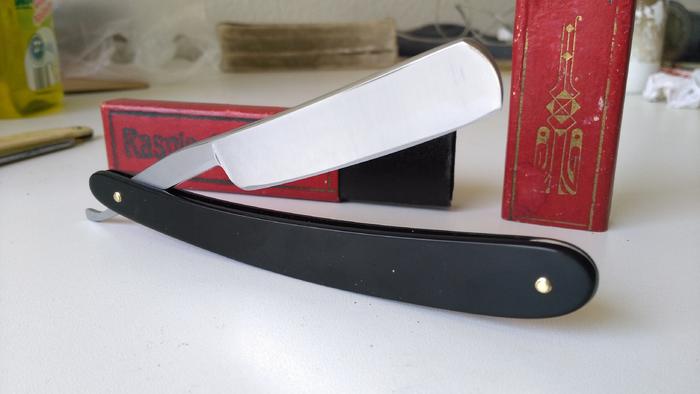
I followed Euclid's suggestion, and chopped up a plastic clipboard for scales. The look is good but the plastic is soft and scratches easily, although this is not a big deal. The wedge was recycled from another razor, I managed to re-use the original collars, and I also used some recycled wear washers which were not originally present. Here is the result:
Attachment 310832Attachment 310833
A few slight mishaps, I think I lost a little of the width of the blade during sanding, maybe 0.3-0.5mm in total - I kept having to take the sharp edge off to keep it safe, but no sooner had I done that, it was sharp again, and eventually I had lost more off the toe and had to even the whole blade out. Also, the hole at the wedge end wandered off centre and needed some restoration with superglue, and I cut one of the pins slightly too long, so halfway through peening I decided to file it down, and needles to say gouged a chunk out of the scales with the file. I'm not too bothered, it mostly polished out and it is hardly visible. Lastly, the wedge kind of turned after pinning so is in fact asymetrical, with the upper edge longer. But, all in all, I'm pleased, and most of the know-how came from this forum. Many thanks!
Outstanding job! :tu
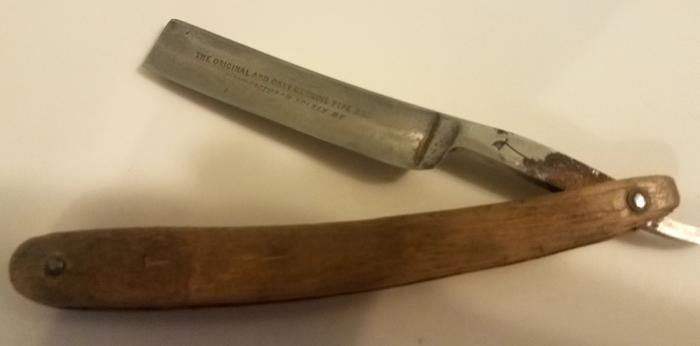
Started my staycation today, so I might have time to finally clean up this Wostenholm Pipe razor. Think I might clean up and reuse the wood scales.
Attachment 310841
Very nice Monty. That looks really nice...like it was born that way. Scales work really well for that blade.
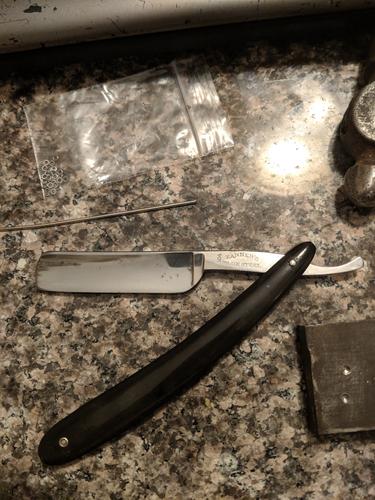
I just finished this Kannre's Blue Steel up after about an hour of light sanding and buffing.
Attachment 310846
Attachment 310847
Not really a very collectable one but the blade has a bell like ring. Looking forward to honing this one up and shaving with it.
Thanks!Quote:
Originally Posted by sharptonn
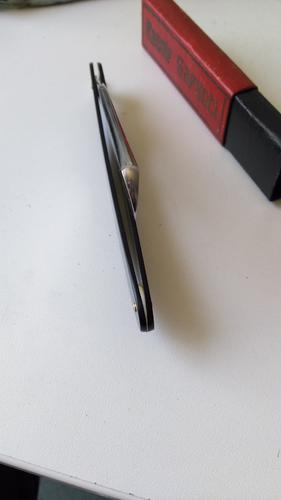
Thanks. The idea was to replace the scales are as close a copy of the originals as I could manage. However, I put a bevel on it last night, and it is huge and wavy, doesn't look quite so good any more:Quote:
Originally Posted by PaulFLUS
Attachment 310851
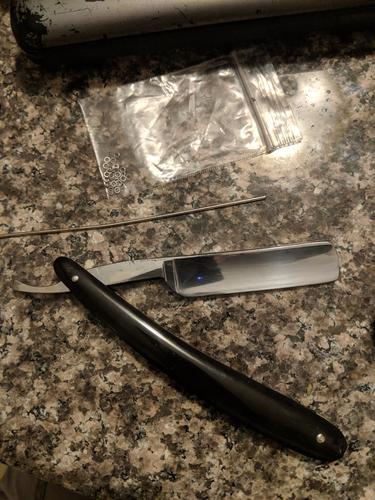
I guess a heavy grind will always have a larger bevel, and perhaps the sanding wasn't as even as would have been ideal. This one is a heavier grind than you might think:
Attachment 310852
The Blue Steel looks good, always nice when you can uncover the hidden gem in an hour!
Don't worry too much about the way the bevel looks so long as it shaves well.
Bob
Sanding blades can be tricky. Sanding and staying off the bevel/spine is learned over time.
When you do heavy sanding, if you do a preliminary bevel set to see how straight it is, you then get a chance to straighten it. Basically the wave is uneven thickness in the steel at the top of the bevel. It is however all about aesthetics and it is a lot of time to put in for that one detail. Fairly long sanding blocks have helped me to keep my sanding even.
Keep up the good work gentlemen.