If you keep the speed low and be mindful of the direction of turn, and pay close attention, a Dremel can be very useful. They do make scotchbrite wheels for these. I imagine they are not a big spend either.
Printable View
If you keep the speed low and be mindful of the direction of turn, and pay close attention, a Dremel can be very useful. They do make scotchbrite wheels for these. I imagine they are not a big spend either.
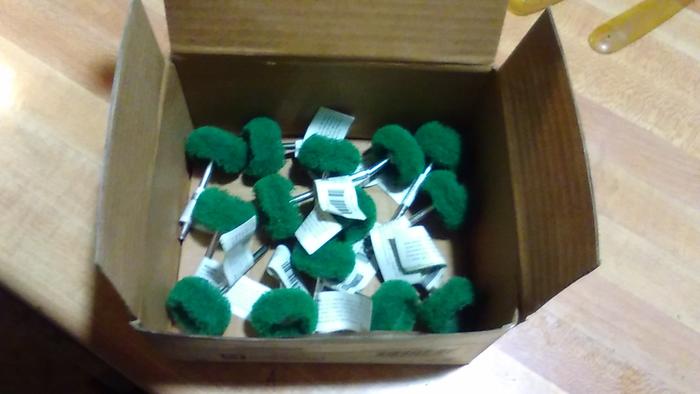
These are what I bought. They work well as long as you are careful about pressure, speed and direction of rotation. I use the hand held flex shaft attachment - it gives greater control.Quote:
Originally Posted by ppetresen
https://www.amazon.ca/Yasumai-Abrasi...s%2C245&sr=8-2
I like the green ones.
Attachment 316105
I get mine off a guy at our local flea market, during the summer. 36 in a box, and a lot cheaper than the ones dremmel sells.
I found that with the dremmel, using a circular motion, leaves the best finish. I typically tape the blade with scotch tape, and remove the tape from the areas I want to finish.
Those abrasive puffs are great. Seems like they wear pretty quickly though. Mine may have worn faster since they were a generic brand from eBay.
I asked Charlie Lewis about them and he said he uses them under other belts to impart a 'cushion' at times for different effects/uses.
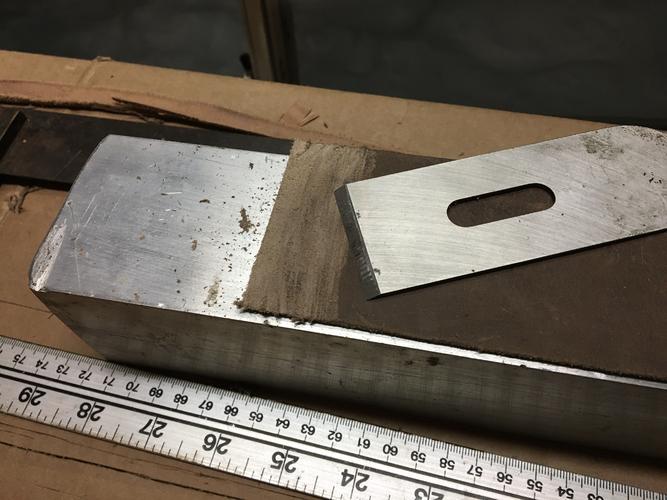
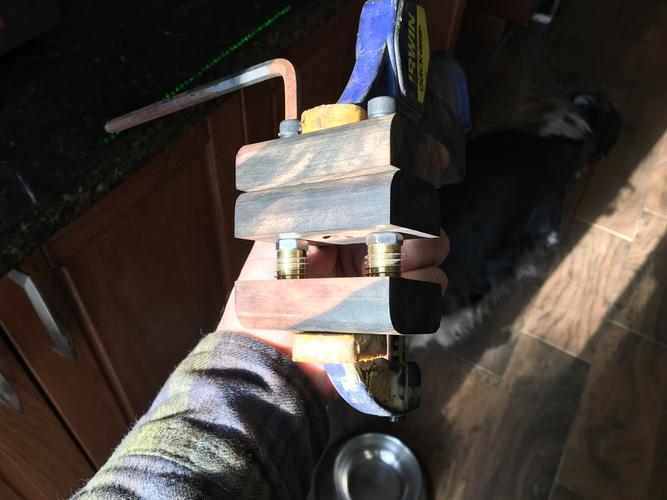
Little leather shaving and bonding.
Attachment 316126
Attachment 316127
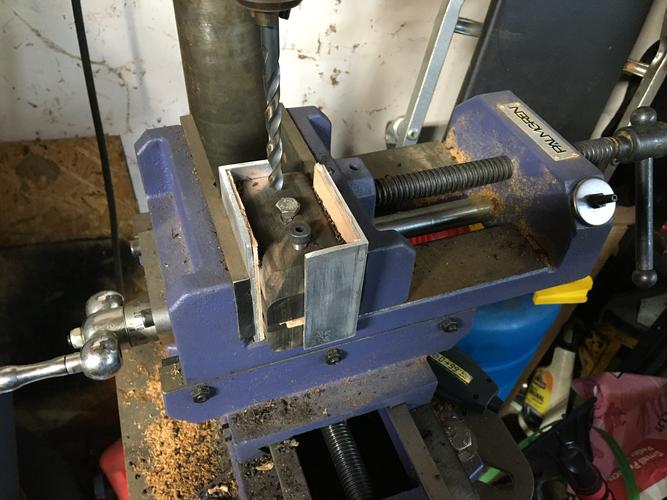
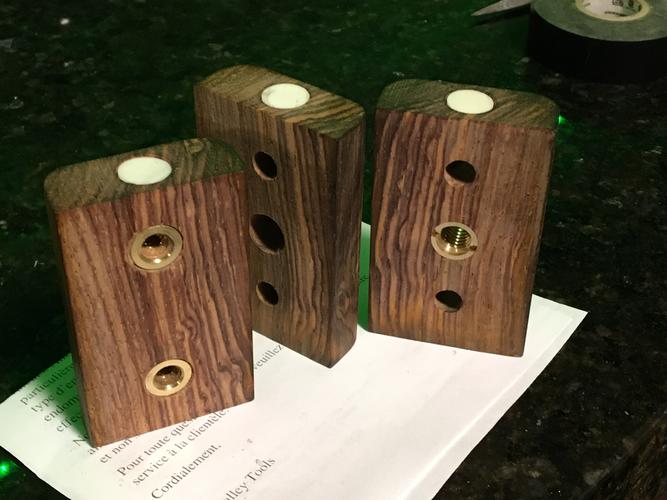
As well as jigging up the shaft bores,
Attachment 316128
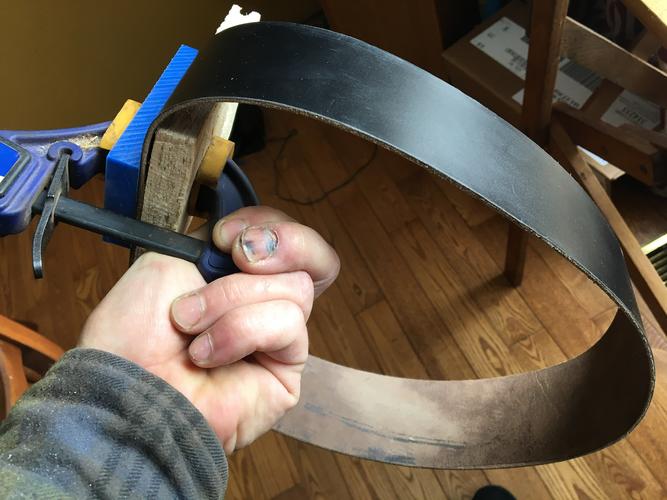
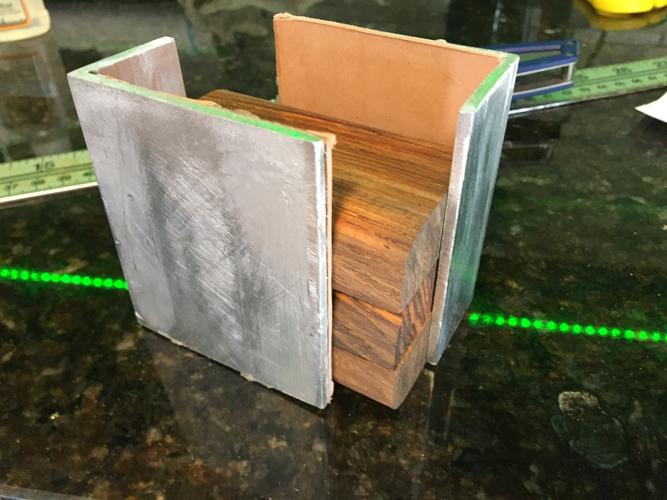
Used some square tube 2 1/2 aluminum for my leather cut guide as well as a piece ripped and modded to hold the stacks in the vice through the various hole sizes.
Attachment 316129
Trying to keep everything true and parallel throughout.
Cheers gents.
:tu
Problem I have had with them is if there is any pit at all, it will become much larger upon any pressure at all.Quote:
Originally Posted by DZEC
Light and fast and done?
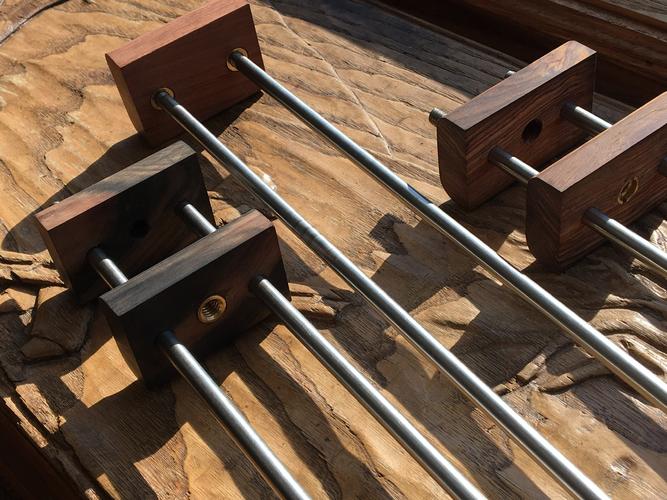
Starting to take shape.
Couldnt come up with a better way to align things at this step,
Attachment 316151
But it worked, pretty or not.
Attachment 316152
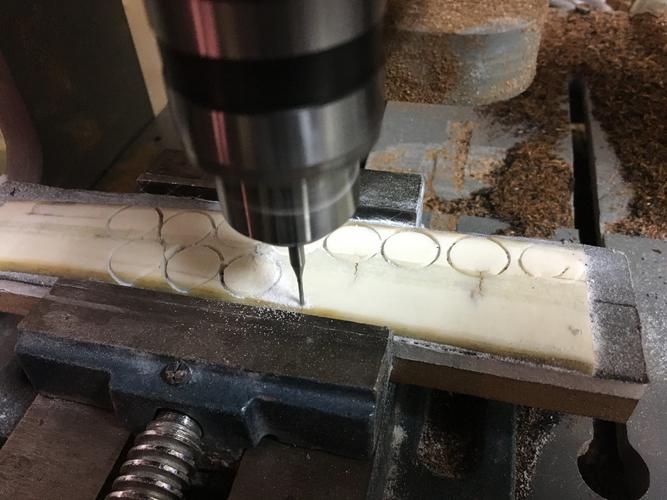
Then mill down some mammoth ivory for bling.
Attachment 316153
Attachment 316154
Now to work on the handle(s).
:beer1:
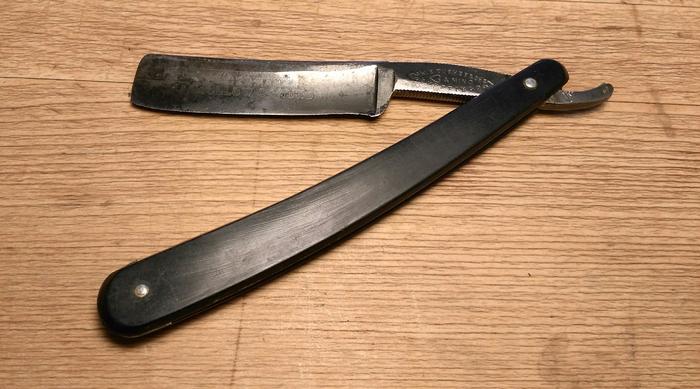
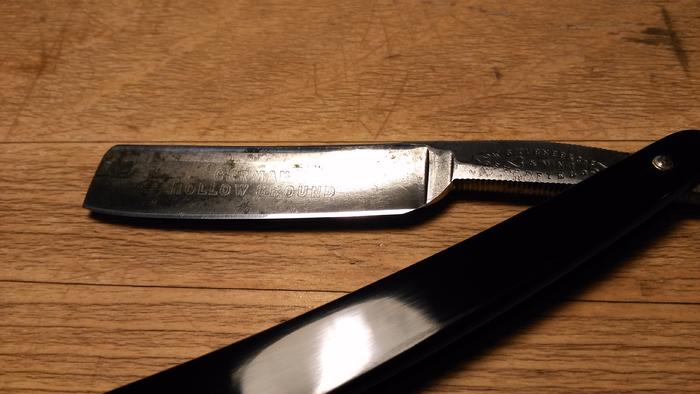
Thought I'd share the latest work and ask for feedback. This is a WS Turner & Co 'Heart & Mind' razor, belonging to my cousin, who bought it for £4 at a boot sale.
Here it is as I got it:
Attachment 316169
And here are the issues:
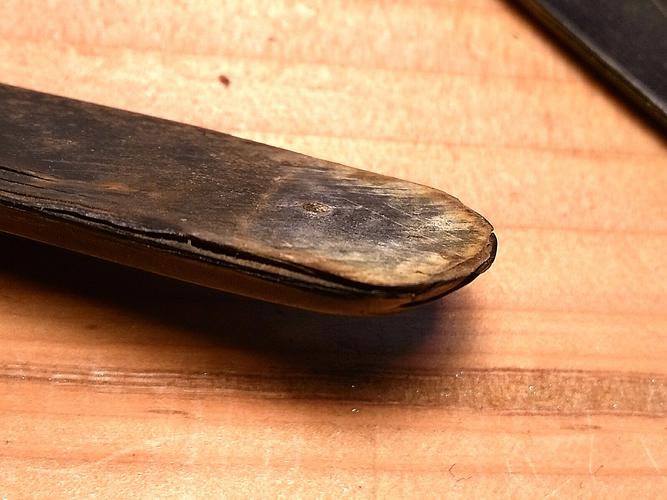
First, damage to the horn scales, cracks and some missing from pivot end of one scale.
Attachment 316170Attachment 316171
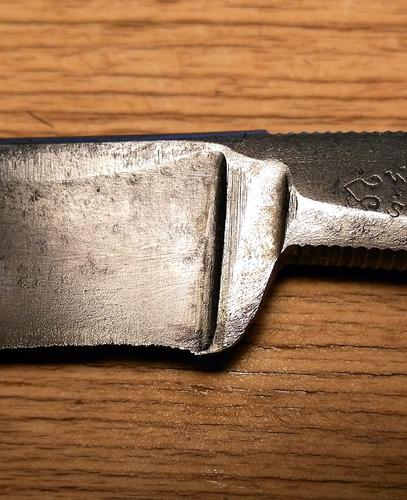
Next, big heel hook.
Attachment 316172
Finally, blade not centering and edge catching on the scales.
Attachment 316173
Observations at this stage were that firstly the damage to the scale seemed to be far enough from the pivot to mean that the void could be filled without strengthening, and secondly that the blade has seen some sort of re-grind, and over the years has acquired a hard dark grey patina.
So, the plan was, dismantle, restore and straighten the scales, re-shape the blade, re-assemble and hone. Because of the re-grind, because the blade has seen wear, and because the patina is actually pretty cool, I decided not to re-finish the blade in any way, I could imagine spending a long time and it just looking a mess. I think this approach is in keeping with it being a humble old razor.
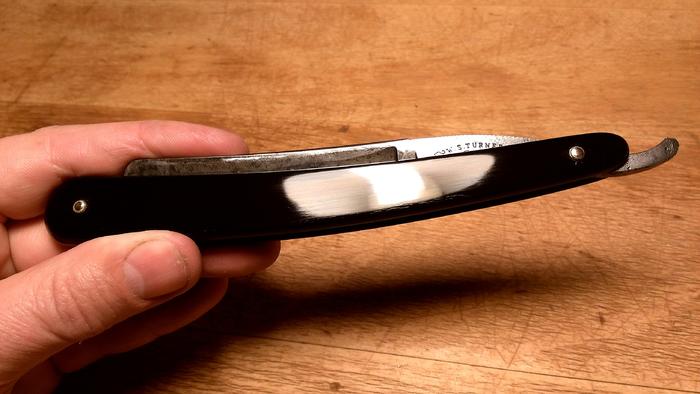
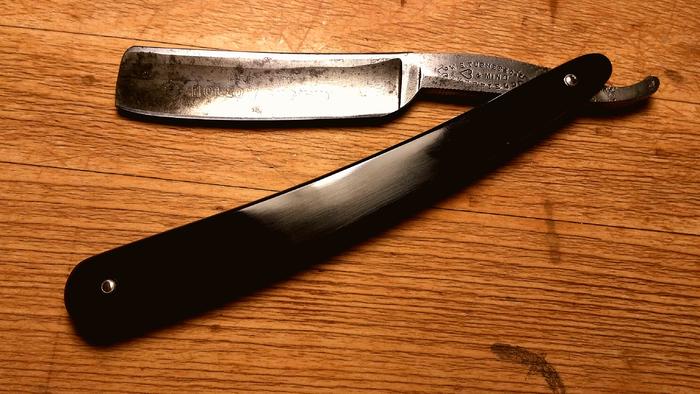
Here are the results:
Scales responded well to ironing, gluing, sanding, polishing and soaking in oil. The blade was originally pinned with double collars, and I managed to salvage all eight, so it was re-pinned with the original collars.
Attachment 316174Attachment 316175
I filled the missing section in the scale with filled epoxy, and then coated with CA so it would take a nice finish. Unfortunately, I wiped the epoxy with alcohol before coating with CA, which left a white bloom. I thought it would disappear with the CA on it, but it didn't. I could have pulled it all off and started again, but I think that I could have ended up over-working it, lesson learned, and in a way it is nice that you can see the restoration.
Attachment 316176
Centering the blade in the scales was tricky. The face side of the razor is very straight, so it was tricky to avoid the face scale binding on the tang. After trying all sorts of things, including offsetting the pin holes at the pivot to put a set in the scales, and trying different thickness of wear washer on each side, I decided to try a thicker wedge to put a touch more curve in the scales. The new wedge is bone, replacing the original pewter wedge, and the new one is about 1.5 the thickness of the original at the thick end, and slightly thinner at the thin end. On top of this, I put an extra 0.2mm wear washer on one side. I know this is controversial, and for a more delicate razor I might not have done this, but it works, and without it the tang was binding on the face scale.
Attachment 316177
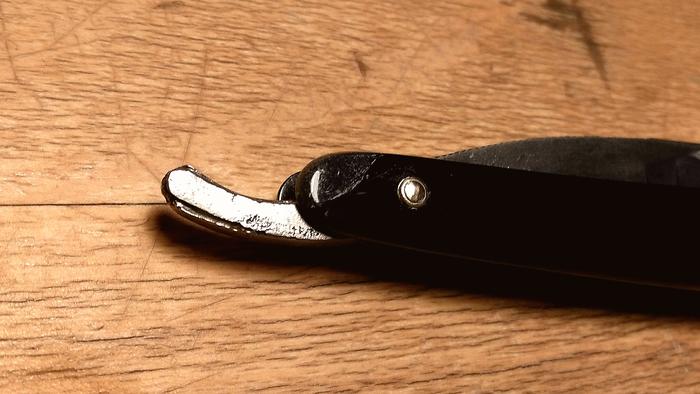
Last thing was removing the heel hook, something which I'm not very confident with, I always feel I'm feeling around in the dark. But I'm happy this time, the blade honed fine with nothing getting in the way, and I think the profile is ok. Luckily, the blade took a nice even bevel, and I honed it untaped after setting the bevel. Bevel angle is around 17.5º.
Attachment 316178
So, many thanks to the board, just about every technique was learned here, I am happy with this as a first attempt on a razor of this age. Horn is a really nice material to work with. I'm happy with the way it looks, and it also feels really good in the hand, so hopefully my cousin will enjoy shaving with it.
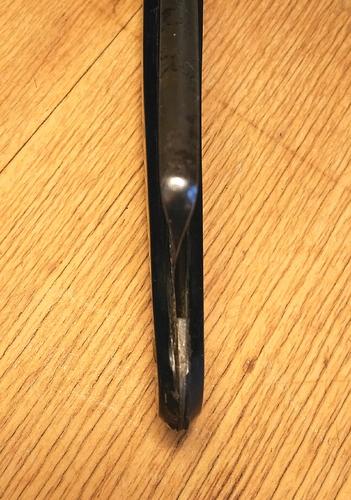
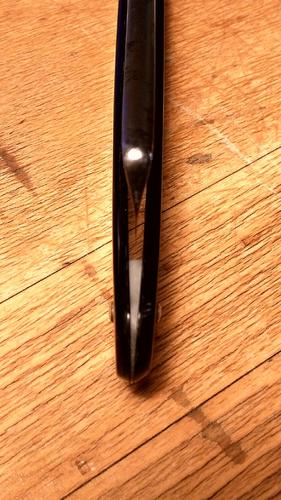
Finally a question, looking at the tail, the marks in the steel look like casting marks, is this a cast blade?
Looks waaaaaay better. That heel hook was crazy stuff. I’m betting your cousin won’t recognize it. Good work.