I love your razor drawer, Alan-color me envious!
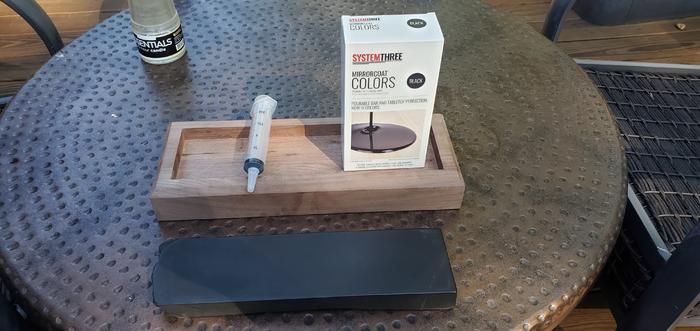
So I'm going to mount that 14" long Dan's primitive black Arkansas in a walnut stand. My wife thinks I'm crazy-she is right. Anyway, after getting a nice piece of walnut from Ebay, I got a local woodworker friend to rout the channel for the hone and radius the sides. I intentionally got a piece about 7" longer than I needed for some matching scale blanks and brush handles for matching sets (a later project). Based on his advice, I got some MirrorCoat black epoxy to set it in permanently.
Attachment 320224
Though I have used small amounts of 2-part epoxy for years on wedges and what-not, I have never done an epoxy "pour" before. I know I've got one chance to get this right, so I've read up, watched some YouTube videos, etc.
So the plan is to test-fit, level, and glue in wooden shims 1st before starting the pour, then mask it off with tape around the opening. To lessen bubbles: warm up epoxy as well as all tools and materials, wooden base and hone. Stir, mix very slowly and gently. Once epoxy is mixed, pour about 1/3 full and gently place/position hone in it, then level, and use a syringe to inject the rest around the perimeter and under the lip. Fill to level with just a hint of meniscus depending on viscosity. Cover with plastic bin until tack free and hard.
My woodworker friend suggested that I do the pour in 2 batches to avoid over-heating. Any experienced epoxy pourers want to weigh-in here? TIA for your thoughts.
Oh, and when it's done, it's getting a hand-rubbed TruOil finish, rubber pads on the bottom, and a spot on the coffee table where I can hone while watching tv!
