
Results 31 to 40 of 42
 7Likes
Thread: Should I work on this TR Cadman?
 LinkBack URL
 About LinkBacks
Threaded View
-
01-29-2014, 11:20 AM #1Senior Member


- Join Date
- Jan 2014
- Location
- New South Wales
- Posts
- 154
Thanked: 22 Should I work on this TR Cadman?
Hi Guys
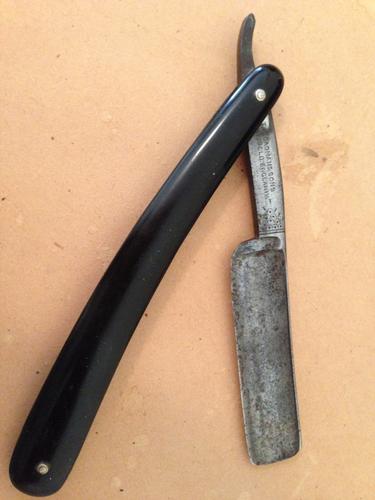
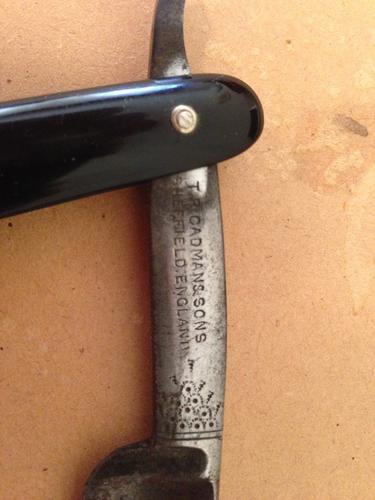
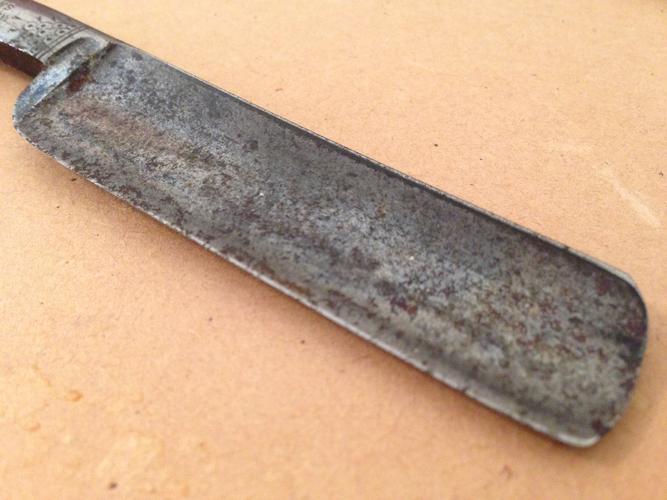
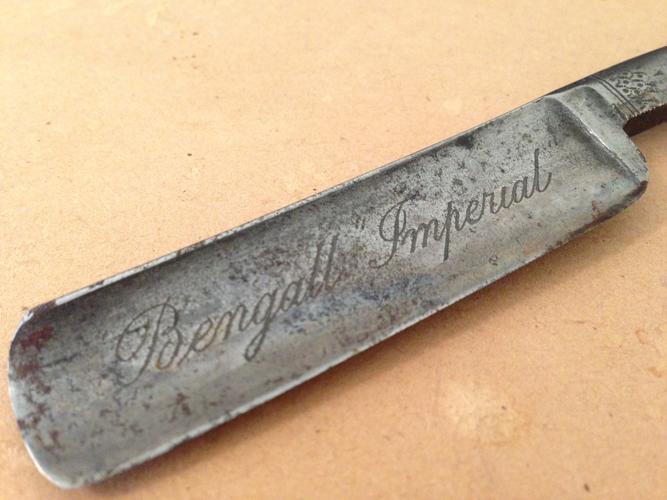
An old friend of mine showed me his fathers TR Cadman & Sons razor. He has only ever used it to remove registration stickers from his car window (cringe). The blade has a bit of sticky junk on it so it looks worse than it is, that said it's not in great condition! The scales and pins are fine.
Should I work on restoring the blade? Or is it too far gone and I am just polishing a turd? (I actually want to use it if I work on it)


 Reply With Quote