
Results 1 to 10 of 67
 139Likes
Thread: Matching up scale halves
 LinkBack URL
 About LinkBacks
Hybrid View
-
06-02-2014, 11:37 PM #1Razor Vulture


- Join Date
- Oct 2010
- Location
- Lone Star State
- Posts
- 26,208
Thanked: 8626 Matching up scale halves
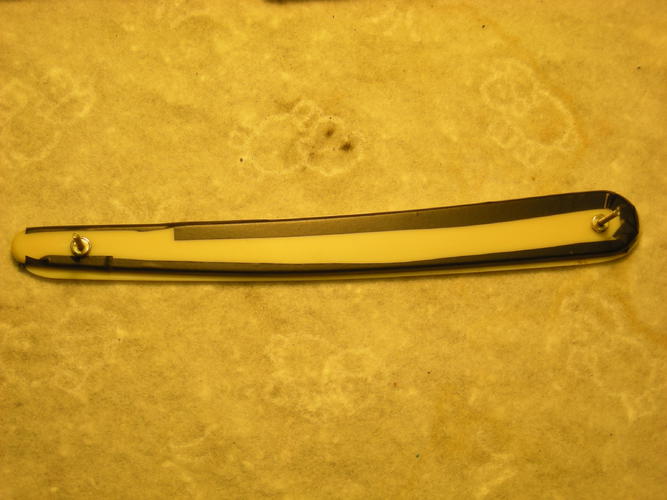
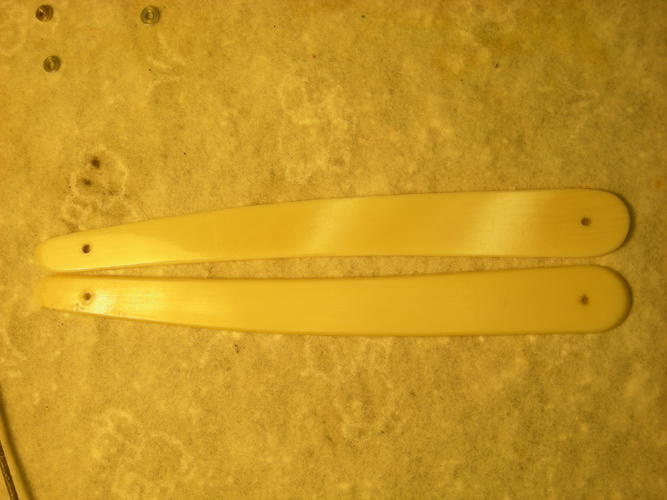
A decent old pair of ivory-scaled Sheffields, one with a cracked scale which needs replacement
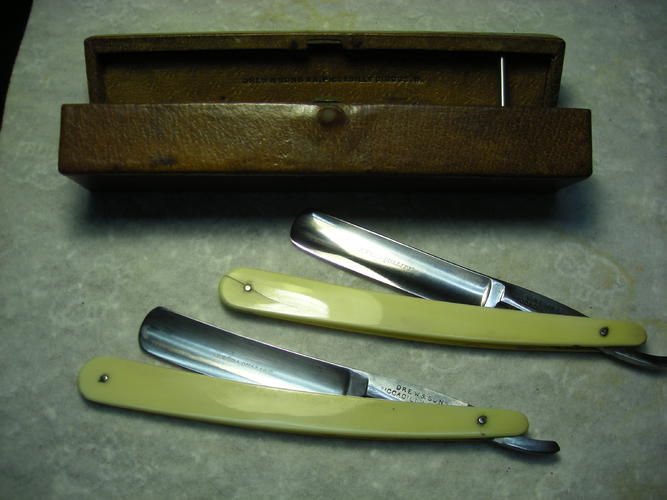
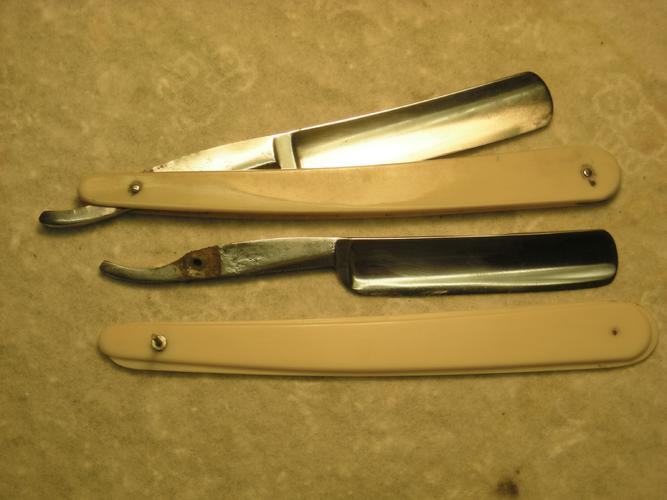
After disassembly of the damaged razor, a hard look thru the parts bin produces the only viable candidate. I needed something larger, not smaller, so as to match the 3 remaining scale halves.
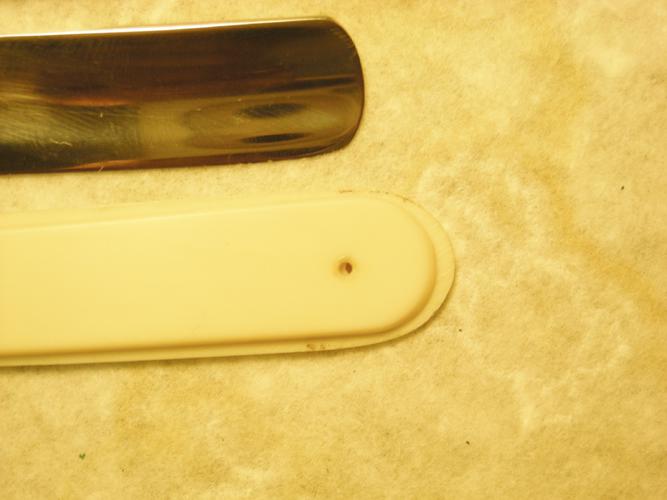
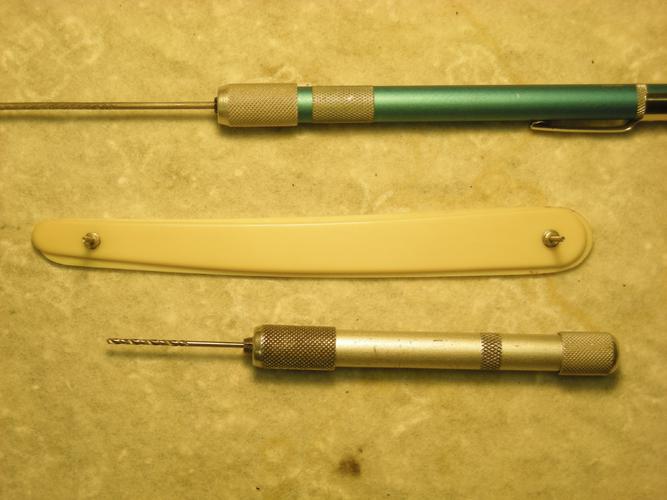
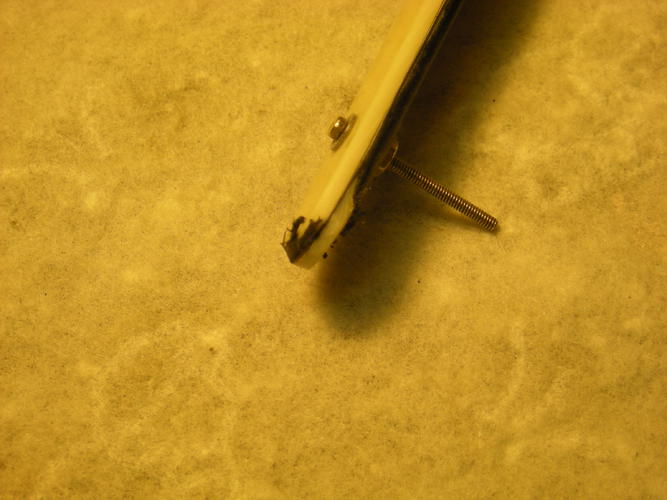
Finding a donor with the exact pin hole spacing is a dream. As you can see, they were off by about a half-hole. Best it was going to get!
A small, pointed jeweler's file slightly slotted all 4 holes in the right directions until the holes aligned.
Back apart, the parts to be sanded down to were taped. most on the original scale, the tip of the replacement scale. Then, bolted back together.
Using a Dremel fine drum sander, Low speed sanding smoothly as possible till the tape was hit evenly everywhere. I do this with a fan blowing across the work, taking the stinky dust away!
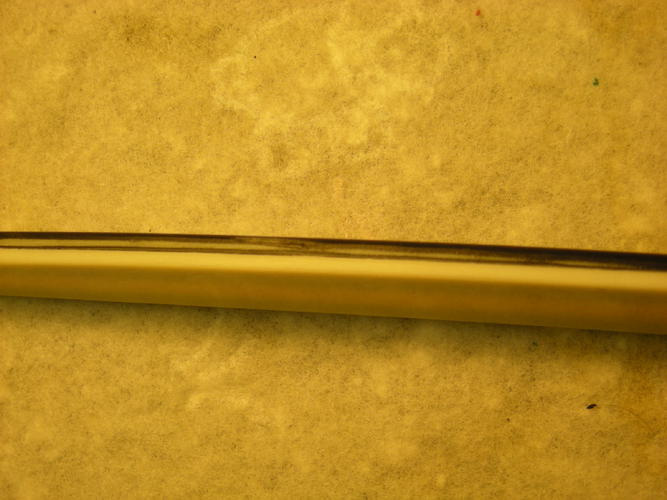
Unbolted the halves again, removed tape. Looking pretty decent!
Bolted back together. Here is where the hand sanding, matching contours, polishing, more contour sanding comes in!
After doing my best, unbolted, smoothed a bit and polished!
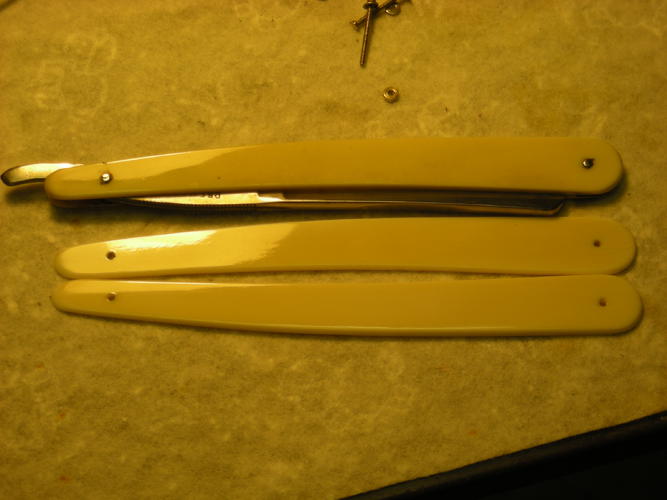
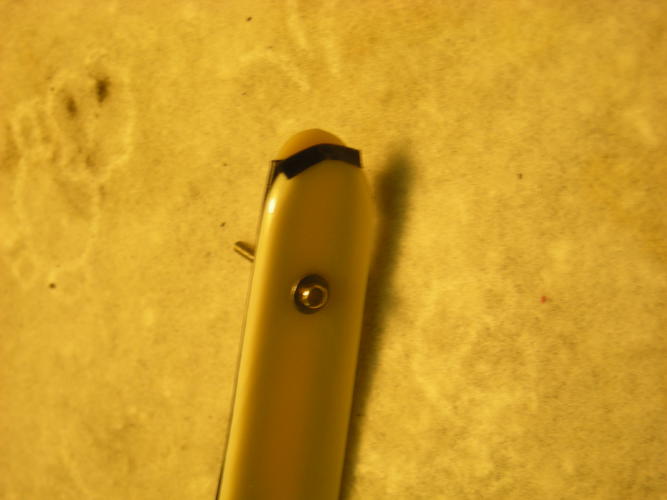
The tips of the original-scaled razor are slightly taller at top at this point.
A good match for the other set of scales, save a bit shorter on the top. The other razor will be completely disassembled and the tips matched to the repaired set using the same technique. Probably best to have unpinned everything as my collarless peens never quite seem to match the factory ones!
No more ivory is being made, so saving and using scale halves is the only way I have to replace them. As long as the halves last, that is!
This works well for me as trying to do more exact work such as in pairs. I have used it on bone and Bakelite as well.
Blue masking tape works great too. On single razors, sanding some here on one side, there on the other, usually makes a slightly different scale than either started as, but more often, turns out pretty good!Last edited by sharptonn; 06-02-2014 at 11:39 PM.
"Don't be stubborn. You are missing out."
I rest my case.
-
The Following 26 Users Say Thank You to sharptonn For This Useful Post:
bongo (06-03-2014), Cangooner (06-03-2014), carrolljc (06-04-2014), Chevhead (06-03-2014), cudarunner (06-07-2014), engine46 (10-01-2014), Geezer (06-03-2014), gugi (06-05-2014), JimmyHAD (06-04-2014), Martin103 (06-04-2014), MikeB52 (07-15-2015), Neil Miller (06-03-2014), nipper (06-04-2014), onimaru55 (06-03-2014), RezDog (06-03-2014), RickyBeeroun222 (06-08-2014), silverloaf (06-04-2014), spazola (06-03-2014), Splashone (06-03-2014), Steel (06-03-2014), Tarkus (06-04-2014), Trimmy72 (06-03-2014), Wolfpack34 (06-02-2014), WW243 (06-06-2014), xiaotuzi (10-20-2016), Zephyr (06-03-2014)
-
06-02-2014, 11:57 PM #2Senior Member


- Join Date
- Apr 2011
- Location
- California
- Posts
- 1,596
Thanked: 865
Great Tutorial Tom! I really appreciate the time and effort you ( and all the Mentors @SRP) take to help out us less experienced guys. This is what SRP is all about IMO...not just showing off what one man can do BUT actually showing us how you do it to be able to re-create and restore some of the wonderful vintage blades that are out there in the wild to be found and made new again.

WP34Lupus Cohors - Appellant Mors !
-
The Following User Says Thank You to Wolfpack34 For This Useful Post:
sharptonn (06-03-2014)
-
06-03-2014, 12:17 AM #3Razor Vulture
- Join Date
- Oct 2010
- Location
- Lone Star State
- Posts
- 26,208
Thanked: 8626
Thank you, Mike! Indeed, anyone could do this with the right donor scale, some teeny nuts and bolts. I use a dremel drum for the bulk work, but hand sanding works well, albeit slower. I expect a belt sander with fine grit would work fine too. The tape just gives a visual when enough is enough and the hand work begins!
 "Don't be stubborn. You are missing out."
I rest my case.
-
06-03-2014, 12:48 AM #4Senior Member

- Join Date
- Jan 2011
- Location
- Roseville,Kali
- Posts
- 10,432
Thanked: 2027
Great writup and a good reason to save everything,esp. old scales and wedges,I saved everything for yrs.I just shipped off 54lbs of Ivory scrap befor the hammer falls in a few weeks,by than you will no longer be able to sell and ship any Ivory scaled razor anywhere leagally.
You will not be able to sell your vintage piano with Ivory Keys. we have to save the elephants.sharptonn likes this.CAUTION
Dangerous within 1 Mile
-
The Following User Says Thank You to pixelfixed For This Useful Post:
sharptonn (06-03-2014)
-
06-03-2014, 01:07 AM #5Razor Vulture
- Join Date
- Oct 2010
- Location
- Lone Star State
- Posts
- 26,208
Thanked: 8626
Thanks, Pixel! Yes, Bill, a shame we cannot trade in old ivory soon. It is what it is. I surely do not agree with the modern poaching of ivory, and I am shure all of us feel same. In antiquities, the bits and pieces from history should be exempt. IMO, but the powers that be have proclaimed it is not to be. This was the plastic and acrylic of the bygone day. I save even the smaller broken bits. Perhaps I shall make ivory wedges for this pair from them. Why not? I should own them forever, I suppose!
"Don't be stubborn. You are missing out."
I rest my case.
-
06-03-2014, 01:38 AM #6Senior Member
- Join Date
- Jan 2011
- Location
- Roseville,Kali
- Posts
- 10,432
Thanked: 2027
The new edict is not yet cast in stone,we shall know mid june.If all happens as Obama wants,Your martin Guitar with Ivory inlay is illegal to ship anywhere (understand, you can own ivory) your 100 yr old bosendorfer Piano with Ivory keys is verbotten.
An Orchestra will not be able to travel with vintage instruments that contain Ivory,your Pool Que with an Ivory ferrull cannot be taken out of your home state, your Colt 45 with 100 yr old grips is illegal.
Poached modern day Ivory, never comes to this country,it is sold to China and japan, they buy it at auction leagally, the are licensed by international Law to do so.sharptonn likes this.CAUTION
Dangerous within 1 Mile
-
The Following User Says Thank You to pixelfixed For This Useful Post:
sharptonn (06-03-2014)
-
06-03-2014, 01:41 AM #7The Great & Powerful Oz


- Join Date
- May 2008
- Location
- Bodalla, NSW
- Posts
- 15,638
Thanked: 3751
Great tute Tom. How much leeway do you allow when slotting the holes ? Did you pin sans washers finally ?.
sharptonn likes this.The white gleam of swords, not the black ink of books, clears doubts and uncertainties and bleak outlooks.
-
The Following User Says Thank You to onimaru55 For This Useful Post:
sharptonn (06-03-2014)
-
06-03-2014, 05:34 AM #8Senior Member
- Join Date
- Nov 2013
- Location
- Loughborough UK
- Posts
- 395
Thanked: 129
Never seen an elephant play the piano! Originally Posted by pixelfixed
 sharptonn likes this.
-
06-03-2014, 05:43 AM #9Senior Member

- Join Date
- Feb 2013
- Location
- Haida Gwaii, British Columbia, Canada
- Posts
- 14,457
Thanked: 4830
They are very cultured, some even have painting that sell for very large amounts. You do need to get out more.
sharptonn likes this.It's not what you know, it's who you take fishing!


 Reply With Quote