
Results 1 to 10 of 67
 139Likes
Thread: Matching up scale halves
 LinkBack URL
 About LinkBacks
Threaded View
-
06-06-2014, 01:07 AM #30Razor Vulture


- Join Date
- Oct 2010
- Location
- Lone Star State
- Posts
- 25,888
Thanked: 8590
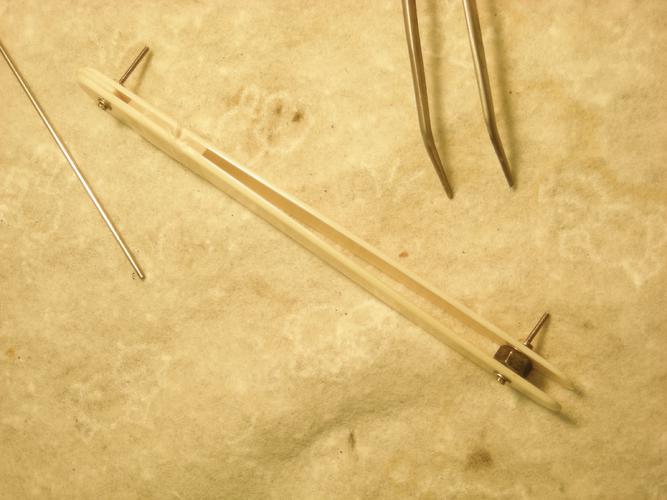
Now, I shall get with pinning the bottoms. I previously sanded my wedges closer to the scales and removed the blade, replacing it with a nut, slightly wider than the thickness of the tang. No sense having the blade involved here!
I then lightly squeezed the scales together and taped them around a few wraps with scotch tape. This keeps everything tight and aligned as I proceed. Keeping things tight as sizing and peening is paramount.
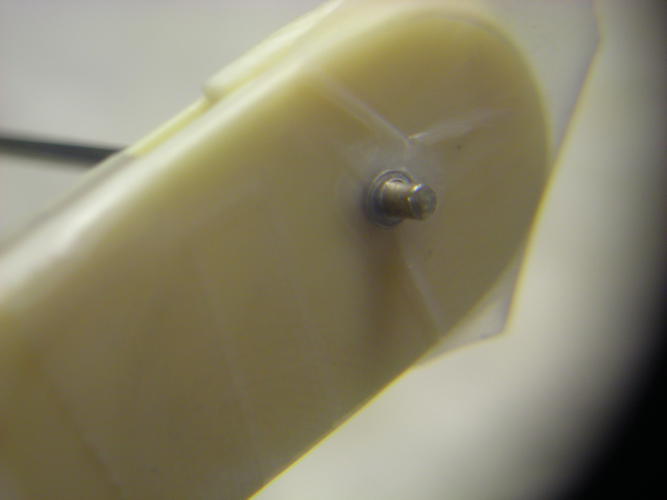
I have decided to go with teeny collars and peen over them as best I can due to some anomalies in the tops of the pin holes. Works out good and looks like collarless from a slow-moving horse as done well!
Besides, I did not want to risk cracking a scale here. These things are tiny!
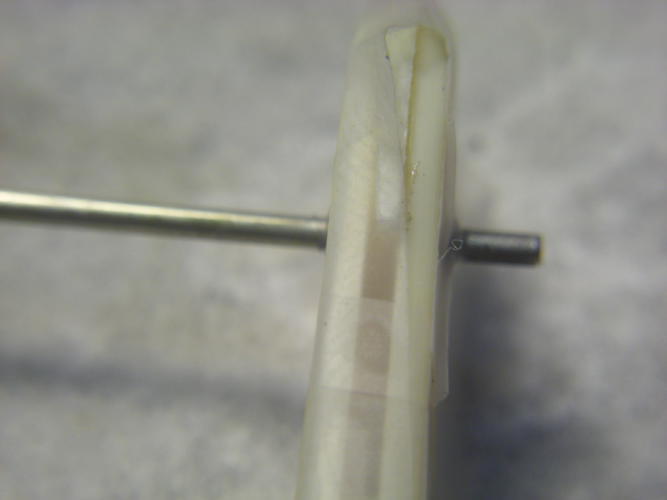
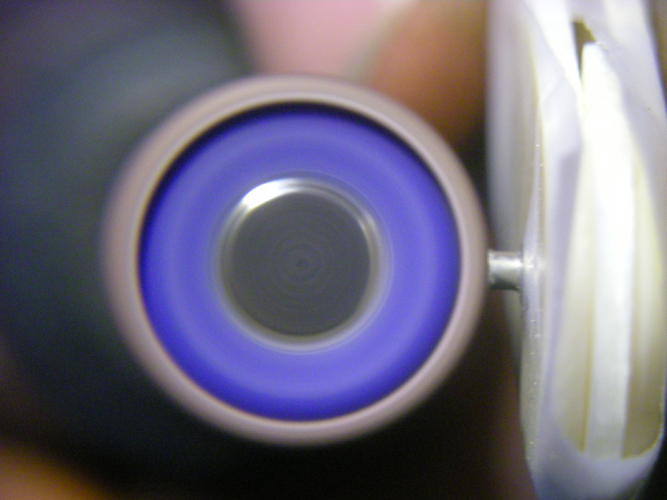
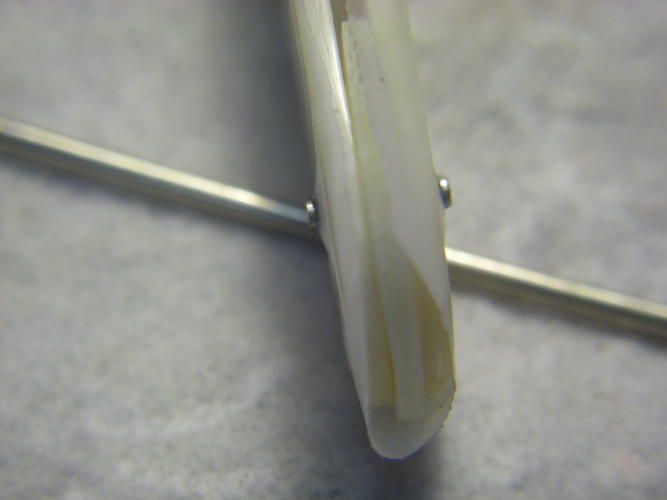
So I dressed one end of a nickel-silver 1/16 rod and removed the nut and bolt, pushed it thru. Then, I dropped a collar on, set the sticky side of a small bit of tape on the end of the rod and pushed the rod to the scale, taping the collar to the scale in the process.
I then pushed the rod through the tape( use the thumb to hold the collar tight while breaking the tape!) and repeated on the other side. I now have my collars taped in place. It is tough as they go flying to places unknown. Also, it is handy to work over a paper towel or such so when you drop something, it will stick instead of bounce or roll!
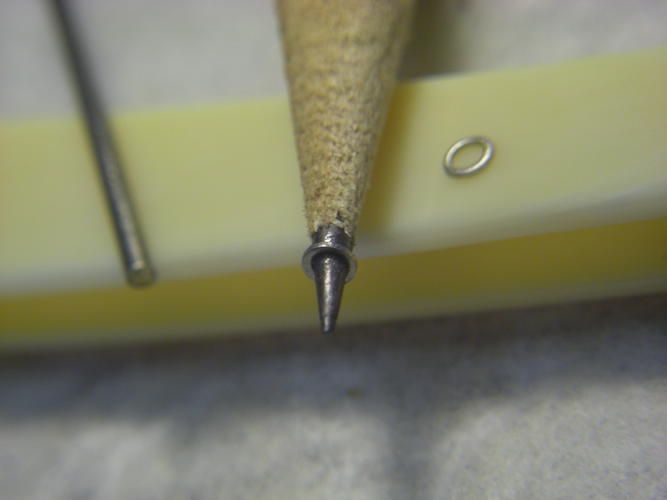
I then cut the rod off a bit longer than I will need. Takes some experience to judge this. Just make it too long a few times! You have probably figured that out! Make it a bit too long. The pin can get pretty hot during dressing and sizing. The leather keeps my finger from having a tiny circular burn! As doing celluloid or horn, be careful not to get the pin too hot! Can really cause scale melting problems! The Dremel has a little fan which blows out of a vent near the top. I use that air stream to cool the pin occasionally. Sizing the pin is the hardest part. If I could describe it, look at how high you want your peen to sit. Add to it, the area you want to enlarge it. Using this estimation, dress the pin to where your calculated height will be protruding from each side. Again, practice on old scales, etc, will get you in the ballpark, and hopefully, closer! I then go back to the bench and push out the pin with a piece of rod to anneal the tips.
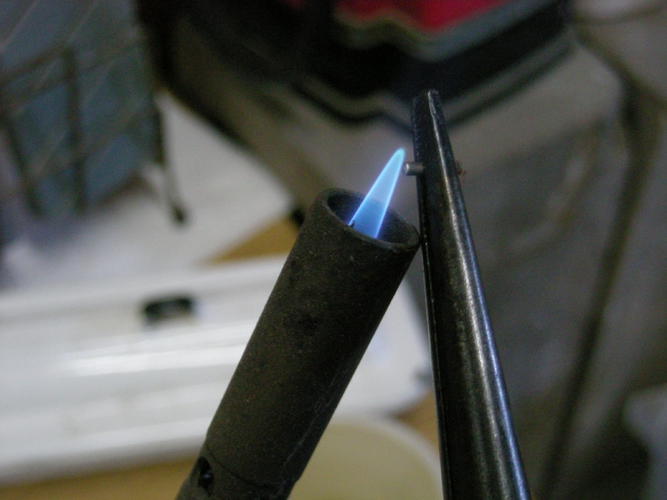
A 20 count kissing the blue propane flame on one side, quench in water, flip and repeat on the other side, softens the tips for easier peening.
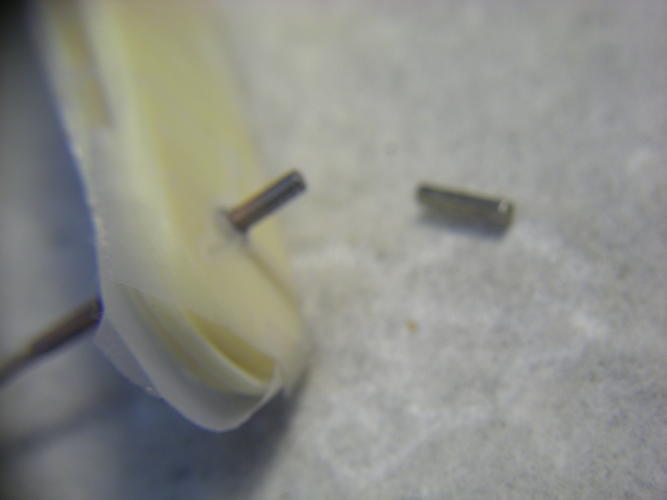
Now, I go back to the bench and use my pin to push the rod out. Ready to peen!Last edited by sharptonn; 06-06-2014 at 03:40 AM.
wyobarbershop and Substance like this."Don't be stubborn. You are missing out."
I rest my case.
-
The Following User Says Thank You to sharptonn For This Useful Post:
RezDog (06-06-2014)


 Reply With Quote