
Results 1 to 10 of 67
 139Likes
Thread: Matching up scale halves
 LinkBack URL
 About LinkBacks
Hybrid View
-
06-07-2014, 02:56 AM #1'with that said'


- Join Date
- Aug 2010
- Location
- Walla Walla in WA State USA
- Posts
- 11,160
Thanked: 4231
Thanks to my mate Oz I found this:
#0 Flat Washer NAS620 CO 18-8 Stainless
I found a conversion chart and here are the results of the OD of the washer (Approx)
3/32=.094
Any Help? sharptonn likes this.Our house is as Neil left it- an Aladdins cave of 'stuff'.
Kim X
-
The Following User Says Thank You to cudarunner For This Useful Post:
sharptonn (06-07-2014)
-
06-07-2014, 03:05 AM #2Razor Vulture

- Join Date
- Oct 2010
- Location
- Lone Star State
- Posts
- 25,888
Thanked: 8590
Sounds about right!
 Those shure look big in the pics. Maybe a generic washer pic?
"Don't be stubborn. You are missing out."
Those shure look big in the pics. Maybe a generic washer pic?
"Don't be stubborn. You are missing out."
I rest my case.
-
06-07-2014, 03:20 AM #3'with that said'
- Join Date
- Aug 2010
- Location
- Walla Walla in WA State USA
- Posts
- 11,160
Thanked: 4231
Yes I'm figuring that it is a generic washer picture! I've seen that same kind of thing online many times! For instance I was looking for a 4 stage step pulley for a project and the picture that showed up was the same one as a the 3 stage step pulley! Originally Posted by sharptonn


But that's another project yet to be posted! hehehe
 Our house is as Neil left it- an Aladdins cave of 'stuff'.
Kim X
-
06-07-2014, 04:34 AM #4The Great & Powerful Oz


- Join Date
- May 2008
- Location
- Bodalla, NSW
- Posts
- 15,608
Thanked: 3748
Some comparison to brass #0's pics here.
http://straightrazorpalace.com/works...tml#post785939sharptonn likes this.The white gleam of swords, not the black ink of books, clears doubts and uncertainties and bleak outlooks.
-
06-08-2014, 11:16 PM #5Senior Member


- Join Date
- May 2011
- Location
- Ipswich, Australia
- Posts
- 481
Thanked: 64
Great tutorial Sharptonn and a good read as well.
The pinning method described here and in the linked threads makes so much sense, it's the smaller details that I have been missing in my efforts to get the pins nice and tight.
The scale matching information is top notch IMO, something I will try to copy in my future restores.
Well donesharptonn likes this.RickyB
-
The Following User Says Thank You to RickyBeeroun222 For This Useful Post:
sharptonn (06-08-2014)
-
06-09-2014, 09:54 PM #6Razor Vulture
- Join Date
- Oct 2010
- Location
- Lone Star State
- Posts
- 25,888
Thanked: 8590
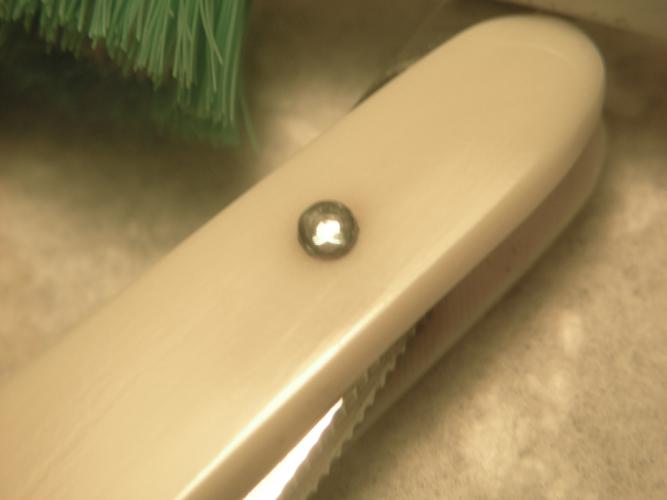
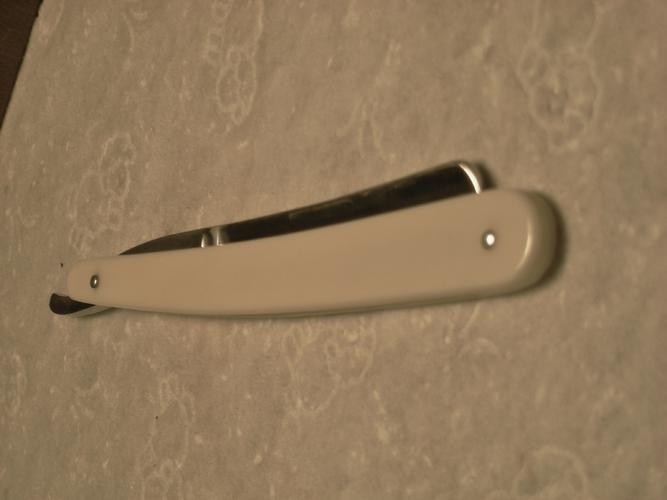
So now to pin the top. I have the blade as best as I feel like, so I install it and my brass spacers into the scales. Some tweezers are handy for getting the spacers in. Best not to attempt swiveling the scales after pinning the bottom. A cracked scale will result, more often than not! Don't spread them much, just enough! Razor blade or straight pin to maneuver the spacers around till the bolt comes through. A real juggling act! All closes pretty darn center now, so I Scotch tape around the scales/tang, install collars with tape as was shown as I pinned the the bottom (above) . Size, remove, anneal, and reinstall the pin.
Still closing fine in spite of lots of tang-sanding. Did not need it here, but an an extra spacer on one side or another is sometimes helpful if it needs some help to center!
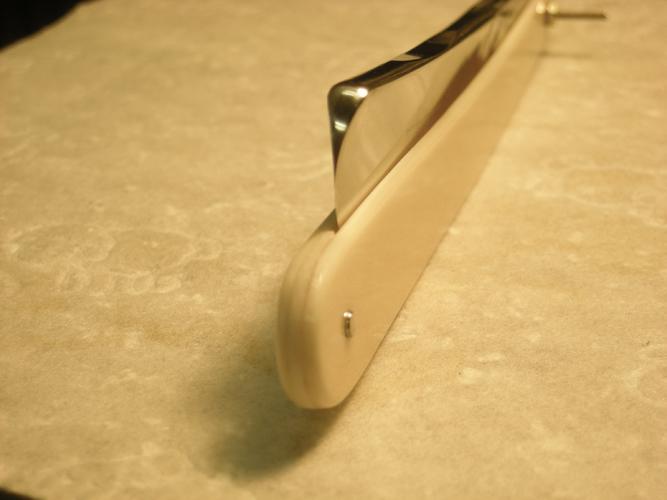
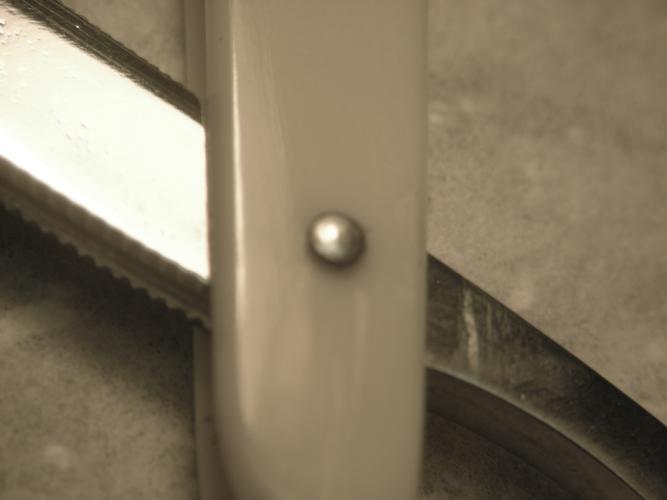
When sizing the top pin, always squeeze the scales above the pivot to the taper in the tang with razor closed.
Keeps from getting the pin too long! Got the first one too short, so I made another!
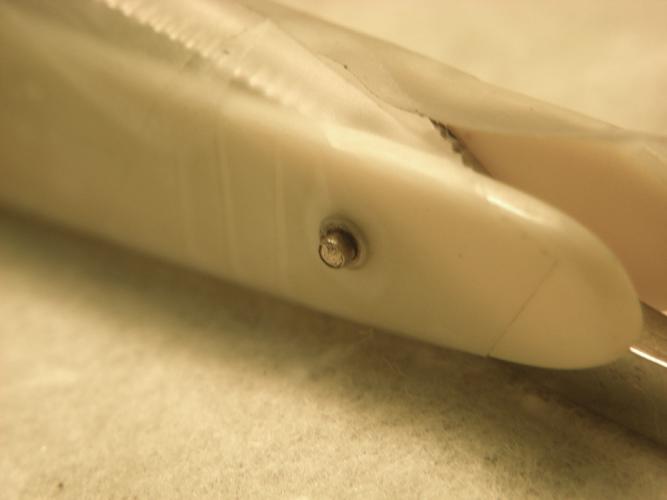
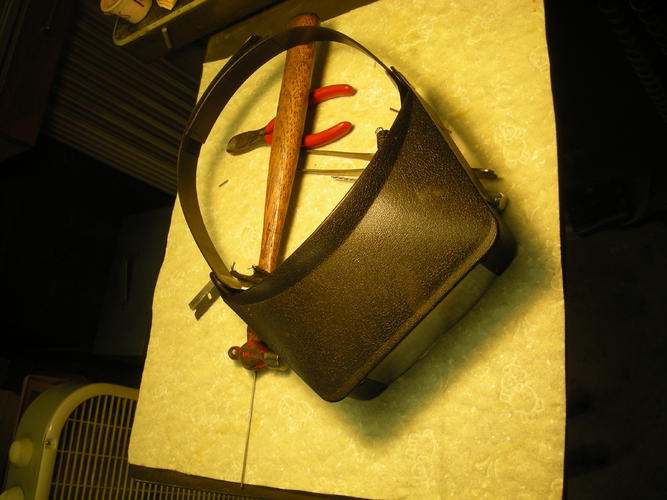
I always wear one of these on my head while pinning. Have to see what you are doing! As the pin gets expanded close, Take the tape off from around the scales and check the pivot tightness. This tells you how far you need to go and whether tapping on top anymore is necessary. If it is fairly snug, just light 'cosmetic' tapping will finish the job. If it is way loose, consider unpinning and starting over with a bit shorter pin. This worked out fine. As finishing up, try to polish the pins with the hammer. It is amazing what you can do with tiny taps at an angle all around!
Now, nice and tight, out to the buffer, change directions 3 or 4 times, very little light buffing. A dry toothbrush removes compound from around the pin nicely!
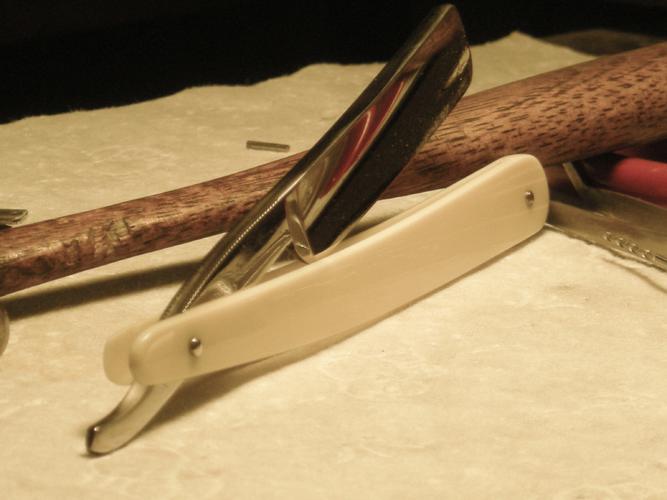
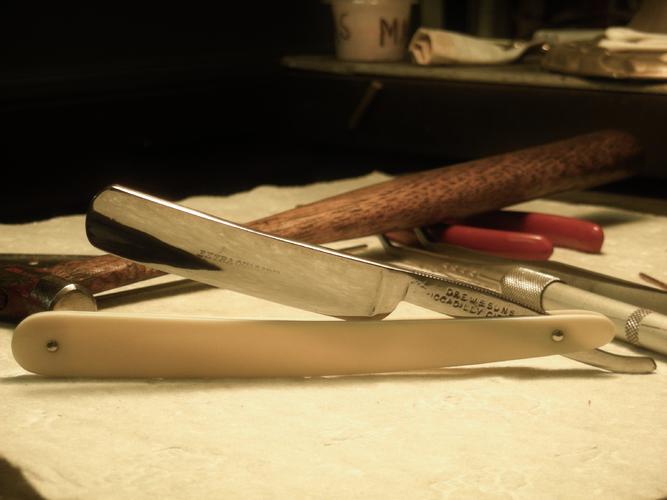
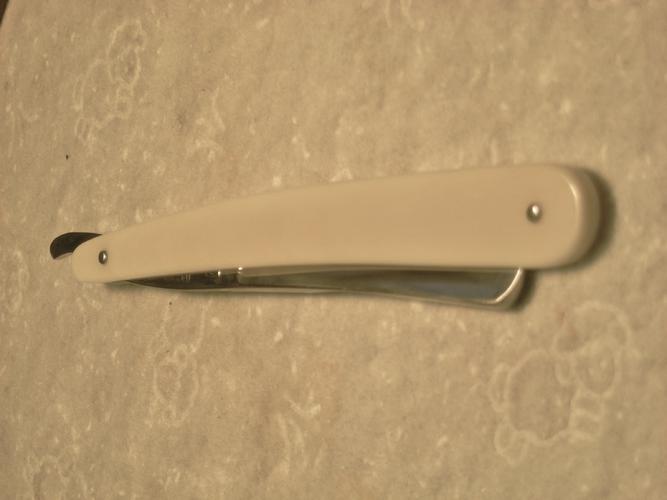
So now, my razor has a new/old matching scale, is clean and pinned back with a new/old ivory wedge!
Not too bad!
I hope this thread has, and will continue, to help some with these old razors. Old ivory is worth saving and is really quite a tough material. No need to fear it, just keep in mind pressure and how you apply it. Note no fancy tools are needed, just concentration and thinking about each step and practicing before doing anything. I did not count how many times I bolted/unbolted but each step was necessary for a decent job. Any questions, improvements, discussion is appreciated.
I learn every time I do one and every time I read of others doing one!
This will conclude my tutorial. I will finish the other razor soon and post the pair in restorations. I hope you will like the outcome as I complete the set.
Fine Regards,
TomLast edited by sharptonn; 06-10-2014 at 03:40 AM.
"Don't be stubborn. You are missing out."
I rest my case.
-
-
06-10-2014, 12:55 AM #7Senior Member

- Join Date
- Jan 2011
- Location
- Roseville,Kali
- Posts
- 10,432
Thanked: 2027
Thx Tom,tons of Great info on working with Ivory.one point,Ivory is really not as fragile as most people think it is,I would rather redo Ivory than old bakilite or even celluloid.Actually.I have never cracked an Ivory scale (knock on wood)I do very little rescaling anymore but the biggest challanges I find are coloring a new scale to match an old scale,can be done but thats a whole differant animal.
sharptonn likes this.CAUTION
Dangerous within 1 Mile
-


 Reply With Quote