
Results 11 to 16 of 16
 10Likes
Thread: First razor restore project
 LinkBack URL
 About LinkBacks
Threaded View
 Jack0458
-
12-28-2014, 05:47 PM #1Senior Member


- Join Date
- Feb 2014
- Location
- Florida panhandle, near Ft. Walton Bch.
- Posts
- 247
Thanked: 23 First razor restore project
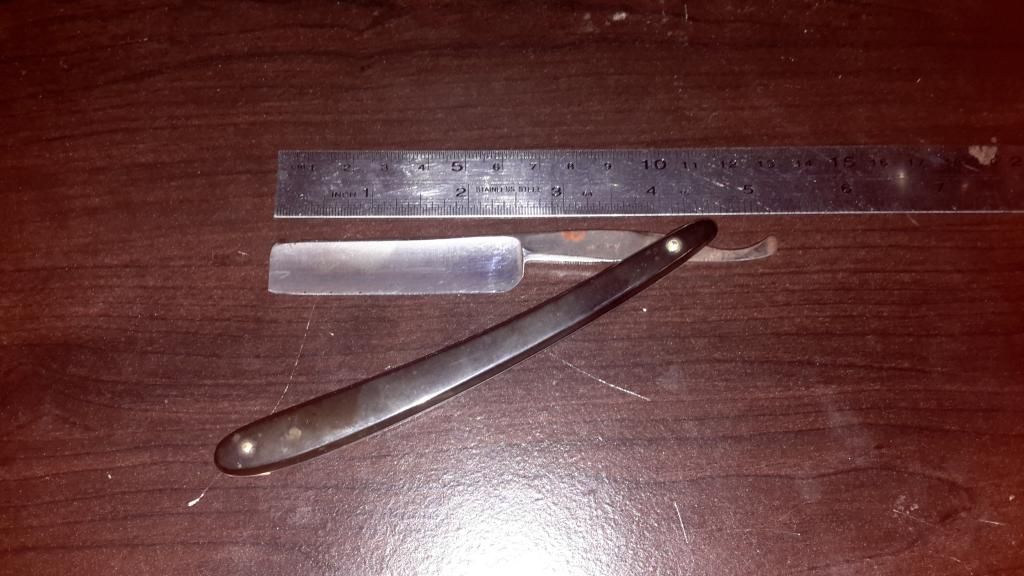
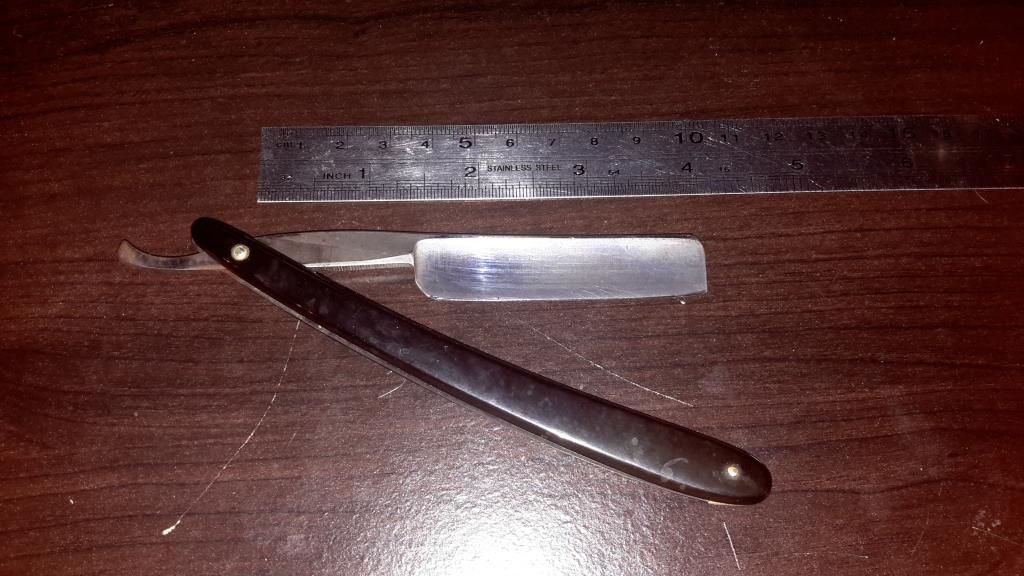
I got a couple of old razors on eBay a couple of months ago with the intentions of restoring them. This one is in the best shape regarding corrosion. I got a pretty good edge on it and had a pretty nice shave this morning with it. The blade is 2.5" instead of the usual 3".
I plan to remove the handle. I can try to drill the pin out and save the handle but if I break it I don't care. I plan to get something else for the handle material. My first thought is kirinite. I've used it for knife handles and love working with it. I've made a couple of handles already and used a screw and pivot pin instead of the usual more permanent pins. This did require I drill the hole in the tang of one blade. I'm thinking this time I'll get some usual pins. Any info on how to do this? I'm sure there is. I'll look but suggestions are appreciated. Not to mention suggestions from personal experience.
Since I'll be polishing the blade I can't use tape to cover the edge. Should I dull it first? If I don't do something I know I'll cut myself.
I don't know how long this will take mainly because of how often I sit down to work on it. Here are two pictures of the razor before I do anything. Any help is greatly appreciated.
 jemmo likes this.


 Reply With Quote