
Results 11 to 19 of 19
 56Likes
Thread: Wedges easy, quick, accurate
 LinkBack URL
 About LinkBacks
-
12-19-2015, 03:35 AM #11Member

- Join Date
- Oct 2015
- Location
- Western NC, USA
- Posts
- 72
Thanked: 0
I'm remembering that second one. I'll use a jig like that to hand sand some wedges I'll be making in the next few week (months)
-
12-19-2015, 04:18 AM #12Senior Member


- Join Date
- Mar 2015
- Location
- Akron, Ohio
- Posts
- 12,119
Thanked: 4317
Your welcome... Originally Posted by karlej

I posted it in butchered blade some time back, for those that dont have a belt sander.
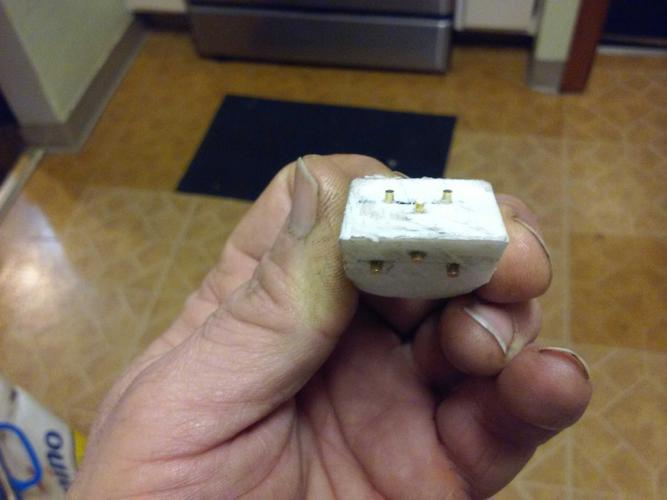
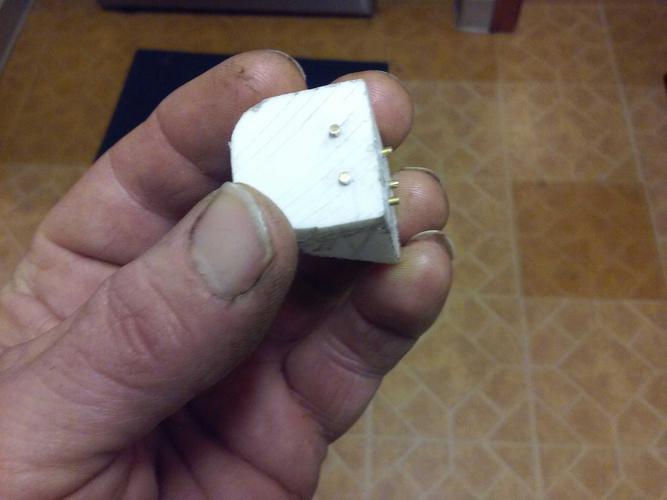
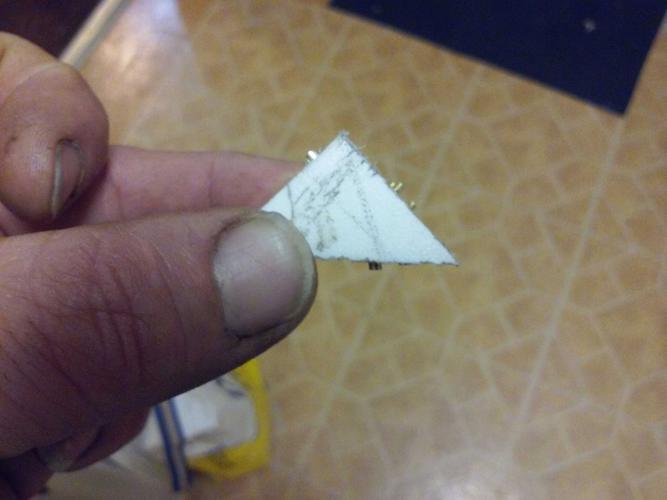
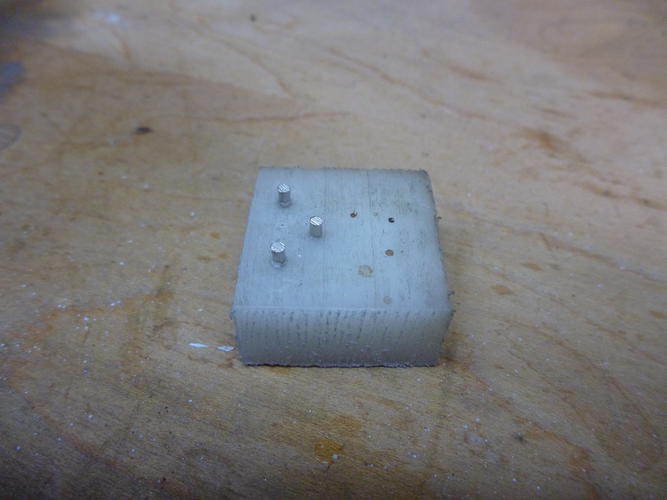
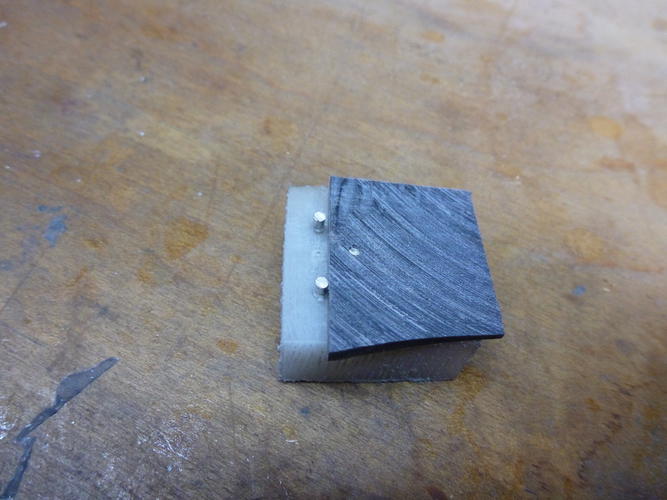
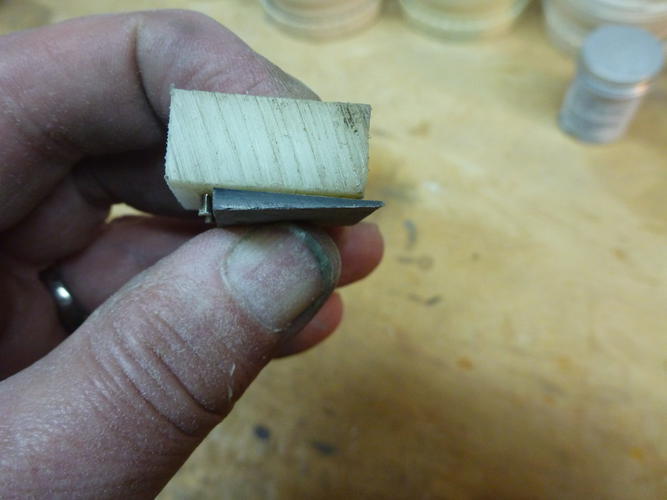
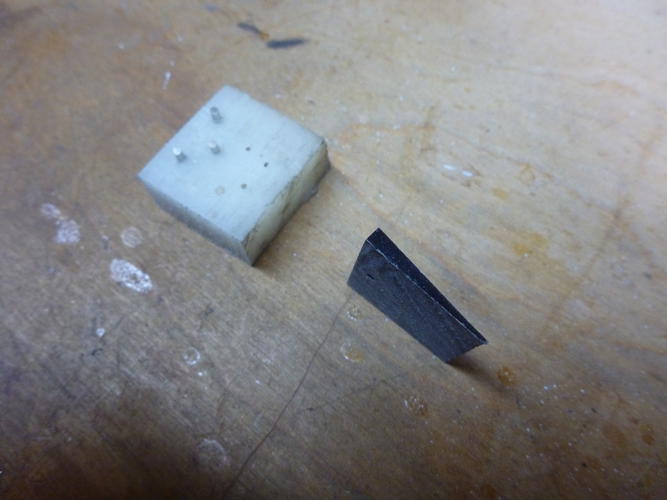
Mine was made to make large and small single pin wedges and double pin wedges.
 Mike
Mike
-
-
12-19-2015, 04:25 AM #13Senior Member
- Join Date
- Oct 2010
- Posts
- 26,211
Thanked: 8626
One thing is certain. You fellas have the manicure thing going on about like I do!
 Nothing more to say........
-
12-19-2015, 04:37 AM #14Senior Member
- Join Date
- Mar 2015
- Location
- Akron, Ohio
- Posts
- 12,119
Thanked: 4317
Thats just the difference between making wedges without a jig to hold them with and without a jig. [emoji38]
-
12-19-2015, 05:18 AM #15Senior Member
- Join Date
- Oct 2010
- Posts
- 26,211
Thanked: 8626
That process would be interesting to see? Originally Posted by FAL
Nothing more to say........
-
12-19-2015, 01:18 PM #16Senior Member


- Join Date
- Oct 2011
- Location
- Standish, Maine
- Posts
- 816
Thanked: 954
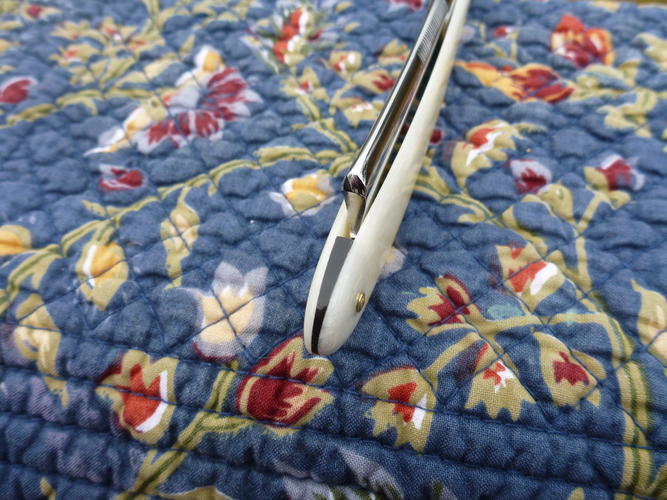
The wedge material is rarely flat on both sides and it's too hard to hang on to without the gizzy. For those without power tools I suppose you could use this on a flat piece of sandpaper but it's the long way around the barn. Originally Posted by Splashone
-
12-19-2015, 03:37 PM #17Senior Member
- Join Date
- Apr 2012
- Location
- Diamond Bar, CA
- Posts
- 6,553
Thanked: 3215
I double sided foam tape them to the end of paint stir stick and rub them on a file lying flat on the bench, applying more pressure to one side and just taper one side, finish on sand paper. Enlarge the hole a bit to allow for the taper.
Eyeball, measure with calipers and test fit. Keep old wedges for patterns and thickness templates.
I do like the jigs, will have to make one for the belt sander, Thanks.outback likes this.
-
The Following User Says Thank You to Euclid440 For This Useful Post:
outback (12-19-2015)
-
12-19-2015, 05:44 PM #18Tradesman


- Join Date
- Aug 2014
- Location
- Sault Sainte Marie
- Posts
- 1,719
Thanked: 245
I'll have to give this a try.. I struggled very hard in making the wedge of my first set of scales. Thanks for the post.
outback likes this.
-
The Following User Says Thank You to s0litarys0ldier For This Useful Post:
outback (12-19-2015)
-
12-19-2015, 08:07 PM #19Senior Member
- Join Date
- Mar 2015
- Location
- Akron, Ohio
- Posts
- 12,119
Thanked: 4317
I've also made brass wedges with the jig, by c-clamping a file to my work table, being I dont use power tools.
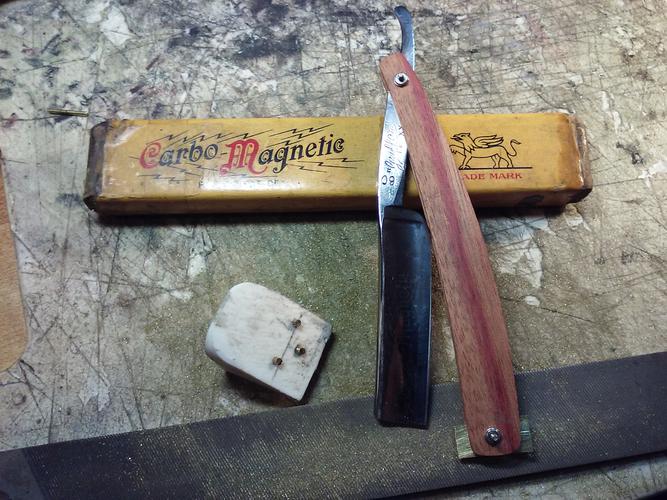
I like the smell, when walking around the barn.[emoji6]Mike
-
The Following 5 Users Say Thank You to outback For This Useful Post:
ajkenne (12-19-2015), engine46 (12-23-2015), gromowski45 (02-23-2016), sharptonn (12-20-2015), xiaotuzi (08-20-2016)


 Reply With Quote
