
Results 1 to 10 of 19
 56Likes
Thread: Wedges easy, quick, accurate
 LinkBack URL
 About LinkBacks
Threaded View
-
12-18-2015, 07:37 PM #1Senior Member


- Join Date
- Sep 2013
- Location
- Tucson, AZ
- Posts
- 1,031
Thanked: 176 Wedges easy, quick, accurate
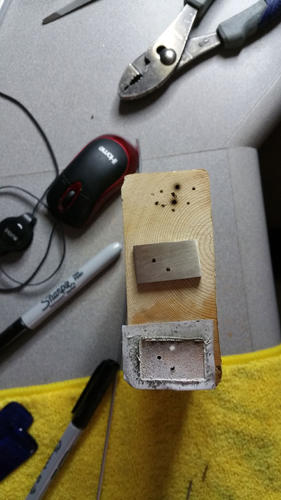
I use a disk sander for much of the shaping work that I do on razors. I came up with a simple tool to facilitate my wedge making, a scrap of 2x4. It saves my fingers and allows speedy and accurate shaping of a wedge. It is especially helpful with harder materials like this chunk of Nickel Silver. Having already trial assembled the razor to determine the wedge thickness I desire, I am ready to get started.
First, mark the top of the block and sand it to clean up using the platform on the disk sander. Now it will be parallel with the sanding face to ensure your wedges only have one taper in them!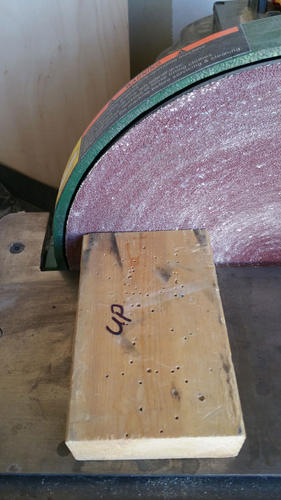
Cut your wedge blank and drill the pin hole through it. Here the wedge blank down to allow adequate internal clearance of the the blade. (I use the shanks off of broken 1/16 drill bits as trial assembly pins.)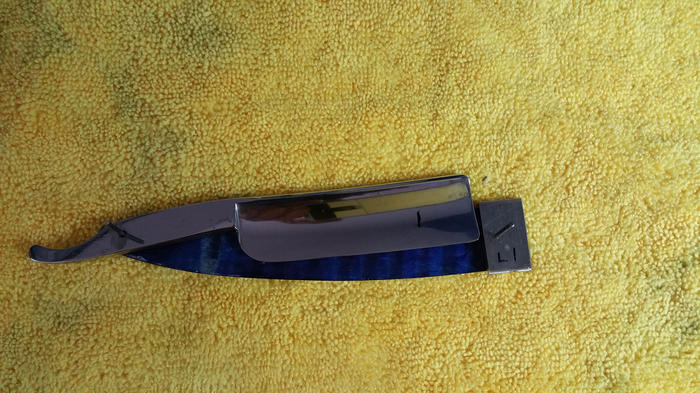
With the internal clearance set. I put a piece of double stick tape on the block where the wedge will go. Carefully place the wedge blank on the wood so that it is positioned with the axis of taper perpendicular to the bottom of the block. Then drill through the wedge hole into the wood (not too deeply) and pin the wedge blank to the block with a scrap of pinning material. I usually start a hole with a drill and cut the end of the pin at an angle to fashion a crude nail. Then drill another hole through the wedge material as far from the assembly pin hole as is reasonable but will still be inside the scale. Using another piece of pinning material nail it to the block using this hole as well. This will keep the wedge from rotating as it is ground down to dimension.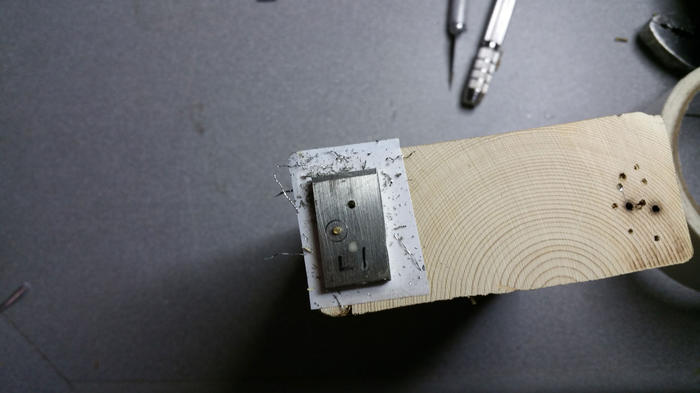
Back at the disk sander I can be very aggressive on taking the material off. I stop to check the maximum thickness with a depth gauge as I get close to size. I keep a spray bottle of water to cool off the material frequently, if not it will get hot enough to burn the wood.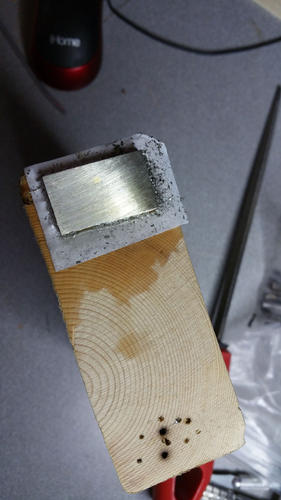
With the wedge down to size, carefully pry it off the wood and knock out the pins. Save them for the next wedge. Again trial fit the wedge and mark around the scale for rough shaping of the perimeter. Back to the disk sander and its ready to pin up and hand finish.
I find this is a quick way to get a wedge to the hand finish point. It works well with any material except transparent wedges or scales...that second hole will show up.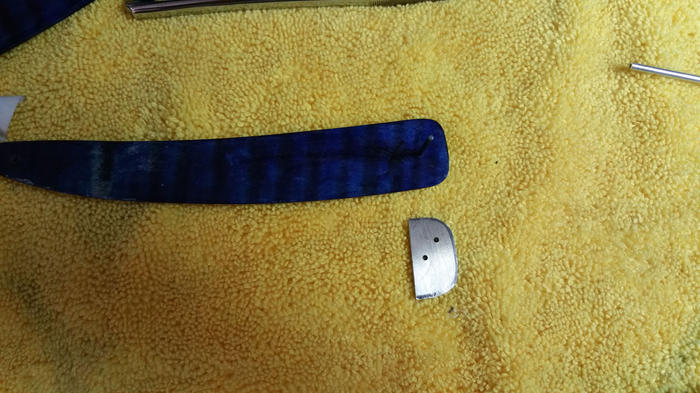 The easy road is rarely rewarding.
-
The Following 9 Users Say Thank You to Splashone For This Useful Post:
cudarunner (12-18-2015), Deeter (08-22-2016), Euclid440 (12-19-2015), gromowski45 (02-23-2016), Hirlau (12-18-2015), jmercer (12-19-2015), MW76 (03-19-2016), Ullmencott (12-19-2015), xiaotuzi (08-20-2016)


 Reply With Quote