
Results 31 to 36 of 36
 114Likes
Thread: Crawler & His ERN.
 LinkBack URL
 About LinkBacks
-
01-27-2016, 09:42 PM #31Senior Member


- Join Date
- Jan 2015
- Location
- N.E. Indiana
- Posts
- 970
Thanked: 134 Minor Changes For Next Time.
I finally remembered what else I wanted to mention for things I'd do differently. They are mostly regarding the polish.
I used cotton string to hang the razor while the polish dried. Not the worst thing, but I don't know if the etchant would eat that, exposing the pivot hole previously sealed by means of polish around the string. I snipped it & soaked it real good with polish to resist the acid. That worked, but I'll use a polyester string next time.
Speaking of the pivot hole... originally, I had planned to use a micro fastener to plug it, & cover that with resist as well. I figured getting the polish out of the tiny threads would be a PITA, so that was out. Getting the polish itself out of the pivot wasn't effortless, however. Next time: I will either plug it with a bit of the wife's crafting polymer clay, or an appropriately sized piece of dowel rod. (Still cover plug with resist.)
One last thing about the polish. It was quite a task to remove it in the spots that I had put two or three moderate-to-thick coats. Next time: I will use thin, but adequate coats, limit two, of non-glittery/metallic polish. Outside of that, I'll probably still use a different color to ensure there is no accidental voids in the resist.
Ah, one thing I held as a "high priority item" for resist coverage was the edge! "Yaarrh, matey! Fluid dynamics be a fickle mistress!!" Liquids act funny on acute angles, so I made sure to give that several! coats.
Always feels good to remember pertinent information that slipped my mind .
.
Now to continue sanding until it's time for a finishing session of etching. Any questions or comments?? Feel free to ask!Decades away from full-beard growing abilities.
-
The Following User Says Thank You to Crawler For This Useful Post:
Geezer (01-27-2016)
-
01-27-2016, 10:51 PM #32
A great job of trying a process and passing information forward! Thank you!
More for information, there is some further information about etching products at this address:
Etching-products
and here are some more links available:
Grounds+for+etching
~Richard
PS. I have used the asphaltum varnish ground in college.Be yourself; everyone else is already taken.
- Oscar Wilde
-
The Following User Says Thank You to Geezer For This Useful Post:
Crawler (01-28-2016)
-
01-30-2016, 12:15 PM #33Senior Member
- Join Date
- Jan 2015
- Location
- N.E. Indiana
- Posts
- 970
Thanked: 134
When I first read this about dental picks, the two-ended picks "for small parts" that I frequently see in the hardware section in sets of about four popped into my head. Upon research of dental picks, I learned that my brain was a step ahead of me... again. Anyway, that was a fun rabbit hole. Definitely something to consider for future etching projects. Originally Posted by RezDog

I've seen them at HF, iirc...
6 Piece Pick Set
And...
5 Piece Test Probe Set
And then there is Amazon...
Robot Check
While exploring the dental picks rabbit hole, I learned not only that the proper term for the resist is "ground" (thanks Geezer), I also learned about the use of wax as a ground. I have most of a 10 to 20 pound block of pure paraffin wax I used to make pre-made campfire starters. Getting the razor near heat worries me, however.
What are your thoughts on the wax, folks?
Gonna have plenty of time to sand the ERN again this week . Got the nearly qualified trainee again
  , and more than half the day tomorrow (later today), we will be running the easy bread . Last time I lucked out with that combo, I brought my mobile honing kit & put a passable edge on my Krusius Brothers EXTRA
  .
.
I just remembered why I didn't give the picks from the hardware sections much thought: I expected the tips to be far too broad for the teeny letters of this etch. And besides, the MaCGyver motor in my brain was already revving at top gear! I wonder how exaggerated the prices are for the wax carving picks that would be meant for such small works (if they even exist)?? Additional thought: seems like the quality of either of the sets I linked to is going to be a roll of the dice, be it from HF or Amazon...Last edited by Crawler; 01-30-2016 at 08:19 PM. Reason: "I just remembered..."
Decades away from full-beard growing abilities.
-
02-01-2016, 11:40 AM #34Senior Member
- Join Date
- Jan 2015
- Location
- N.E. Indiana
- Posts
- 970
Thanked: 134 Having a Trainee is Fantastic!
Sanding update! I spent roughly 6 hours, off & on, of my shift on Saturday hand sanding the face side. Lucky for us (maybe?
 ), I took progress pics
  .
.
Time to start...
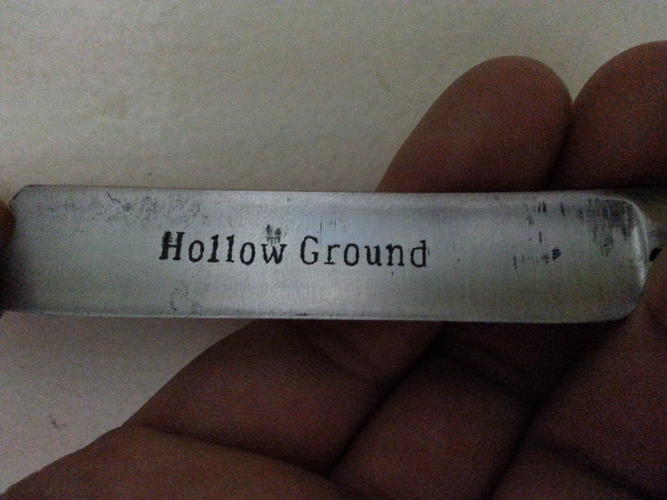
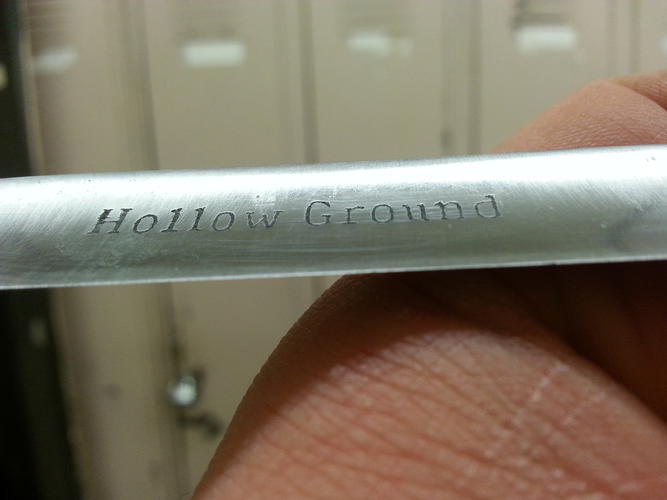
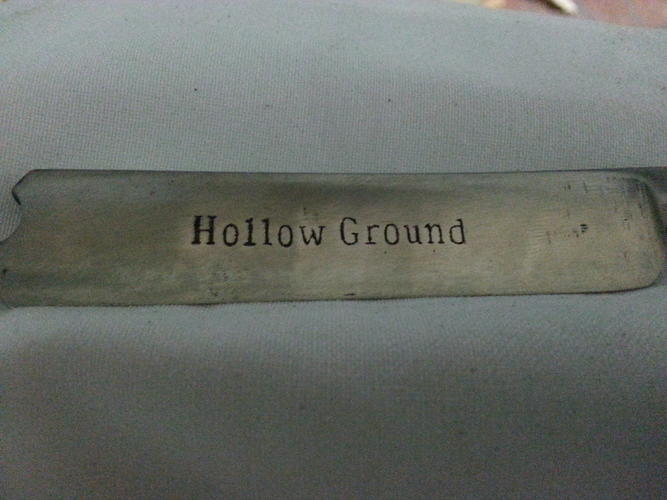
Etch depth reference:
Progress by lunch time:
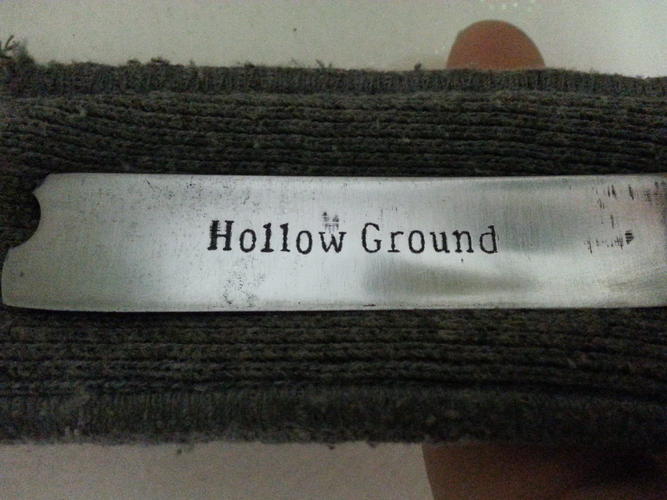
At the end of the day:
Still has an etch!:
Thanks for tuning in!Decades away from full-beard growing abilities.
-
02-06-2016, 12:56 PM #35Senior Member
- Join Date
- Jan 2015
- Location
- N.E. Indiana
- Posts
- 970
Thanked: 134 Sanding Update.
Ugh. Hand sanding
") . And with a first draft, less ergonomic version of the w&d paper dispensing sanding gun thingy linked to in the workshop sticky
. And with a first draft, less ergonomic version of the w&d paper dispensing sanding gun thingy linked to in the workshop sticky  .
.
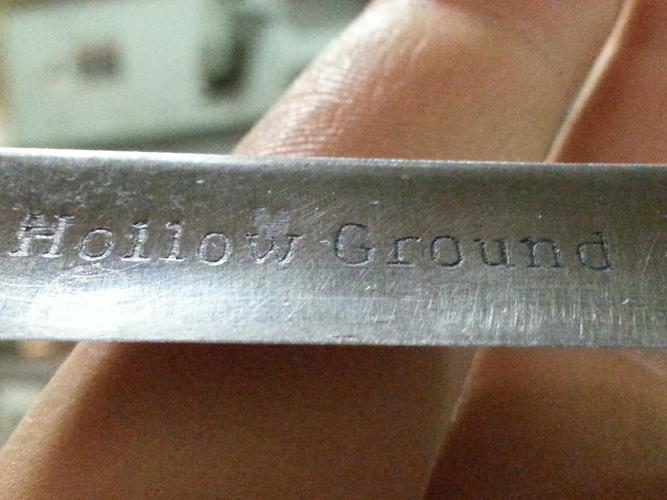
While my trainee tried to show he is qualified, I was busy sanding. Last Saturday, I'd used what I had of precut strips of sand paper 400 & below. So Tuesday I only had 600, 800, and higher with me. Used the 600, and part of the 800 before giving up on the lack of progress. Seems to be that 600 & up is pretty much only about reducing stria size.
Pics:
I cut some more strips of 400 grit & used that Wednesday:

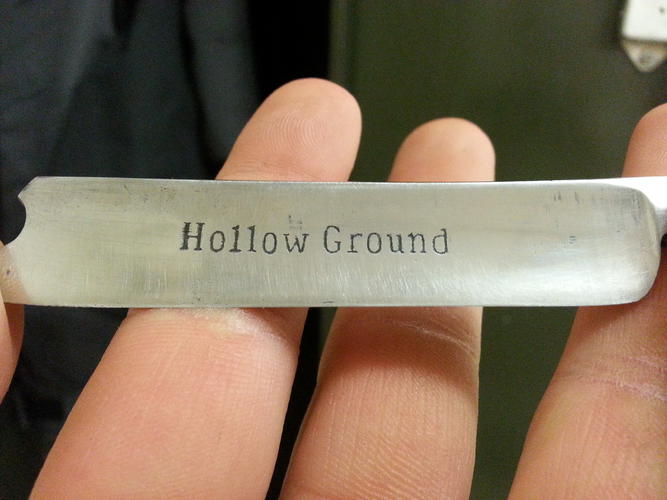
Etch depth check:
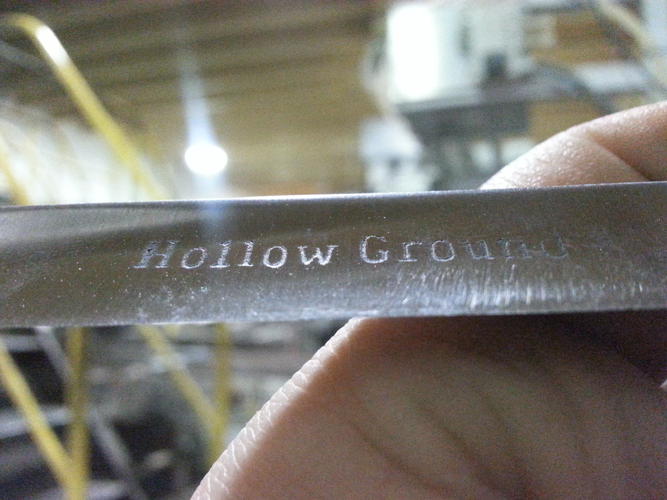
Starting to get on the shallow side again... time to pontificate on my tools & materials again .
.
I hope y'all like the updates. I kinda like being able to see something progress in such a way, almost like time lapse photography!Decades away from full-beard growing abilities.
-
02-06-2016, 03:37 PM #36Str8Faced Gent.


- Join Date
- Aug 2013
- Location
- Orangeville, Ontario
- Posts
- 8,456
- Blog Entries
- 1
Thanked: 4207
Enjoying the thread, experiment, and progress immensely.
Nice effort. And lots of ideas generated..
"Depression is just anger,, without the enthusiasm."
Steven Wright
https://mobro.co/michaelbolton65?mc=5
-
The Following User Says Thank You to MikeB52 For This Useful Post:
Crawler (02-06-2016)


 Reply With Quote

