
Results 1 to 9 of 9
 36Likes
Thread: Friodur MOP re-scaled & inlay transfer
 LinkBack URL
 About LinkBacks
-
07-12-2016, 05:58 AM #1Senior Member


- Join Date
- Jun 2013
- Location
- Gladstone QLD AUSTRALIA
- Posts
- 3,245
Thanked: 804 Friodur MOP re-scaled & inlay transfer
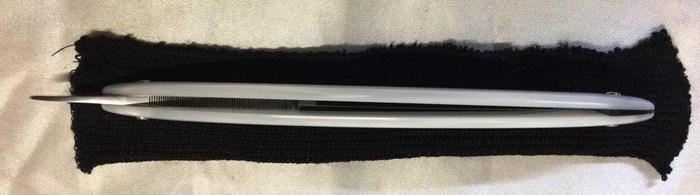
Thought I would share a bit of a "how to" or "how I did" for this project
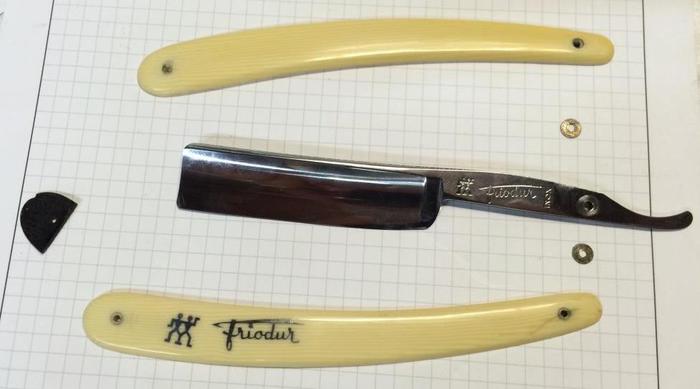
This project was an original INOX Friodur with the front scale cracking at the pivot, s
o the request was made to re-scale it with a MOP option with the inlays transferred but recessed flush rather than glued externally to the new scales
The new materials used were:
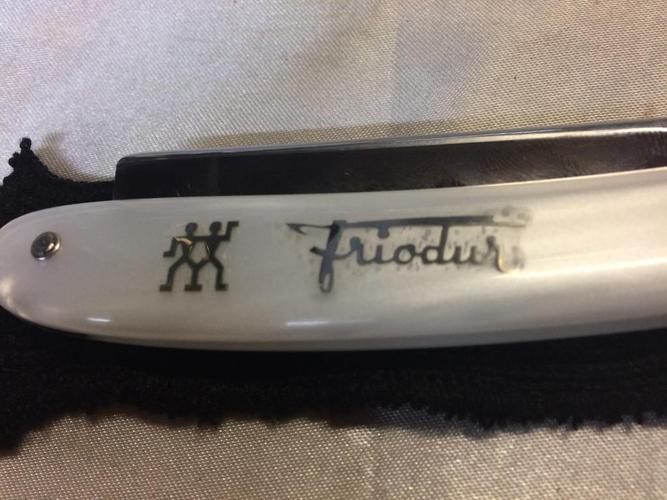
Scales: OndaCrylic Faux MOP from Masecraft
Wedge: G10
Washers: Brass Rhodium-Plated 3/16" Eyelet
Pins: 1/16” - 416 Stainless steel
Thrust washers: Original brass or bronze material reused
Glue: Tarzan Grip C.A. glue to hold the inlays in place
I forgot to take a before pic but onto the job at hand,
So started by removing the Blade by drilling out the Pivot pins first & reclaimed the original thrust washers,
the tang & pivot area were surprisingly very clean with just a wipe required.
removed the Wedge pin to discover the wedge partially glued to the front scale, which chipped when trying to remove it, so it wasn’t getting reused.
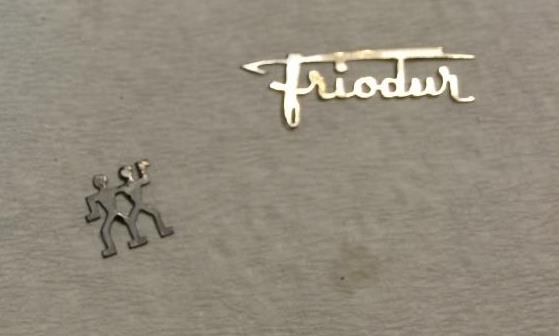
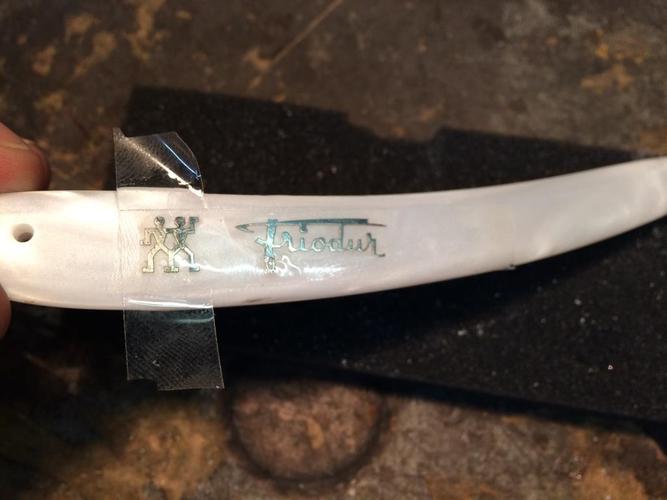
Then polished the inlays in the scale with some Autosol & finished with a clean cloth.
Once polished up & stripped down I used acetone in a small brush to coat the inlay area on the scale until they released.
This was a lot quicker than expected with minimal mess.
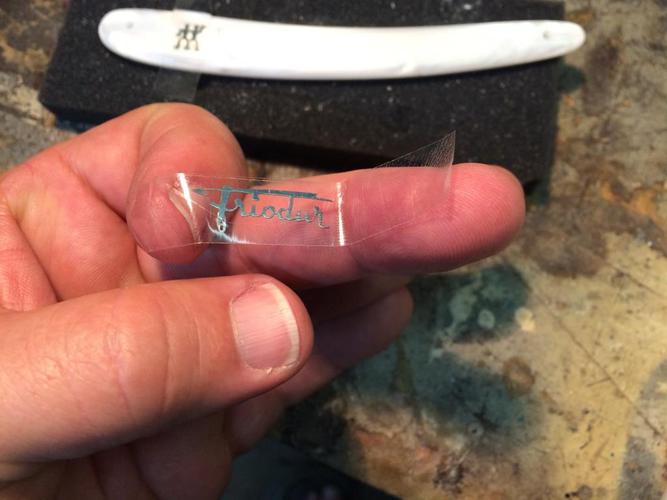
Gave the inlays a clean with some more Acetone on a smooth cloth & put a side ready for use.
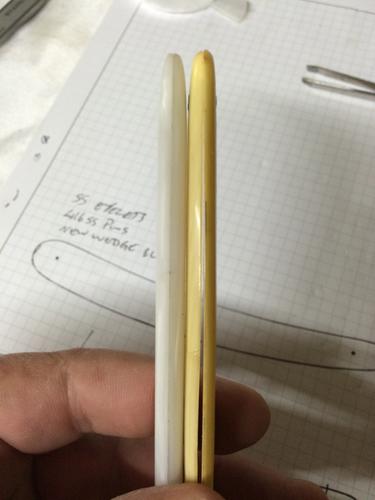
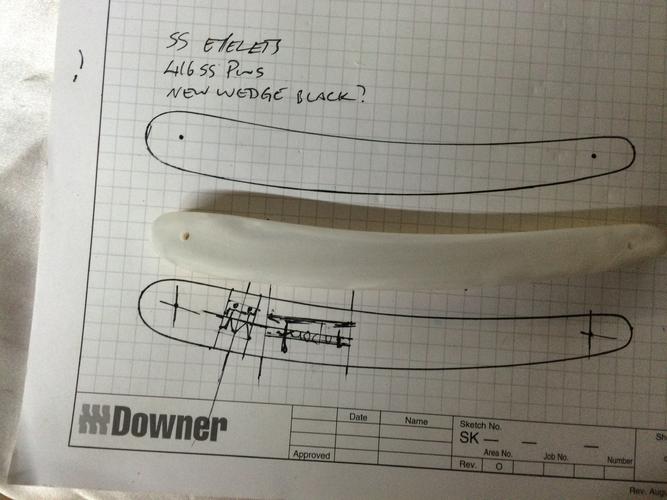
Used the original scales as a template for the shape & profile of the new scales, which were machine & hand sanded to a wet 5000 grit finish
Used an off cut to test some glues & solvents on the OndoCrylic with some great results
The inlays are only 7thou” thick & rather delicate so minimized playing with them were possible.
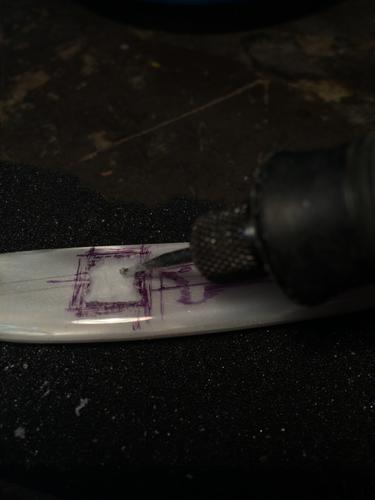
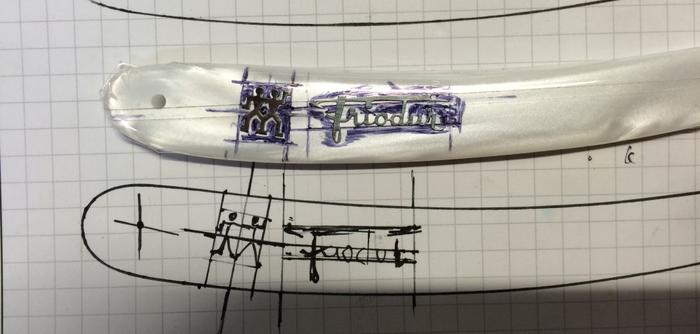
I used clear tape over the new scales & marked out the inlay positions & shapes, to match the originals with an Artline pen, once marked out I used a small engraving burr on the Dremel to remove the scale material deep enough for the inlays to sit under the scale level.
Once happy with the depth & area removed & removed the tape cleaned the new scale & inlays with acetone and left to dry
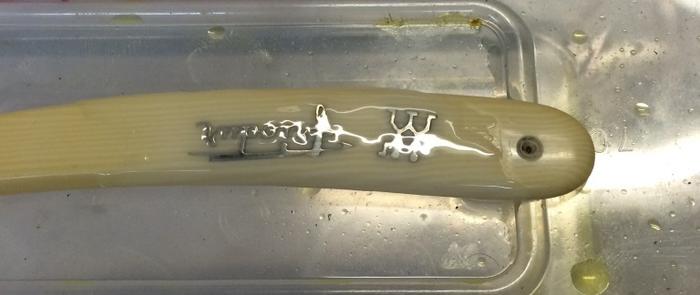
Stuck the inlays to some thin clear tape, filled the voids in the scales with CA glue & then taped the inlays in position in the glue, flipped the scale over to on a flat base with a weight on top overnight until cured.
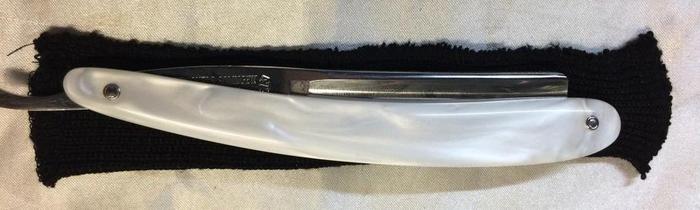
With waiting for the glue to dry I started making a new wedge from the MOP material but I didn’t like the look of the white on white so made a new one from Black G10 to contrast the white MOP scales.
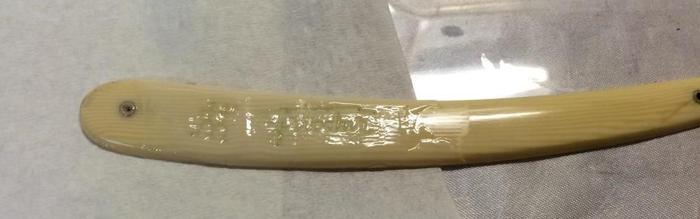
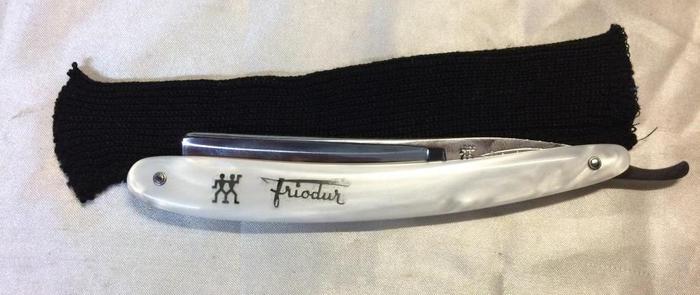
Once cured I then sanded the excess dry glue off and refinished the new scale to 5000 grit and hand polished with Ren Wax
Now for some reason the glue produced some tiny bubbled during curing & these can be seen around the inlay, not sure what has happened here as I have never had it happen before with the same glue, was ready to re-dip in acetone & melt the glue to start again, but the owner was ok with them, so it was on with the re-assembly,
All standard stuff except I used eyelet washers & 416ss pins to match the inlays, as my nickel silver pin stock has a brassy look to it that I didn’t want for this.
There was no glue etc used in the assembly of the razor so it can the stripped down fully if ever required again.
Thanks for looking & hope this helps someone else along the way.
On a side note:
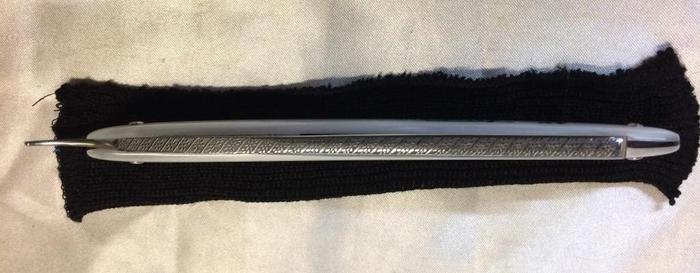
I found the OndaCrylic White MOP to be very easy to shape & finish using hand tools. It seems to be a very stable & was non-reactive to acetone and similar cleaners unlike the original celluloid scales & some other acrylics & polyesters. The material hand polished with Renaissance Wax only and I think it has come up well as it with a very nice deep look to the MOP I am definitely very happy with the OndaCrylic for scale making.
thanks for looking hope this helps someone else along the line.Last edited by Substance; 07-12-2016 at 06:05 AM.
Saved,
to shave another day.
-
-
07-12-2016, 06:10 AM #2Senior Member
- Join Date
- Jun 2013
- Location
- Gladstone QLD AUSTRALIA
- Posts
- 3,245
Thanked: 804
ran out of Pic space here are some more completed etc
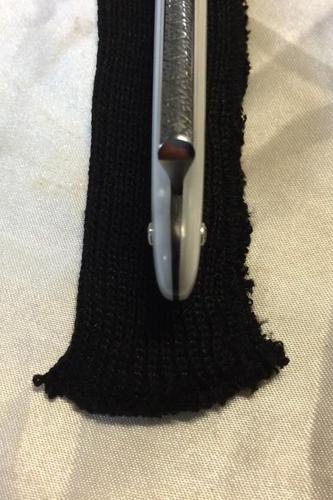
a closer pic of the bubbles
Last edited by Substance; 07-12-2016 at 06:15 AM.
Saved,
to shave another day.
-
07-12-2016, 06:15 AM #3Shaving Grace

- Join Date
- Jan 2016
- Location
- Springfield, OH
- Posts
- 97
Thanked: 29
Awesome job!
 Substance likes this.Shaved by Grace
-
07-12-2016, 06:46 AM #4Senior Member

- Join Date
- Feb 2012
- Location
- Menominee,MI
- Posts
- 1,624
Thanked: 325
Very nice. That MOP has some nice depth to it. The bubbles might have formed since everything was covered in tape it didn't allow air to leave.
Substance likes this.
-
07-12-2016, 08:19 AM #5Senior Member


- Join Date
- Apr 2015
- Location
- Johannesburg
- Posts
- 2,498
Thanked: 410
Great job. Well done!
Substance likes this.Tony
-
07-12-2016, 04:44 PM #6Senior Member


- Join Date
- Dec 2010
- Location
- South Florida
- Posts
- 13,530
Thanked: 3530
Thank you for taking the time to show us,,,,,
 Substance likes this.
-
07-12-2016, 04:52 PM #7Senior Member

- Join Date
- Jun 2016
- Location
- NH
- Posts
- 1,924
Thanked: 1363
What a great job, man! Thanks for sharing
Substance likes this.
-
07-13-2016, 06:48 PM #8Senior Member

- Join Date
- Jan 2012
- Location
- Waukesha, Wisconsin
- Posts
- 1,943
Thanked: 390
That's awesome!
Maybe poke holes through the tape while the glue is curing?Substance likes this.
-
07-13-2016, 07:18 PM #9Senior Member

- Join Date
- Sep 2010
- Location
- St Helens, uk
- Posts
- 680
Thanked: 96
Congrats, nicely done.
 Substance likes this.


 Reply With Quote