
Results 11 to 16 of 16
 26Likes
 LinkBack URL
 About LinkBacks
-
11-20-2016, 07:46 PM #11Senior Member


- Join Date
- Jan 2012
- Location
- Waukesha, Wisconsin
- Posts
- 1,943
Thanked: 390
I would recommend against using a dremel for surfacing a razor. It's just too easy to mess up and take a chunk out of the blade. Keep the dremel for cutting of broken toes and shaping scales.
Sometimes, you'll have to accept some issues with blades. If I was restoring the blade, I would leave it as is. Better to have more etching and a few scratches, than no etching at all. Besides, flaws give a blade character. Good luck!
-
The Following User Says Thank You to dinnermint For This Useful Post:
Hirlau (11-20-2016)
-
11-20-2016, 08:17 PM #12
I agree with Dinnermint.
You do not want to remove any information on the blade or tang. It is the provenance of the piece.Last edited by rolodave; 11-20-2016 at 10:44 PM.
Hirlau likes this.If you don't care where you are, you are not lost.
-
11-20-2016, 08:28 PM #13Senior Member


- Join Date
- Feb 2013
- Location
- Haida Gwaii, British Columbia, Canada
- Posts
- 14,457
Thanked: 4830
I do change direction when sanding. I end with spine to edge strokes. I am always very conscious of keeping the form and lines of the razor and not going over edges and lines or they round out and erase. Sanding a blade is more like rubbing a finish and changing direction is actually beneficial to getting them all out. Sanding in one direction will scatter the light all in the same direction and you will not be able to see the deeper scratches hiding between the lighter lines. 45 and 90 degree lines will keep the deeper scratches from hiding. Save the dremel activities for later, it is kind of an advanced skill set. I have one and use it very little.
It's not what you know, it's who you take fishing!
-
11-20-2016, 10:50 PM #14
I sand the same as Rez.
When using lower grits I do spine to bevel strokes. This somewhat eliminates the chance for a long deep scratch that can take a lot of work to remove.xiaotuzi likes this.If you don't care where you are, you are not lost.
-
11-20-2016, 11:21 PM #15barba crescit caput nescit


- Join Date
- Jul 2013
- Location
- Toronto, Canada
- Posts
- 9,680
Thanked: 2700
Does it have any other stamping on the tang - believe the one I have has, "Keen Shaver" stamped on the tang?
-
11-21-2016, 12:37 AM #16Member

- Join Date
- Sep 2016
- Posts
- 35
Thanked: 3
Hey Phrank, Originally Posted by Phrank

There are no other markings on it. Just the single Bow on the tang and what you see on the razor itself. I have the original box but I will have to take picture of it later when I get back home.
I tried to figure out how old this razor is, I honestly had no luck but I'd assume it's between 1850-1920?
I'm blown that the scales are demolishedbecause I would have loved to l reuse them. However I just picked up some really awesome wood yesterday and am planning to make some pretty cool looking scales for this razor along with two other blades I've restored.
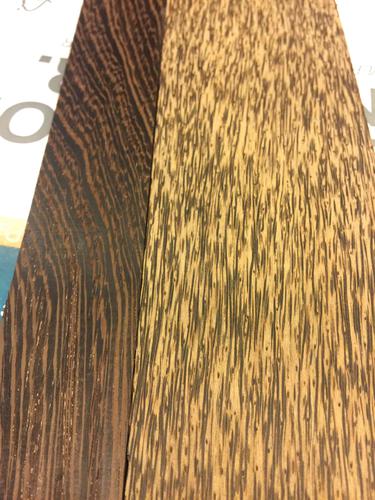
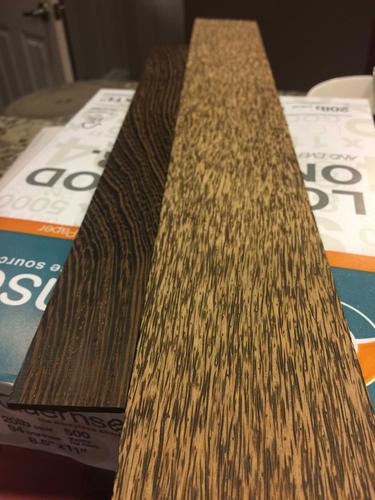
The wood I picked up!

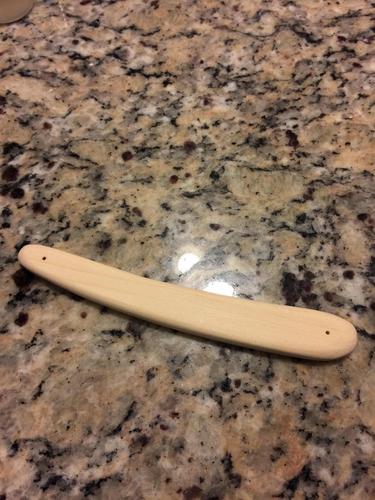
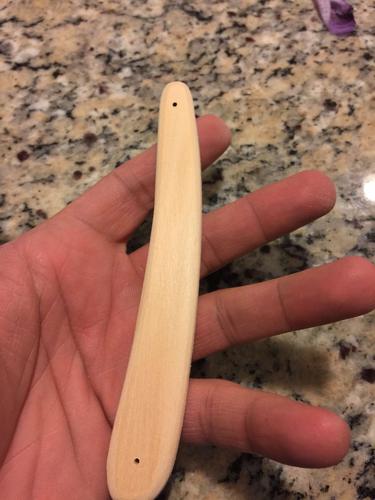
I'll probably start a new thread when I start using that wood. But just to give an idea, below are pics of some cheap Pine that I picked up from Michaels (local craft store) last week and 2 hrs later I made these scales.
Now before anyone starts in...I know very well that Pine isn't ideal for scales. But it cost me $1.99 for the plank, I was bored, and wanted to practice making scales on cheap wood first. I also didn't use any pre-stain conditioner. Anyways here you go!
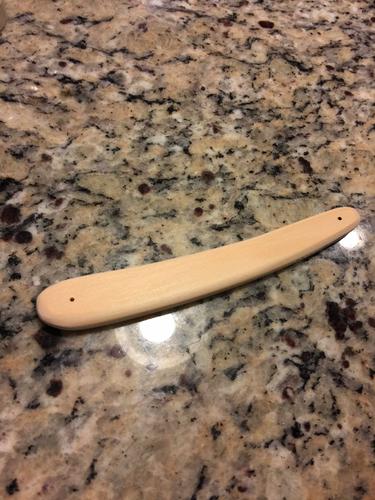
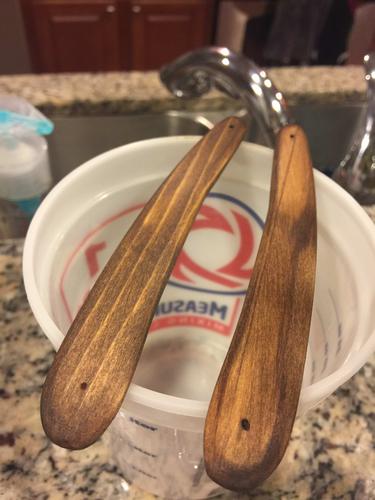
And both of them with Dark Walnut stain:

And finally with 6 coats of Clear Satin Poly (probably going to another 6 or so coats):
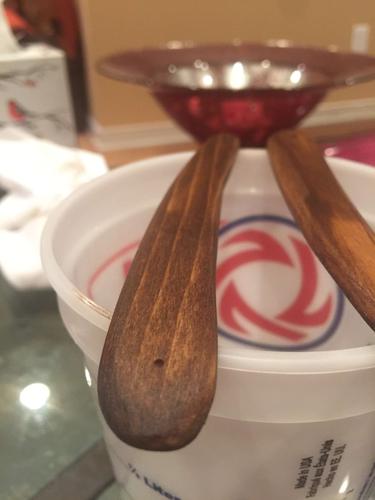
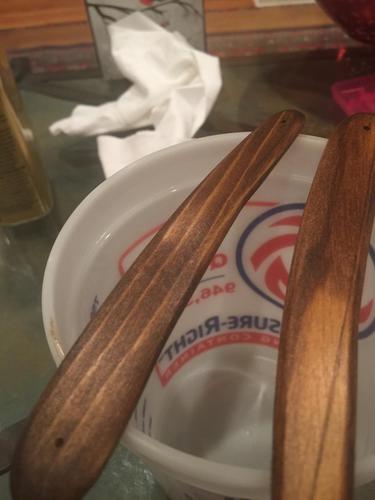
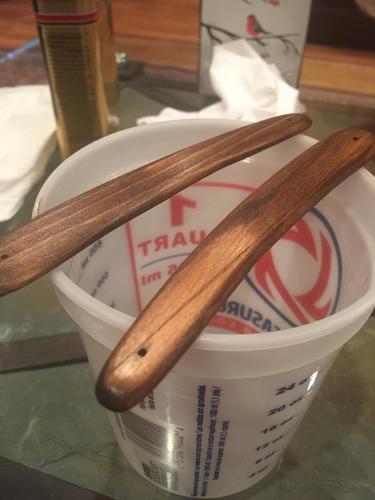
You see a slight sheen that is starting to show. I don't like my finished wood working projects to be shiny. Unless the person I'm making it for wants it shiny, I feel it takes away from the wood grain and makes it look "fake"-ish. Now bone scales I am all about the shine!
Anyways I'll end my rant now. Lol
Sent from my iPhone using TapatalkAcesandEights and cmsessa like this.


 Reply With Quote
