
Results 1 to 10 of 16
 26Likes
 LinkBack URL
 About LinkBacks
-
11-20-2016, 06:01 AM #1Member


- Join Date
- Sep 2016
- Posts
- 35
Thanked: 3 Restoring a W&B - Original Bow Razor
Hey all,
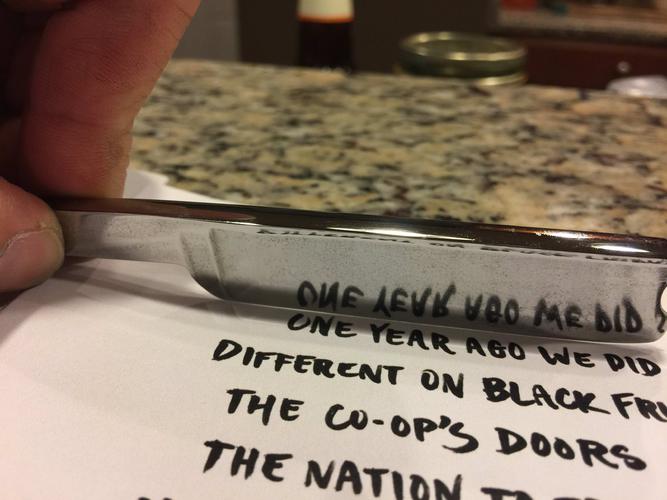
Finally got around to cleaning up and restoring this old beaut!
Pick this up at an Antique store few weeks ago for a steal $20 bucks!
Sent from my iPhone using Tapatalk
-
11-20-2016, 06:30 AM #2Senior Member


- Join Date
- Feb 2013
- Location
- Haida Gwaii, British Columbia, Canada
- Posts
- 14,450
Thanked: 4829
Looks like it is a good piece to start with. Lots of steel and not a lot of wear.
It's not what you know, it's who you take fishing!
-
11-20-2016, 06:57 AM #3Member
- Join Date
- Sep 2016
- Posts
- 35
Thanked: 3
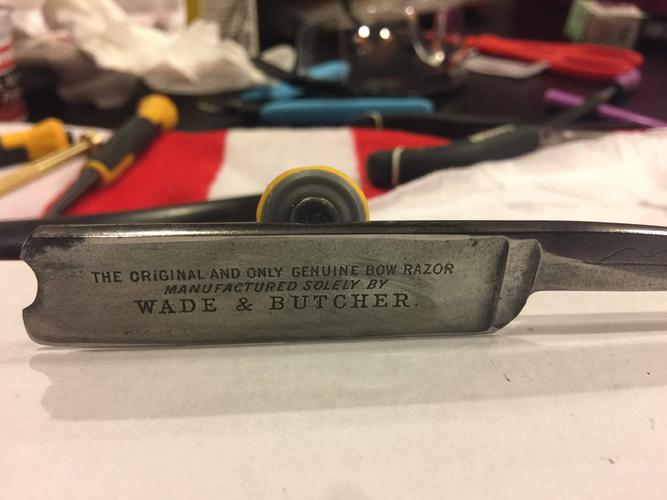
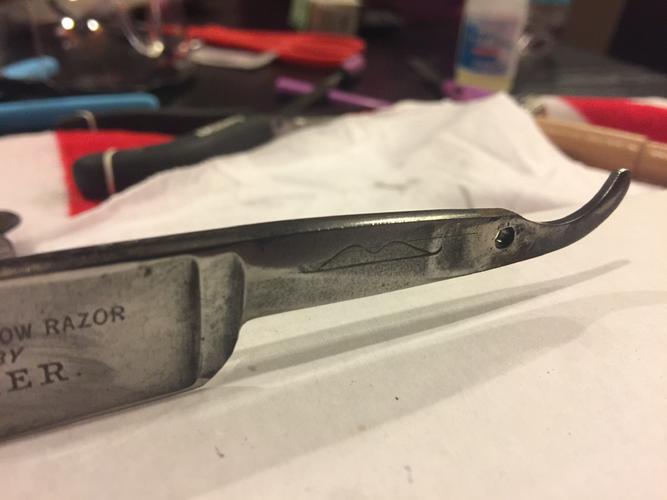
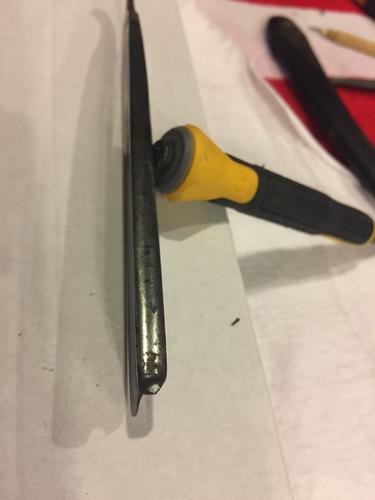
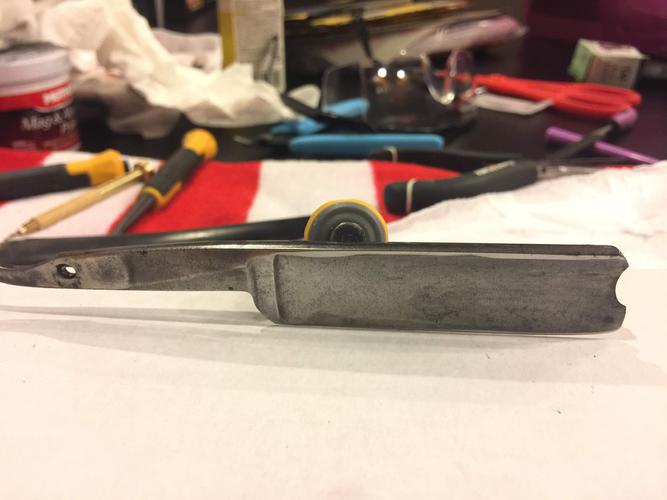
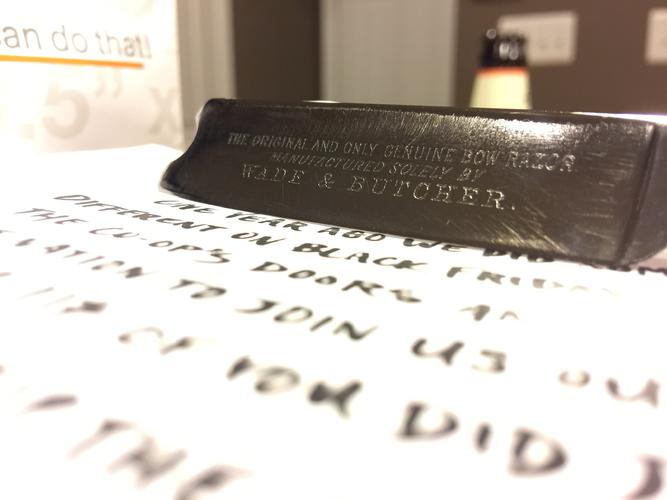
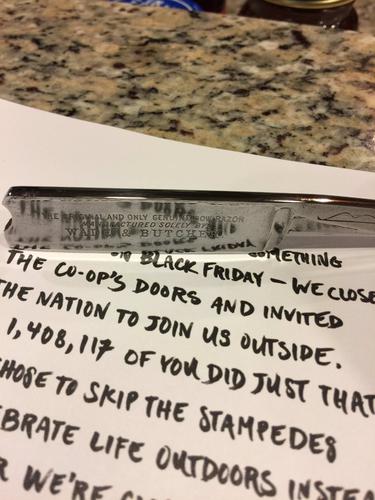
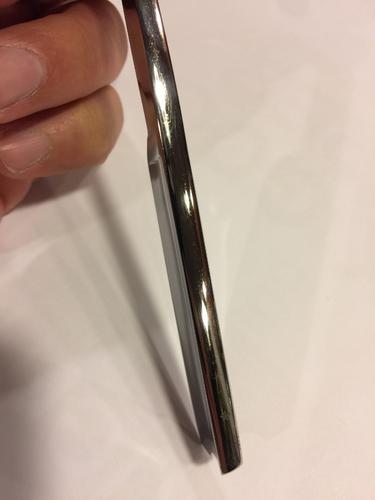
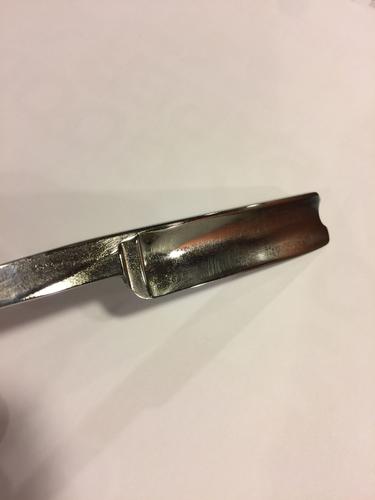
So I started sanding it down and several hours later here is where I am with it. Not too happy with it just yet. You see a lot of pitting that I can probably minimize and the scratches are too visible for my liking.
So far I've hit it with 220, 320, 600, 800, 1500, 2000, red compound, 3 micron lapping paper, 1 micron paper, .3 micron and finally some mothers polish.
I may go back through the grits but doing it for longer. Any suggestion on getting the scratches out? I started with going longways (parallel to the spine) and then started going perpendicular (spine to edge). Should I just stick to one direction? Any suggestions are greatly appreciated!
Sent from my iPhone using TapatalkGeezer likes this.
-
11-20-2016, 09:18 AM #4Senior Member
- Join Date
- Feb 2013
- Location
- Haida Gwaii, British Columbia, Canada
- Posts
- 14,450
Thanked: 4829
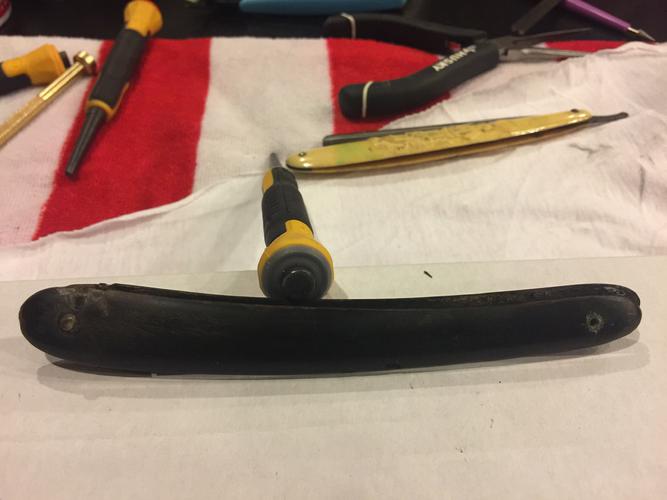
What are you using as a backing for the sandpaper? Are you using it wet? WD-40 makes a great wet, that helps to keep the scratches from going too deep. The pitting looks like it is deeper than the etching, so you will be stuck wit some of it. 220 and 320 are too coarse for this kind of work (personal opinion) so I would stick with the 600 until all of the scratches from the lower grits are completely gone. It does get a little hard to tell and in the beginning I went back and forth in grit trying to get the previous scratches removed. If you get bored with the sanding you can chip away at the scales.The backer is important because it keeps the sanding flat and helps preserve the lines of the razor. I use cork others use rubber, leather over wood, hair curlers, the list can go on.
It's not what you know, it's who you take fishing!
-
11-20-2016, 03:59 PM #5Senior Member

- Join Date
- Aug 2016
- Location
- Cowden, Il.
- Posts
- 436
Thanked: 131
1st, I am NOT a blade restorer, by any means. However, I have refinished several firearms over the years as a gunsmith.
Keep in mind, scratches are nothing more than 'peaks and valley's" in the metal. Working at opposing 45 degree angles to the scratch you want to remove, knocks the "peaks" off.Swirv likes this.
-
11-20-2016, 04:09 PM #6Member
- Join Date
- Sep 2016
- Posts
- 35
Thanked: 3
Thanks RezDog, Originally Posted by RezDog

I will go back and spend my Sunday watching the Giants win their acidity game in a row (🤞🏽 and will be going back with some 600 and progressing up from there. Do you tend to stick to just one direction? I am logically conflicted because in my experience in woodworking (building furniture) and with Automotive Detailing, you stick to one direction to avoid cross hatching and swirls.
Sent from my iPhone using Tapatalk
-
11-20-2016, 04:18 PM #7Member
- Join Date
- Sep 2016
- Posts
- 35
Thanked: 3
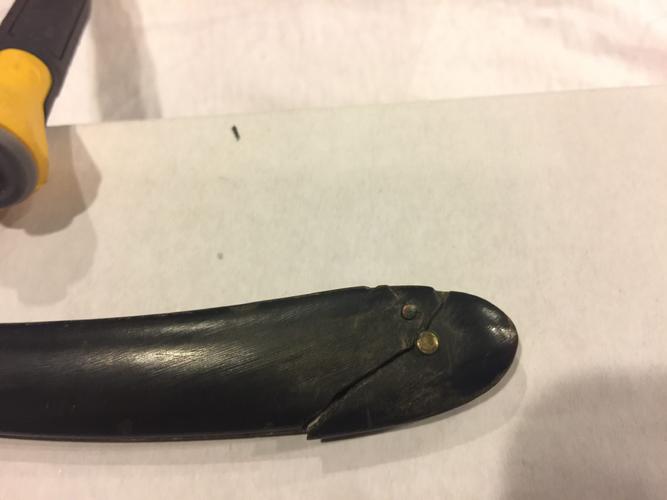
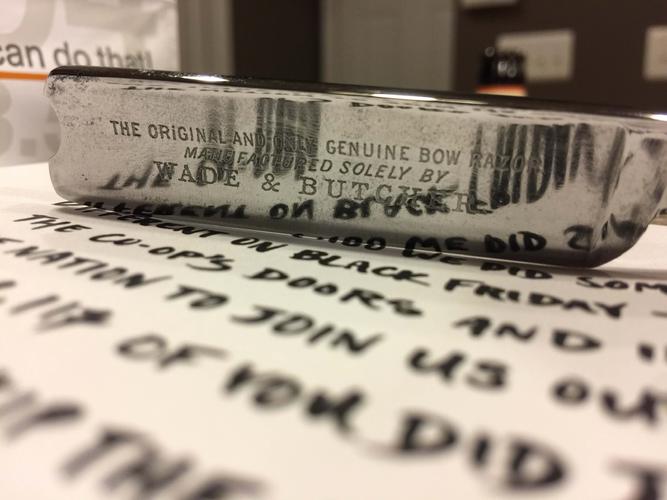
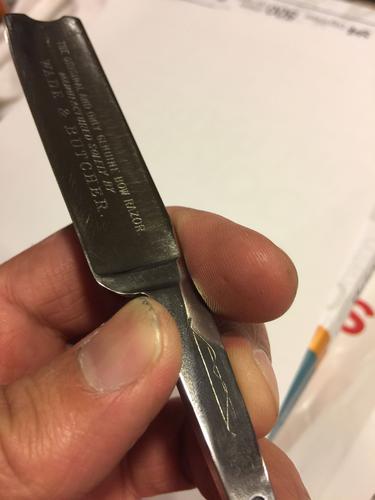
That is a good point AcesandEights! Unfortunately once I got some of the dirt and first layer of tarnish off, I noticed a really deep set of curved scratches. I'll see if I can't find a picture to point them out. Originally Posted by AcesandEights
Focus in the area below the "CHER" in Butcher.

In this one you can see the same scratch strokes above the CHER.

Those were there and I tried to get rid of them but they are really deep.
Sent from my iPhone using Tapatalk
-
11-20-2016, 05:32 PM #8Member

- Join Date
- Nov 2016
- Location
- SF
- Posts
- 79
Thanked: 14
I am doing my first restoration at http://straightrazorpalace.com/works...ing-tools.html so take my recommendations with a grain of salt.
As RezDog said, WD40 + cork works great. In my last session of cleaning I went from higher to lower grits. If I were you, I would start with 1500, see what happens and go lower if needed.
Good luck!Swirv likes this.
-
11-20-2016, 05:41 PM #9Member
- Join Date
- Sep 2016
- Posts
- 35
Thanked: 3
I did think about trying that out! It makes sense. Why go too low and make new scratches?! Thanks for the insight cmsessa! Originally Posted by cmsessa
Sent from my iPhone using Tapatalk
-
11-20-2016, 05:44 PM #10Member
- Join Date
- Sep 2016
- Posts
- 35
Thanked: 3
I do have a dremel, but I'm honestly more concerned with the level of control and in my opinion, using a Dremel (unless you're a pro) when it comes to detailed task such as this is like using a microwave to make Lasagna instead of using an oven...they may yield Lasagna at the end...but the oven baked one will surely taste better! [emoji51]
Sent from my iPhone using Tapatalk


 Reply With Quote