
Results 11 to 20 of 26
 62Likes
Thread: Dealing with heavy rust?
 LinkBack URL
 About LinkBacks
-
11-26-2016, 12:19 AM #11Member


- Join Date
- Nov 2016
- Location
- SF
- Posts
- 79
Thanked: 14
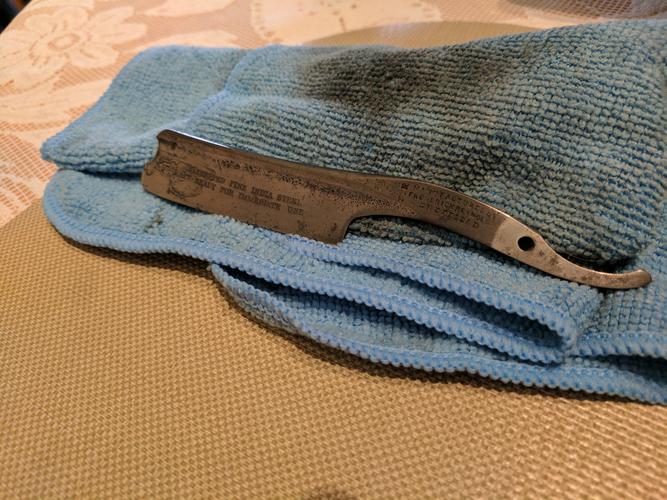
Oh, I started the process before reading your message.
Here's what it looks like:

Yep, I read that you can keep on using it until it turns dark. Originally Posted by Euclid440

Hehe, I didn't call anyone but I did google it. What's weird is that amazon returns a product! Originally Posted by Euclid440
2 Pack Elbow Grease~2 each 15 oz:
https://www.amazon.com/Grease-2-Oil-...s=Elbow+Grease
Thanks! I will keep on updating this thread. My main concern is learning and I am happy with the progress Originally Posted by Euclid440
 Euclid440 likes this.
-
11-26-2016, 12:27 AM #12At this point in time...


- Join Date
- Jun 2007
- Location
- North Idaho Redoubt
- Posts
- 27,205
- Blog Entries
- 1
Thanked: 13250
Cut a 3x8 piece of 1000 Grit sandpaper or there about
Holding the razor like a knife with the spine OFF the sandpaper set a bevel, look at the bevel with a bright light and magnification... be careful not to flatten out the smile more then it already is (see below)
If you see clean non-pitted steel then continue with the restoration, if not start at square one again
Of course you have already invested time and money in this razor so all that I just typed will be ignored
You also need to recognize that the edge and the Spine "Look" to be out of geometry with each other so honing needs to be targeted on putting it back inline when you hone this
Save Time and Money at the top of this forum
http://straightrazorpalace.com/works...wers-here.html
and in there is exactly what Rezdog/Shaun and I are mentioning about check the steel first
http://straightrazorpalace.com/works...er-2013-a.html
but yes learning and having fun are paramount, being able to actually use it to shave after is pretty fun too
Last edited by gssixgun; 11-26-2016 at 12:31 AM.
-
-
11-26-2016, 12:33 AM #13Senior Member


- Join Date
- Feb 2013
- Location
- Haida Gwaii, British Columbia, Canada
- Posts
- 14,457
Thanked: 4830
I think that is the big hook! Originally Posted by gssixgun
It's not what you know, it's who you take fishing!
-
11-26-2016, 02:13 AM #14Member
- Join Date
- Nov 2016
- Location
- SF
- Posts
- 79
Thanked: 14
After two hours soaked in EvapoRust:
Will update in two hours.
-
11-26-2016, 04:55 AM #15Member
- Join Date
- Nov 2016
- Location
- SF
- Posts
- 79
Thanked: 14
4 hours update:
 ScoutHikerDad likes this.
-
11-26-2016, 07:52 AM #16
When using EvapoRust, be sure the entire blade is in the solution. If part of the blade is exposed to air you stand a good chance of etching a mark at the air/solution line.
This means you cannot place part of the razor in Evaporust to address a troublesome spot.If you don't care where you are, you are not lost.
-
-
11-26-2016, 06:52 PM #17Member
- Join Date
- Nov 2016
- Location
- SF
- Posts
- 79
Thanked: 14
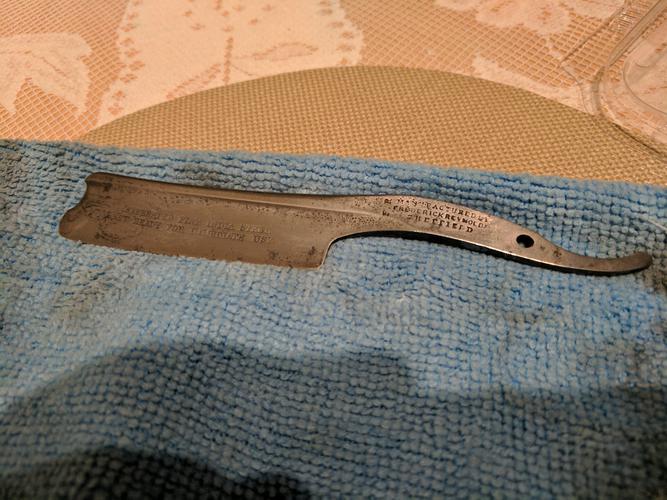
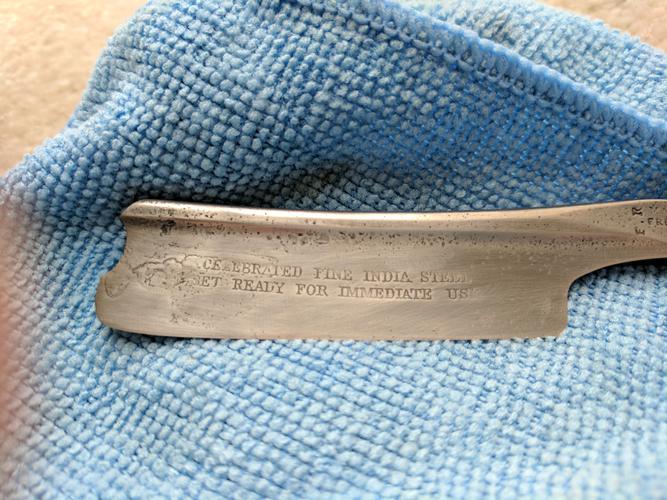
Around 18 hours later:
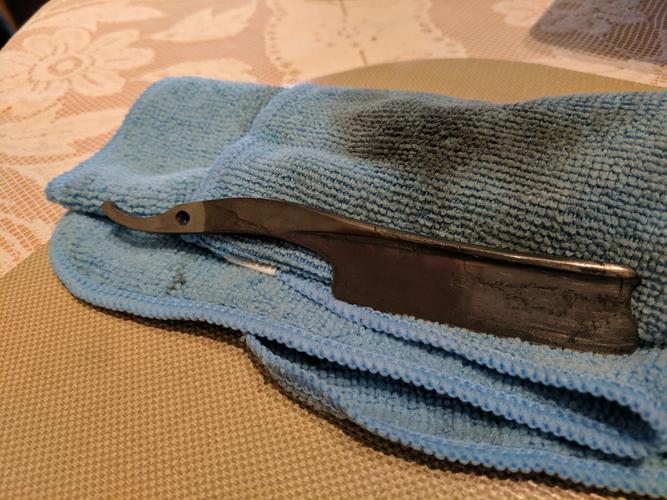
I have read before starting the process that the metal could get dark. Apparently, 1000 grit should have been able to remove it but since I wanted to work a bit more on the rust close to the blade I went to 400 grit directly.
I don't know why the tang didn't get dark, the entire blade was inside the solution.
"The darkening" disappeared after the first 400 grit pass. This is how it looks after 40 mins of sanding:

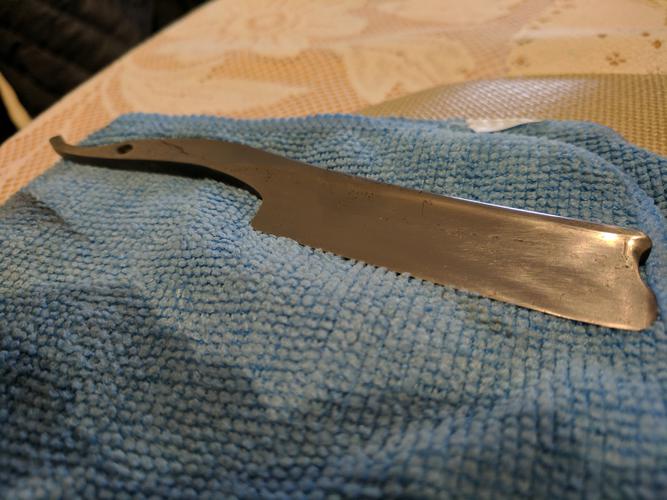
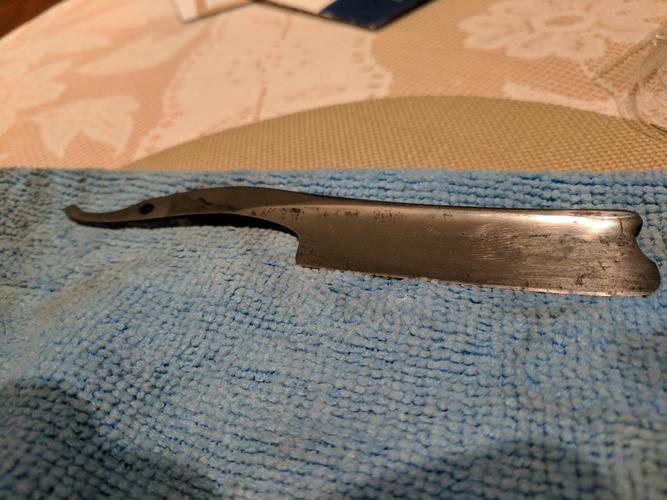
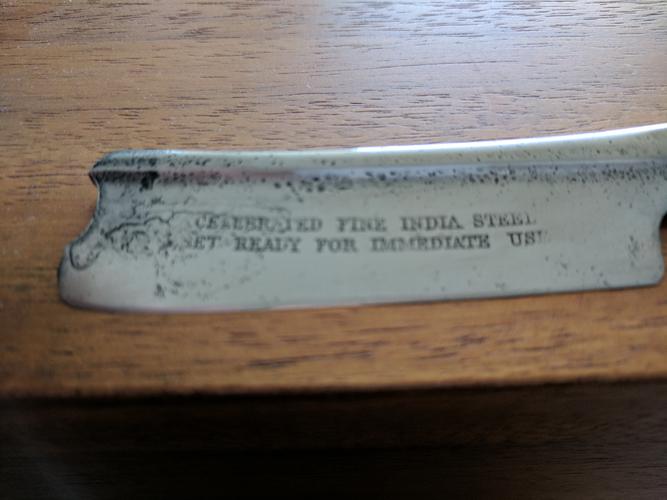
A closer look with natural light:
Today I finally saw what some people mention in this thread about rust close to the blade. The magical elbow grease can't save everything? I will put the blade back in the EvapoRust to see what happens...ScoutHikerDad likes this.
-
11-26-2016, 08:12 PM #18Senior Member

- Join Date
- Mar 2015
- Location
- Akron, Ohio
- Posts
- 12,119
Thanked: 4317
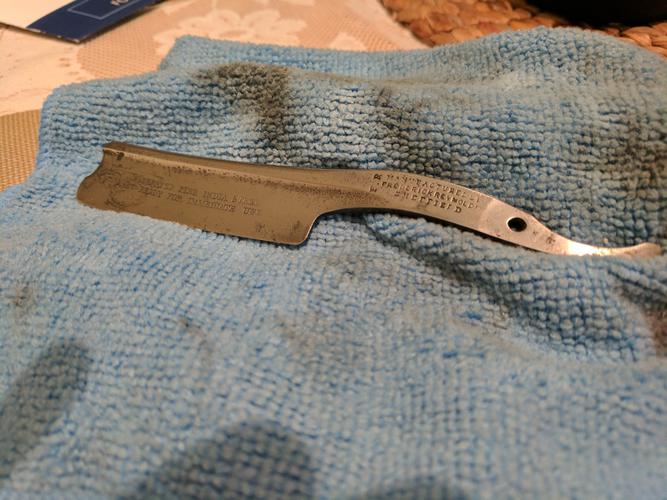
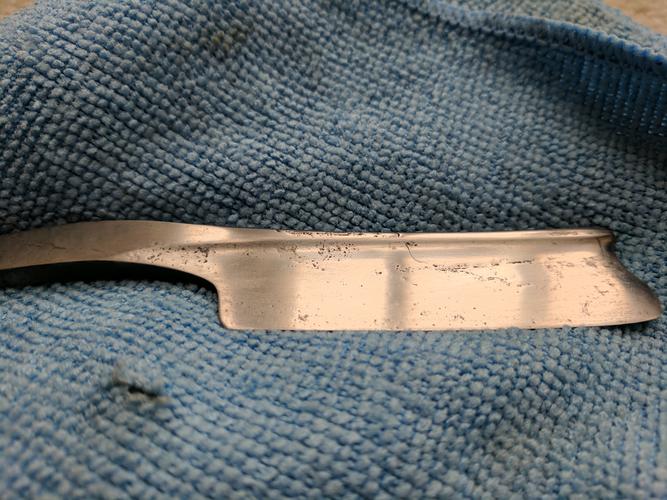
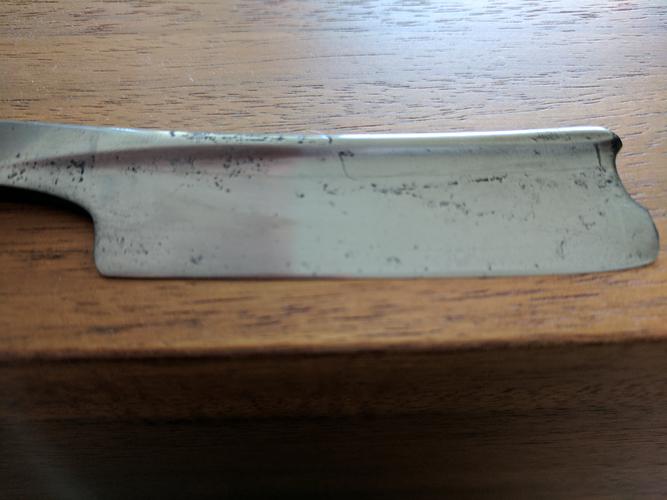
IMHO, I would move on to 600, 1000 w/d paper, and polish.
Looking closely at the second to last pic, of the backside of the blade. Those Pitts look pretty deep at the edge near mid blade. There's four in a row, moving from the toe towards mid blade, and a fifth very near the edge, just beyond them.
You may have a small window to obtain a clean bevel between those pits, if not, your gonna be removing some serious steel to get there.
This one had a extremely small window of opportunity, had to keep checking with a loupe to make it.

 Mike
Mike
-
-
11-26-2016, 11:27 PM #19Member
- Join Date
- Nov 2016
- Location
- SF
- Posts
- 79
Thanked: 14
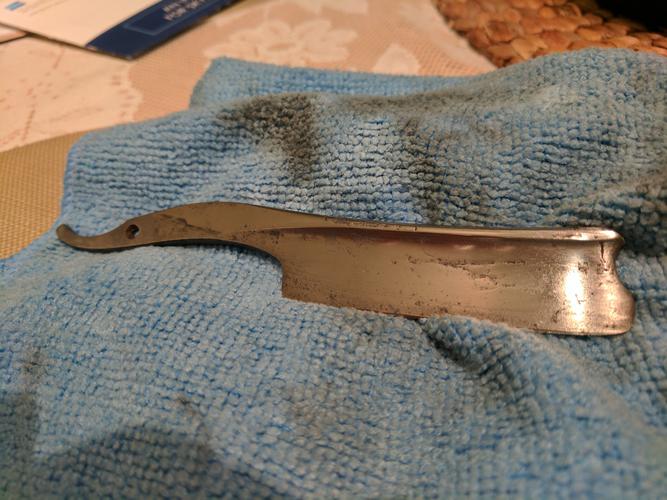
Originally Posted by outback
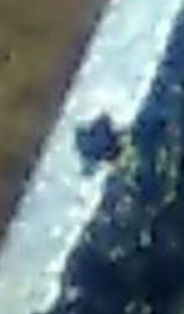
Isn't that black mark a problem?
-
11-27-2016, 06:25 PM #20Member
- Join Date
- Nov 2016
- Location
- SF
- Posts
- 79
Thanked: 14
Update:
I visited Voidmonster and he helped me out setting the bevel. I didn't do a good job taking a picture of the bevel but if you don't believe me, believe Voidmonster
I do a final cleaning today and sand the original scales. Will update soon.RezDog likes this.


 Reply With Quote


