Results 11 to 13 of 13
Thread: Making Self Wedging Scales
-
05-08-2018, 02:03 AM #11

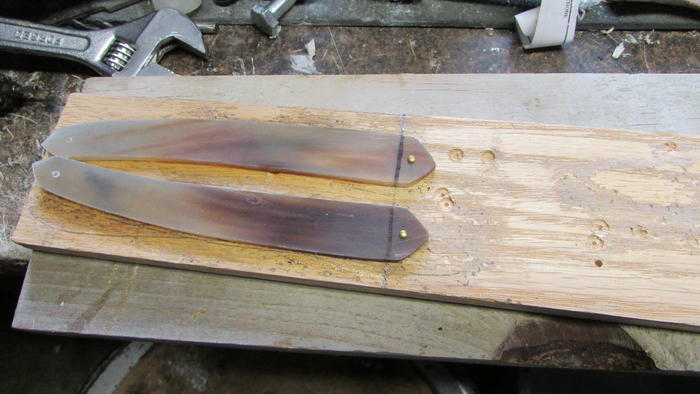
Here's the method that I have used a couple of times. I built myself a home made version of the Luthiers friend sanding station.I first mount the scale blanks to a piece of wood with some rubber cement and a brad in the wedge end.

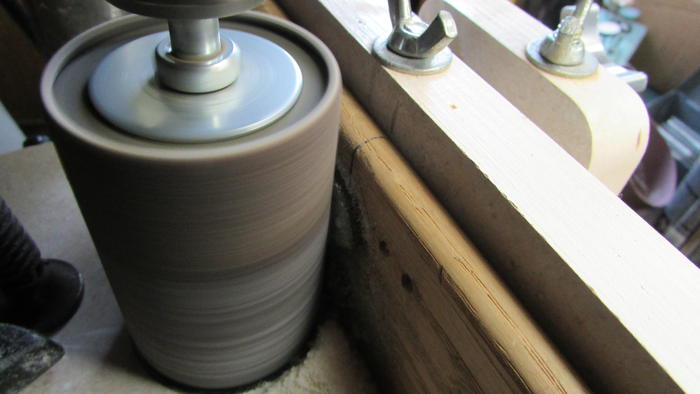
then insert into the sander up to a mark on the fence.

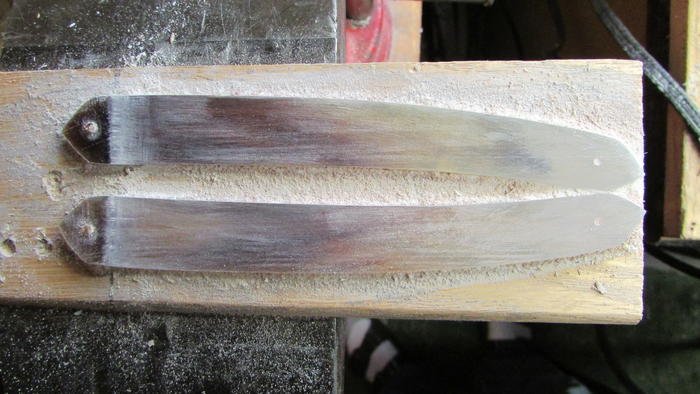
With each pass i adjust the fence to sand deeper until it is the proper thickness. I used a coarser paper this time but a finer sleeve would have left less clean up.

-
-
05-08-2018, 03:22 PM #12

Another method
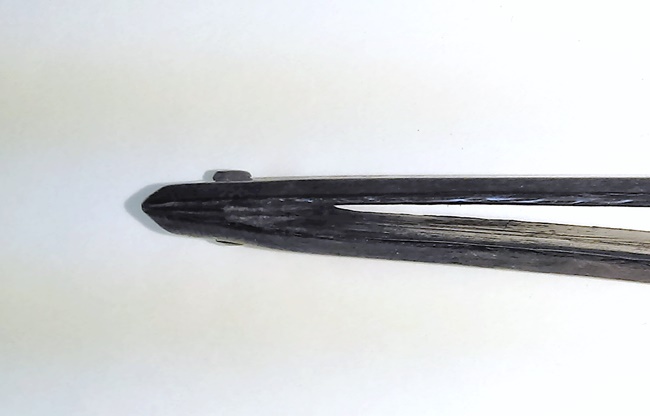
Going through my oldies, I came across this method of making scales without a wedge. It was probably used on longer scales, or hollow ground blades, as the space at the wedge was fairly tight.
It is formed by tapering the inside of the actual scales from the opening to a thinner thickness at the end. When pinned, it is as effective as a wedge would be.

~RichardBe yourself; everyone else is already taken.
- Oscar Wilde
-
The Following User Says Thank You to Geezer For This Useful Post:
tintin (05-09-2018)
-
07-24-2020, 04:22 PM #13

Bump for stub tail restorers
Be yourself; everyone else is already taken.
- Oscar Wilde


 30Likes
 LinkBack URL
 About LinkBacks


 Reply With Quote

