Results 1 to 10 of 13
Thread: Making Self Wedging Scales
-
05-03-2018, 09:46 PM #1
 Making Self Wedging Scales
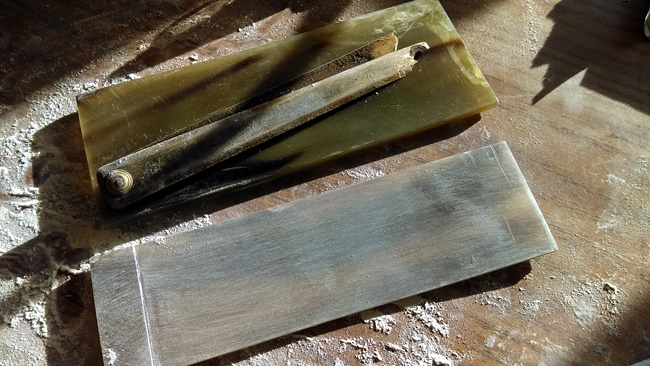
To start, have the material cut to about an 1/8th inch+ thick. Best to have the stock two scales wide. Smooth one side. That will be the finished outside.
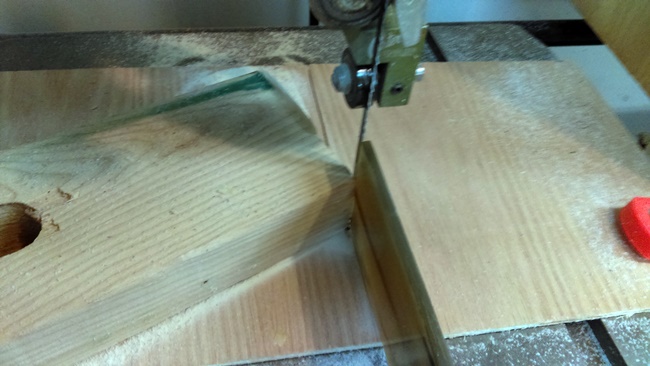
To make the cut, I used a bandsaw.
First, saw to the middle of a flat board to cover the throat of the saw to prevent the workpiece from falling into the hole or sticking while cutting. Secure the board with tape or clamps..
Then, I cut a length of wood ( 2x3 )long enough to clamp to the table edge of the saw table and to be able to be trimmed by the blade.
Next I swung the piece to cut a vertical edge at the end, Then I cut the end to slightly make a rounded point..
I then clamped it to the table with the slight point a tiny bit ahead of the saw blade teeth and against them..
Why all the hassle? To assure that I had a vertical surface that matched the angle of the saw blade exactly and a guide to press the workpiece against while removing a blade width of material from the stock.
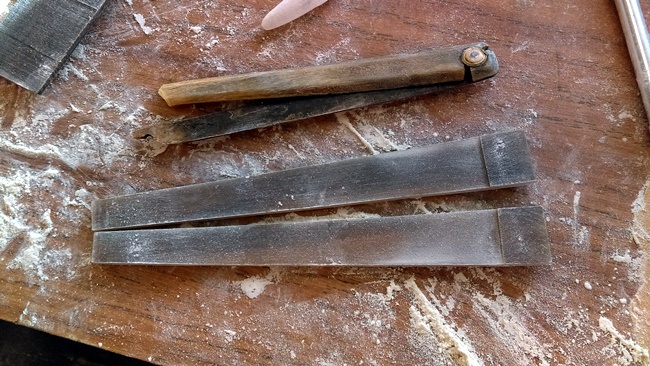
Feed the stock against the blade till you reach the stop mark on it. This give you a raised flat at the end of the stock, which will become the wedge.


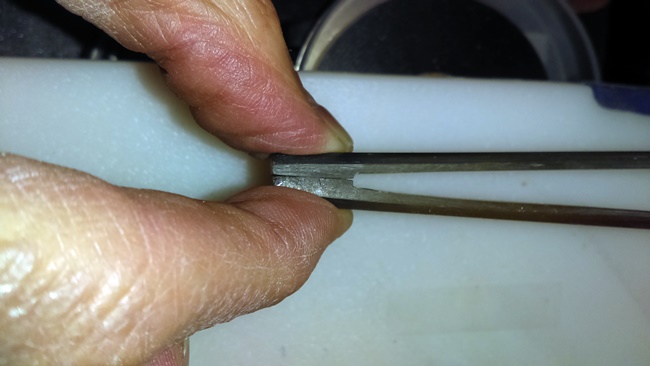
From there on it is just normal scale work except for tapering the flats at the wedge end. Use a file as sand paper will always make a slightly domed surface.

~RichardBe yourself; everyone else is already taken.
- Oscar Wilde
-
The Following 12 Users Say Thank You to Geezer For This Useful Post:
-
05-03-2018, 10:35 PM #2

Clever. I’ve wondered how one could do this.
I dont have a band saw, but thought I could sand away that section on a belt grinder.
-
05-03-2018, 10:48 PM #3

That should work, jigging the piece to stop the cut will be a fun job! The thread is an invitation to enjoy the possibilities for duplicating old work.
I am able to think of other methods of accomplishing this. I had available a bandsaw. I also have a Dremel router table. and cannot use it in my spaces. I sometimes have access to the bandsaw and a belt sander and that is a long drive away.
Enjoy the possibilities!
~RichardBe yourself; everyone else is already taken.
- Oscar Wilde
-
05-04-2018, 12:25 AM #4

That is a super post, thanks for sharing your knowledge.
-
05-04-2018, 12:23 PM #5

Ok guys, please post the photo results and set ups you use as you solve the setups needed for the tools you use! That would keep the possibilities in one place for the future readers.
~RichardBe yourself; everyone else is already taken.
- Oscar Wilde
-
05-04-2018, 01:43 PM #6

Nice work, Richard. I always called that an 'integral wedge' or 'wedgeless'.
I have one an old member did for me. He made them in his machine shop.
Some pics of the process in this thread....
https://straightrazorpalace.com/cust...2-general.html
-
The Following User Says Thank You to sharptonn For This Useful Post:
Geezer (05-04-2018)
-
05-05-2018, 03:40 AM #7Senior Member


- Join Date
- Feb 2015
- Location
- Duluth, GA - Atlanta OTP North
- Posts
- 2,546
- Blog Entries
- 1
Thanked: 315
Thanks for the post Richard. I've wondered about the best way to do this, but it would be a real pain to do without the right tools. A band saw seems to be a real time saver on a lot of these projects. That must have required some steady hands to get the cut straight.
Did you need to place the pin any lower or use glue to keep a gap from forming at the bottom?
MrHouston
A belt sander may work, but you would have to be very careful and keep it flat with even pressure. The heat could cause warping which would make the belt remove material unevenly.- Joshua
-
05-05-2018, 02:46 PM #8

Having the saw blade a bit back from the edge of the guide takes care of that. That method also allows feeding the material into a blade that wanders. It is also a way to control a curved blank. And, a lot of blanks are less than straight. The vertical surface of the guide block assures that the stock is cut to the same depth along it's length.
Be yourself; everyone else is already taken.
- Oscar Wilde
-
05-05-2018, 11:45 PM #9

I've done this a few times on the belt sander, by hanging the 'wedge' part off of the belt and sanding down the rest. On later scales (mid 1800s) that had cheaper wedgeless scales, I've seen a lot where the 'wedge' was half and half on each scale, but from most old razors (1700s) like the scales you have pictured I've generally seen that the 'wedge' is only on one side, with the other scale being just flat.
-
The Following User Says Thank You to ScienceGuy For This Useful Post:
Geezer (05-05-2018)
-
05-07-2018, 04:30 AM #10

I take that back to a degree. Going through the collection tonight I do notice quite a few from the 18th c. with the false wedge split between both scales.


 30Likes
 LinkBack URL
 About LinkBacks


 Reply With Quote
