
Results 11 to 20 of 24
 40Likes
 LinkBack URL
 About LinkBacks
-
06-11-2018, 04:33 PM #11'with that said'


- Join Date
- Aug 2010
- Location
- Walla Walla in WA State USA
- Posts
- 11,247
Thanked: 4237
There is Nothing Wrong with leaving a bit of history or battle scars in a razor. See this link:
https://straightrazorpalace.com/cust...ered-horn.html
As I said I started with a 4" cotton wheel on a cordless drill, it worked well and you can control the speeds. I'd avoid the Dremel style tools, if you want to use power HF's buffers will suffice. Also use at least a 4" sewn cotton wheel if you use the threaded tapered ends you can even find 2" wheels. Do not use anything larger than 4" not only do they not get into the hollow of the blades the larger one have way more surface speed and that makes heat!Our house is as Neil left it- an Aladdins cave of 'stuff'.
Kim X
-
The Following User Says Thank You to cudarunner For This Useful Post:
Shojo510 (06-12-2018)
-
06-11-2018, 04:48 PM #12Senior Member
- Join Date
- Sep 2017
- Location
- Upstate New York
- Posts
- 641
Thanked: 104
I stay away from power tools if at all possible. Just good old 3m sandpaper. I just take it in steps down to about 1000 grit. It takes a while to remove the metal but I am not in a hurry. Sheet of copper and a number 10h pencil are useful for removing rust too.
Gasman likes this.
-
The Following User Says Thank You to MrZ For This Useful Post:
Shojo510 (06-12-2018)
-
06-12-2018, 12:05 AM #13Member
- Join Date
- May 2018
- Location
- San Mateo County, California
- Posts
- 48
Thanked: 3
I was entertaining the idea of a wheel attached to the drill as an alternative to the bench top tools or dremel type devices...something to give my sanding hand a break. Those rapid light touch on the blade seems pretty Dangerous, numerous times the paper caught on the tail and pulled me into the edge...wife distracted Me and I got a small slice on the finger tip, lucked out there! Thought I had really screwed up :-(
-
06-12-2018, 05:15 PM #14Senior Member

- Join Date
- Apr 2009
- Location
- Boulder County CO
- Posts
- 1,004
Thanked: 127
I don't do Dremmel on blades anymore because I have a dozen or so blades that are worthy of Ebay's Hall of Shame as a result. Seems no matter how careful, how brief, or how lightly I tried to clean up a blade using anything attached to a Dremmel, it usually wound up in the ""crazy projects" bin here. Nothing like spending almost $200 on a blade that needs a full restoration only so see pieces of it splinter off and fly across the room as I gingerly lightly touch a Dremmel attachment to it.
Bought a few buffing wheels/machines and the full compliment of compounds and life is much easier. But as Cuda suggests, just leaving a blade alone is a good thing if it's simply patina or simply age affecting it. There are certainly blades that need to have a mirror finish, but just as many are in perfect shaving condition and look pretty cool just as they are - a new set of interesting scales and it's off to the honing stones and a shave.
Of course the trick is figuring out which blade is which.
-
-
06-13-2018, 05:07 AM #15Member
- Join Date
- May 2018
- Location
- San Mateo County, California
- Posts
- 48
Thanked: 3
Ok so I sanded lightly and sanded lightly a lot more and tried different hand sanding patterns and grits and techniques to try and get a consistent satin on the blade and still have a brighter frame/tang portion...
Best I could do so far is consistent grain on the blade somewhere in the 4-600grit range and the best was a scotch brite type buffing pad. Brasso has been applied, it is what I have
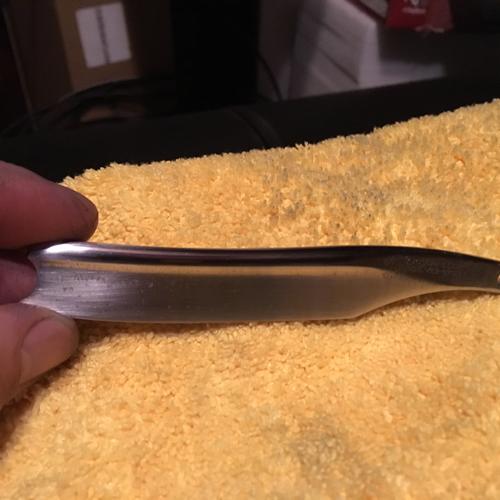
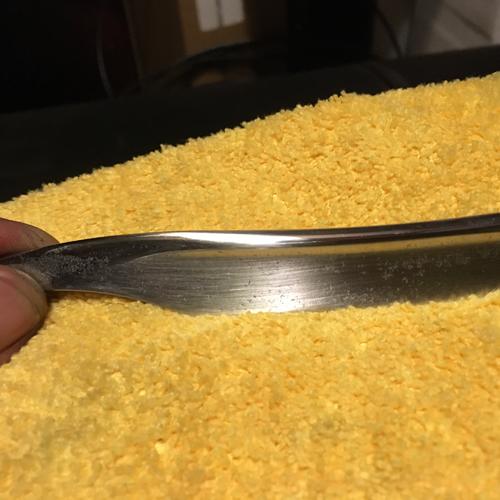
Not sure what else I can do to soften the grain but I am at least content with it at the moment...I think
Any thoughts about ways to soften the grain on the blade?
Thanks All!
What do you think
-
06-13-2018, 12:58 PM #16Senior Member
- Join Date
- Sep 2017
- Location
- Upstate New York
- Posts
- 641
Thanked: 104
I would say to drop down to an 800 or a 1000 grit and sand in the vertically to remove the scratch pattern. doing fine circles will eliminate the pattern as well.
Slawman likes this.
-
The Following User Says Thank You to MrZ For This Useful Post:
Shojo510 (06-13-2018)
-
06-13-2018, 03:26 PM #17Member
- Join Date
- May 2018
- Location
- San Mateo County, California
- Posts
- 48
Thanked: 3
I tried the finer grits and they seem to move more to the mirror finish, I also tried the vertical, 45 left+45 right (crosshatch) and small circles. The grain that you see is only visible when you change the angle, so very fine scratches. I'm glad I could get it back to a consistent one direction(!hand cramp!)
I may have reached a holding pattern with the blade...otherwise I may end up with one arm larger than the other LOL!
Best, JohnAirColorado likes this.
-
06-13-2018, 04:10 PM #18Senior Member

- Join Date
- Feb 2018
- Location
- Manotick, Ontario, Canada
- Posts
- 2,798
Thanked: 557
I’ve had some success finishing with Simoniz Rubbing Compound on a microfibre cloth. Don’t cut your fingers!
David
Shared sorrow is lessened, shared joy is increased
― Spider Robinson, Callahan's Crosstime Saloon
-
The Following User Says Thank You to DZEC For This Useful Post:
Shojo510 (06-13-2018)
-
06-13-2018, 07:09 PM #19Member
- Join Date
- May 2018
- Location
- San Mateo County, California
- Posts
- 48
Thanked: 3
Totally forgot about rubbing compound! So focused on sandpaper and polishing and rouges...
Thank you Sir! Thanks to all!
-
06-13-2018, 10:26 PM #20Member
- Join Date
- May 2018
- Location
- San Mateo County, California
- Posts
- 48
Thanked: 3
Ok This Blade is done! Picked up some 2" cotton buffer cones for the drill with some crayons and smoothed out the grain. Thanks for the tip Roy! Did about 20 laps with the brown crayon and a couple with the white and a second buffer cone. Worked real good, I think with the drill it doesn't get as high speed so keeps the heat down and not so dangerous.
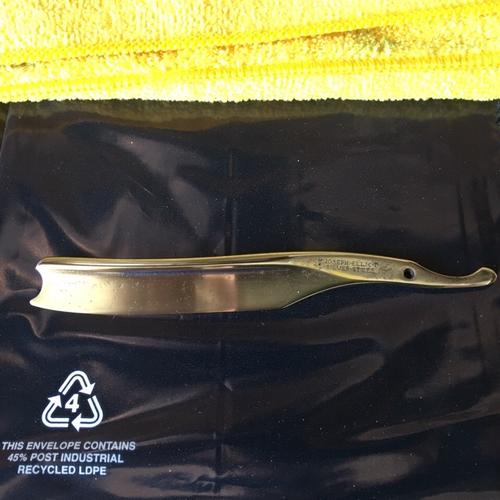
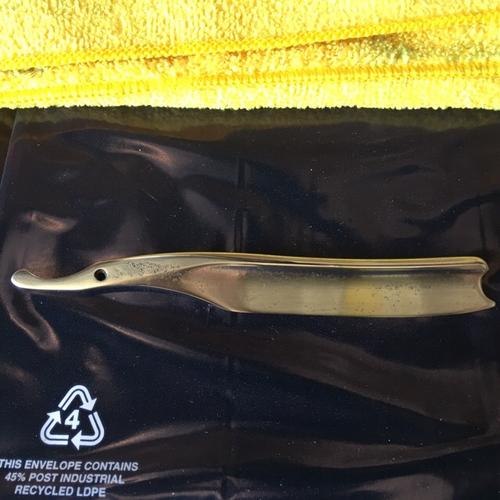
Time to order some rods and washers! Blonde horn scale material is in route!
Thanks all!Geezer likes this.


 Reply With Quote