
Results 11 to 20 of 23
 94Likes
Thread: Lines in Black Horn
 LinkBack URL
 About LinkBacks
-
02-05-2020, 06:28 AM #11Senior Member

- Join Date
- Dec 2016
- Posts
- 283
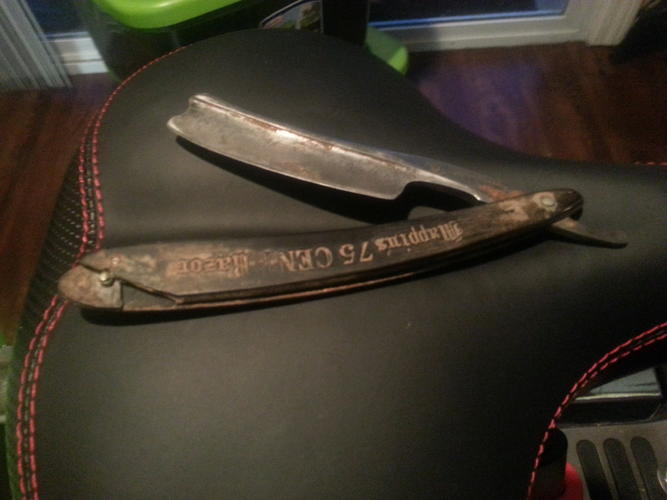
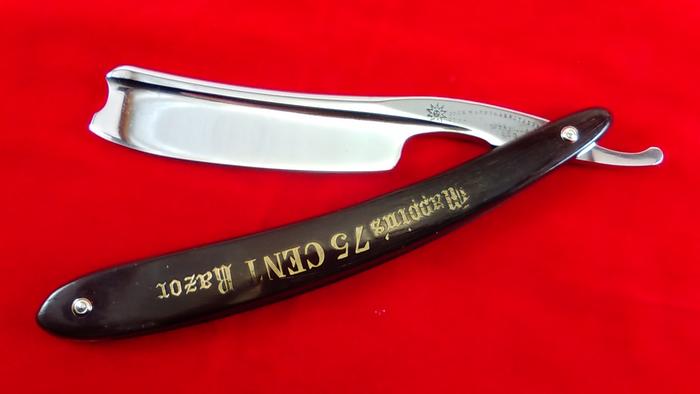
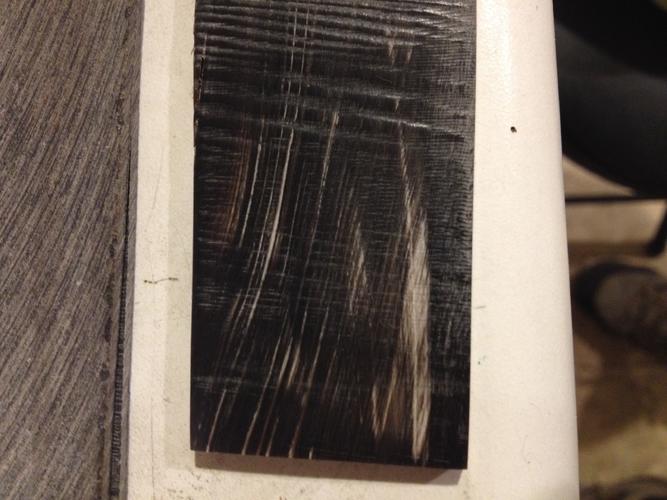
Thanked: 61 A good thought, but those were there before I boiled and flattened them. Ridges had risen up on the scles, I think for being so old and dried out. A lot of them went down a bit after the soak in neatsfoot oil and then I sanded what was left flat and smooth. The scales were very hard and difficult to sand, but after the oil soak it behaved more like I would have expected it to.
 Originally Posted by JOB15

-
02-05-2020, 07:25 AM #12www.edge-dynamics.com

- Join Date
- Feb 2013
- Location
- London
- Posts
- 3,066
Thanked: 512
I have been warned by people with knowledge against boiling horn or even letting it soak to long.
It messes with the fibers..
I'll have more knowledge on this as I continue my own experiments
-
02-05-2020, 10:44 AM #13Senior Member


- Join Date
- Dec 2012
- Location
- Egham, a little town just outside London.
- Posts
- 3,851
- Blog Entries
- 2
Thanked: 1082
Use MAAS or similar buffing compound to finish. It will greatly reduce the appearance of the lines.
-
02-05-2020, 12:00 PM #14Senior Member

- Join Date
- Mar 2015
- Location
- Akron, Ohio
- Posts
- 12,106
Thanked: 4313
An old clothes iron is your best friend for flattening old, dry, twisted and curling horn.
I always sand, fill bug bites, and dye, before any soaking in oil. If I'm going to use dye, CA repairs are done last, as CA won't accept dye.
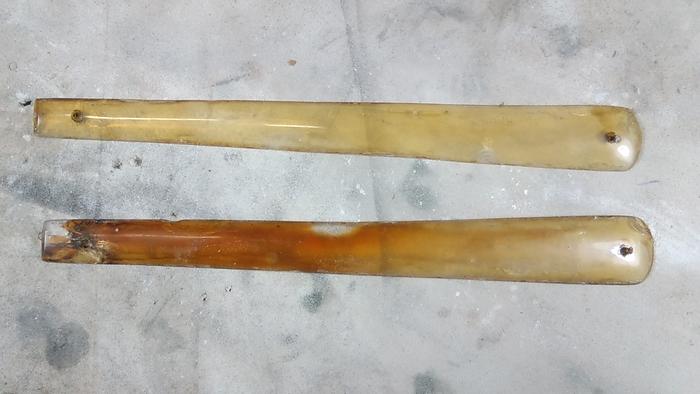
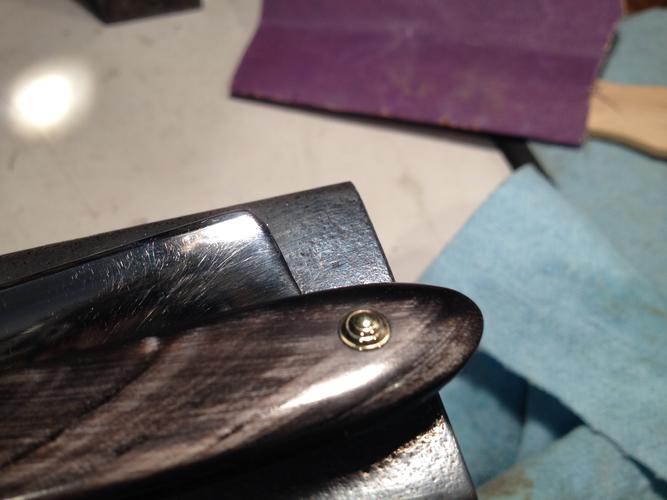
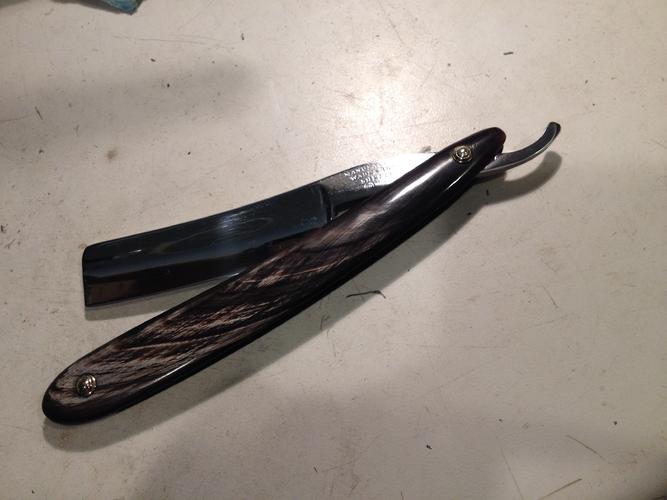
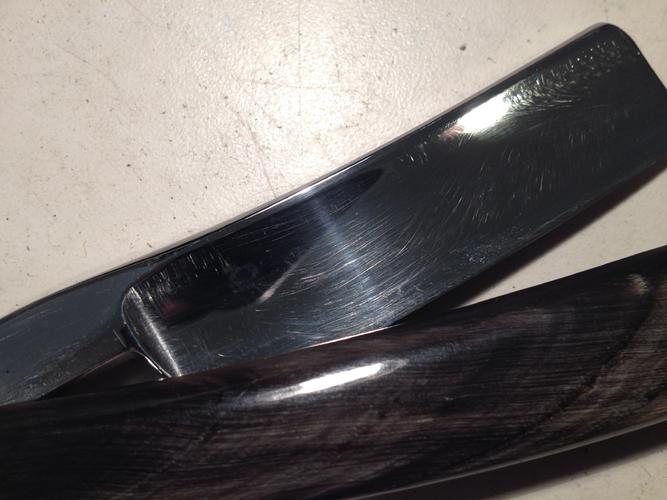
I think what you have, is a bit of delamination in the rings. Sometimes they won't come out with sanding, their just that deep. They are what they are, old.!
BTW....they look great.! For being 100+ years old.
FYI....I never sand past 600 grt., and always finish with 000 or 0000, steel wool. I steel wool them again, after they come out of oil. Then decide weather to leave them a matte finish, or polish to a high shine. Which can be done by hand, if u have no buffer.
For large bug bites, or missing pieces, I've found that mixing burnt wooden matches ground to a powder, or wood dust with a structural epoxy, makes great seamless repairs, that will except dye. Then it can be coated with CA, then sanded and polished to match the rest of the scale.

Honey horn has to be attacked in another manner, to black horn. Repairs do best from the inside of the scales, by grinding out the delamination, and leaving the outer layer ( fingernail thickness ) then filling with the T-88. Over time, the T-88 will yellow, and blend into the existing horn.
Epoxies won't polish, so I use a thin coat of CA to create a shine. Like the clear coat that protects the paint on your vehicles.Last edited by outback; 02-05-2020 at 12:21 PM.
Mike
-
The Following 4 Users Say Thank You to outback For This Useful Post:
BobH (02-05-2020), Magpie (02-06-2020), markbignosekelly (02-05-2020), ppetresen (02-05-2020)
-
02-05-2020, 04:36 PM #15Senior Member
- Join Date
- Apr 2012
- Location
- Diamond Bar, CA
- Posts
- 6,553
Thanked: 3215
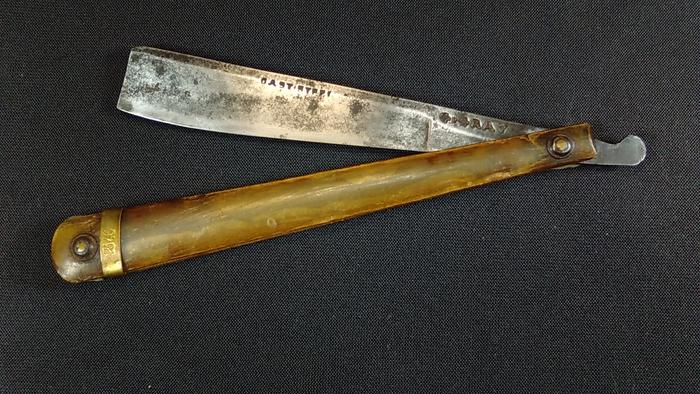
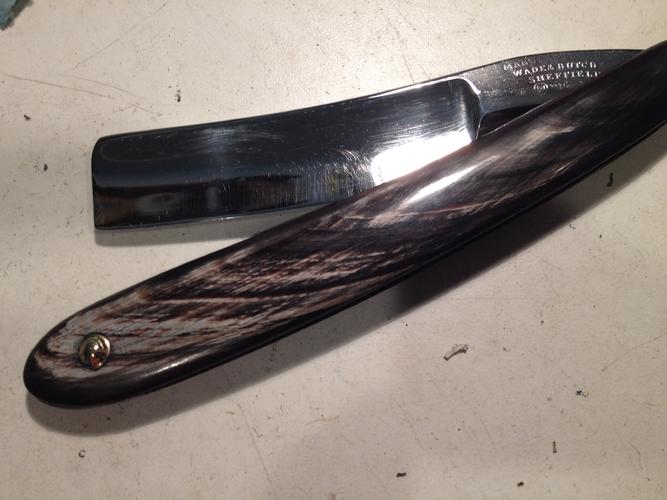
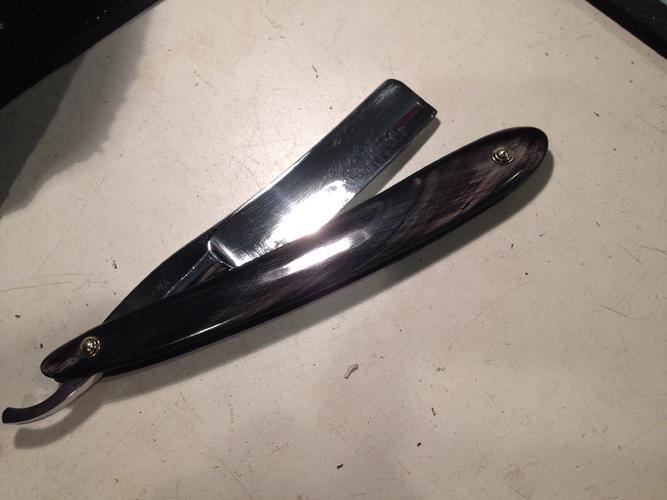
The white pattern in black horn is normal and can look attractive, I often buy horn with this pattern. When buffed it is unique.
You may have to wait a couple days for the oil to stabilize or wipe with alcohol before sanding.
A wedge will keep the horn in tension and prevent them from twisting or bowing.
Sand with 600 and remove all the deep scratches, then 1000 grit. From 1k they should polish to a high luster with any good metal polish by hand or Green Stainless Steel compound and a buffer.
KarleJ has a good tutorial on making horn scales. If you dont like the white streaks you can dye with hair dye, shoe or leather dye or a black sharpie.
Horn is inexpensive and easy to work with hand tools.

-
The Following User Says Thank You to Euclid440 For This Useful Post:
ppetresen (02-05-2020)
-
02-05-2020, 05:37 PM #16Senior Member
- Join Date
- Dec 2012
- Location
- Egham, a little town just outside London.
- Posts
- 3,851
- Blog Entries
- 2
Thanked: 1082
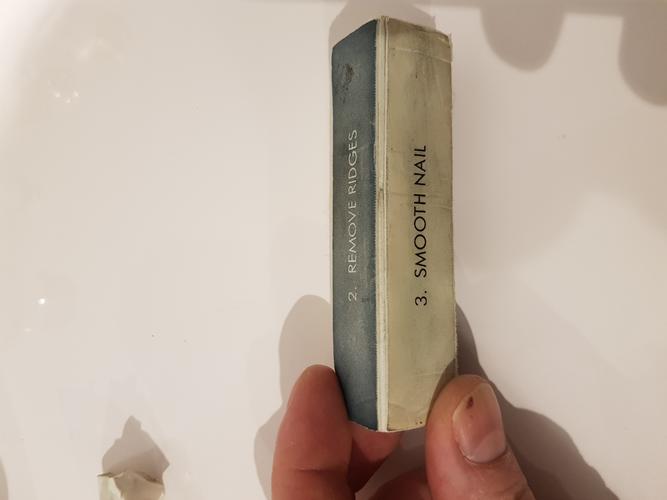
A ladies nail buffing file works wonders too, as horn and nails are both made up of keratin they are the same structural material.
-
02-06-2020, 06:45 AM #17Senior Member
- Join Date
- Dec 2016
- Posts
- 283
Thanked: 61
Really awesome tips here, thanks everyone. I'll have to go pick up some steel wool this weekend. the experimentation and learning piece is one of the bst parts of this hobby.
Cheers!
-
02-06-2020, 11:55 AM #18
Sally's, a woman's supply shop has tons of buffing and sanding sticks. I use them a lot. Originally Posted by markbignosekelly
If you don't care where you are, you are not lost.
-
The Following User Says Thank You to rolodave For This Useful Post:
outback (02-06-2020)
-
02-06-2020, 07:51 PM #19The First Cut is the Deepest!

- Join Date
- Feb 2010
- Location
- Upper Middle Slobovia NY
- Posts
- 2,736
Thanked: 480
Outback, that is some amazing work, and I am SO stupidly happy to see the work I tell others can be done, actually accomplished. Originally Posted by outback
Thank you so much for both sharing, and doing, and Posting!
-
02-06-2020, 09:05 PM #20Senior Member
- Join Date
- Mar 2015
- Location
- Akron, Ohio
- Posts
- 12,106
Thanked: 4313
Thank you, kind sir. I've seen a lot of restored blades, but very little threads or posts of restored scales. I took what little info I could find on horn restoration, then applied a bit of auto body restoring, and the two years I spent in school, learning about industrial plastics, to obtain my results.
I've seen posts on graphing other pieces of scales, to broken scales, then applying a backer/ liner, but I wanted a seamless repair, and be able to keep each razor as close to original as possible.
I've even had some success in fixing a set of cellulose scales, that had a scale busted in half. Most won't take, but I had to try, being the blade was NOS.Last edited by outback; 02-06-2020 at 09:11 PM.
Mike


 Reply With Quote


