
Results 31 to 40 of 45
 95Likes
 LinkBack URL
 About LinkBacks
-
05-29-2022, 11:11 AM #31Senior Member


- Join Date
- Oct 2019
- Location
- Kingsville On, Canada
- Posts
- 2,435
Thanked: 207
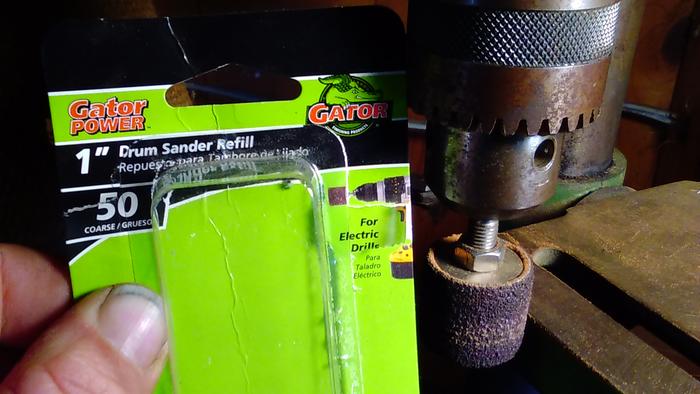
It just occured to me, I have a huge collection of little drum sander bits and sanding drums that I bought for my dremel.

I bet they would go into my pillar drill setup, it may not be the perfect plan but I think I could probably make it work.
While I'm thinking about it, I also have some of those little wool and felt buffing attachments for my dremel so clamping it sideways in my vise gently might make an adaquate buffer if I'm careful until I can afford a proper one.- - Steve
You never realize what you have until it's gone -- Toilet paper is a good example
-
05-29-2022, 11:13 AM #32Senior Member
- Join Date
- Oct 2019
- Location
- Kingsville On, Canada
- Posts
- 2,435
Thanked: 207
Did you notice the leafs clock on my work bench Paul, Go Leafs. Originally Posted by PaulFLUS
 PaulFLUS likes this.- - Steve
You never realize what you have until it's gone -- Toilet paper is a good example
-
05-29-2022, 11:59 AM #33Senior Member


- Join Date
- Mar 2015
- Location
- Akron, Ohio
- Posts
- 12,110
Thanked: 4314
The dremmel will work, the large drum is 1/2" tall. But you'll need heavier grt. sanding wheels than dremmel makes. And the larger drum makes it easier to keep a smooth line. Little drums have a tendency to dig out depressions along you intended, line. Leave's everything wavey, and then you have to smooth it all out, by hand.
Your local hardware store should have them.
 randydance062449 and STF like this.Mike
-
The Following User Says Thank You to outback For This Useful Post:
STF (05-29-2022)
-
05-29-2022, 01:23 PM #34Skeptical Member


- Join Date
- Nov 2016
- Location
- Colorado Springs
- Posts
- 10,551
Thanked: 2194
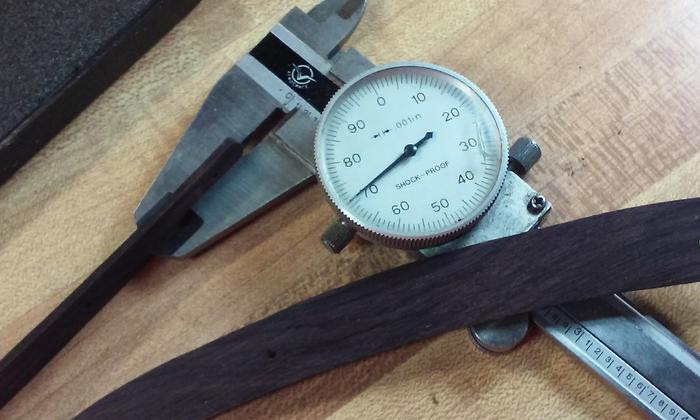
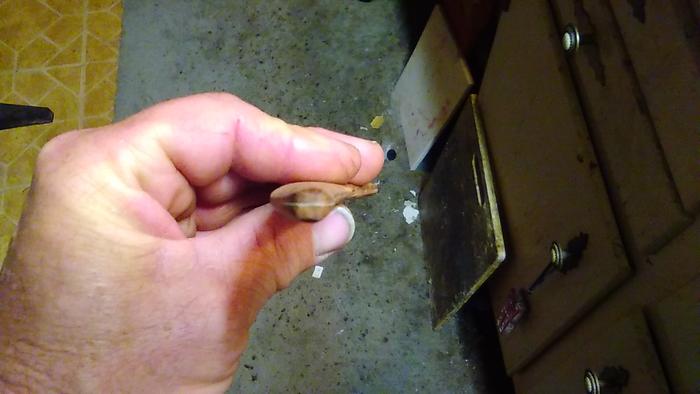
When it comes to thinning the scales I always shoot for 0.010 inches. And no taper. The same thickness from tip to tip.
I use a Bench belt sander for shaping and thinning. To thin the scales, I use two-sided scotch tape and tape the scales to a 3x6x3/4" board that I mounted a handle on. Press the scales to the sander (One or two SETS at a time, not individual) and carefully keep checking the thickness. Rotating the board so I can get the thickness the same on all scales and both ends as it's easy to push too much on one side. Then you have too thin on one side and too thick on the other.It's just Sharpening, right?
Jerry...
-
The Following User Says Thank You to Gasman For This Useful Post:
STF (05-29-2022)
-
05-29-2022, 01:39 PM #35Senior Member

- Join Date
- Dec 2011
- Location
- Omaha, Ne
- Posts
- 482
Thanked: 263
Save this pdf. It will print full size on 8.5 x 11 paper.
http://wiki3c.timline.fr/wp-content/...dd-chasses.pdf
What I have done with this is to copy the .pdf into autocad and trace out every scale in the file. Then I can scan a razor, trace it and test fit it to find the best fit or most appealing scales for the particular blade.
-
-
05-29-2022, 01:41 PM #36Senior Member
- Join Date
- Mar 2015
- Location
- Akron, Ohio
- Posts
- 12,110
Thanked: 4314
Yep, it'll work with all materials. Originally Posted by STF
For thinning scales, it all depends on what style I'm making. If their the flat sided with beveled edges, I'll use my sanding block, and stick. ( piece of 2x10 board, with a sheet of 60 grt. sandpaper held in place with thumbtacks, and a paint stick, or equivalent)
I use it for cleaning up the saw marks, from cutting blanks, and thinning scales.
I use double sided tape to hold the blank or scale, to the sanding stick.
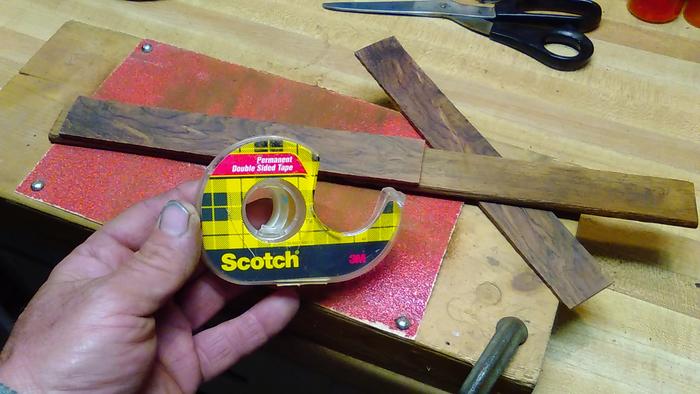
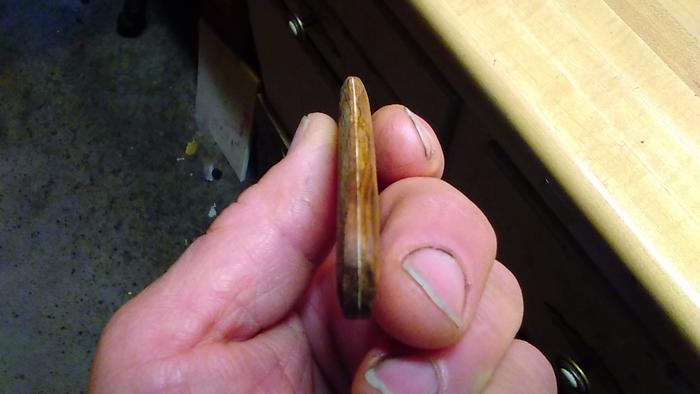
Just peel the scales off on occasion, and check your thickness with a set of calipers.
Also....never thin the scales, from the inside where the blade goes. Only just to remove the saw marks from cutting the blanks. You want them to stay as flat as possible, for a clean and proper fit for the wedge and blade.
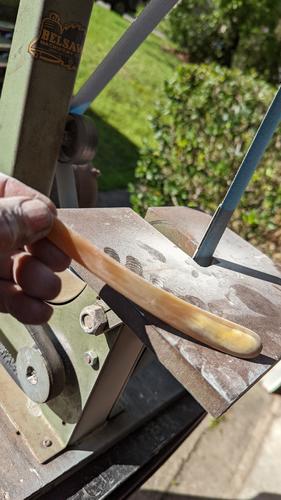
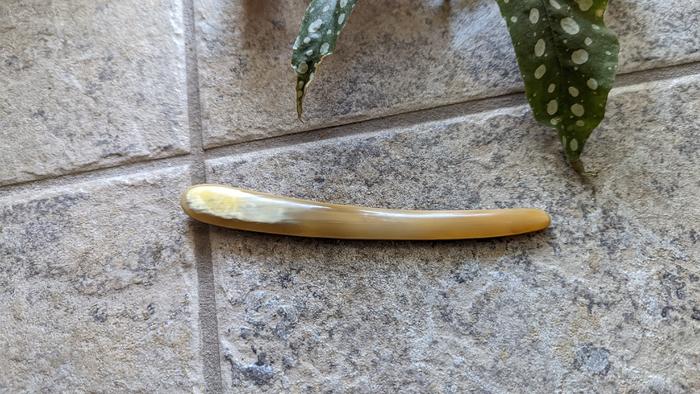
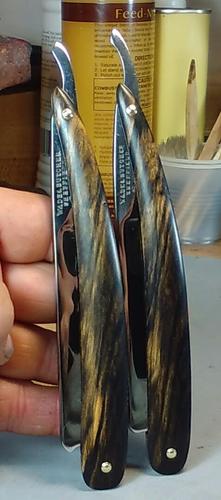
If the scales are to be rounded, I keep them glued together. I'll sand them in a triangular fashion, till I get the sides of the scales tapered to where I want them.
These are still in that process.
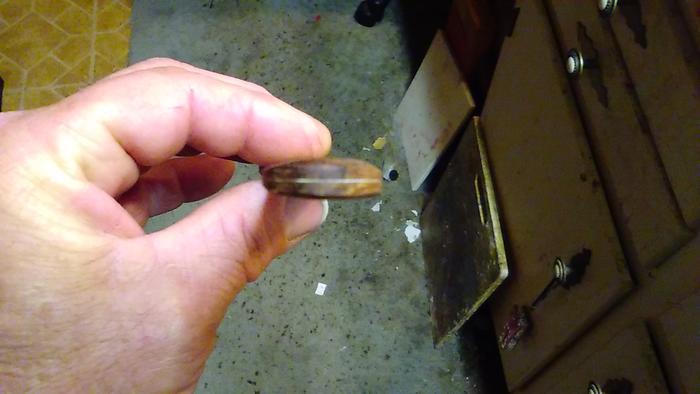
Once I reach the desired shape/contour, then I'll start thinning and shaping the pivot and wedge ends.
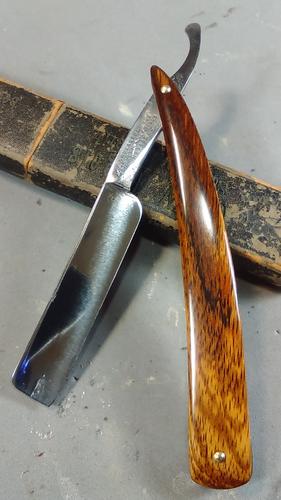
So...flat scales.
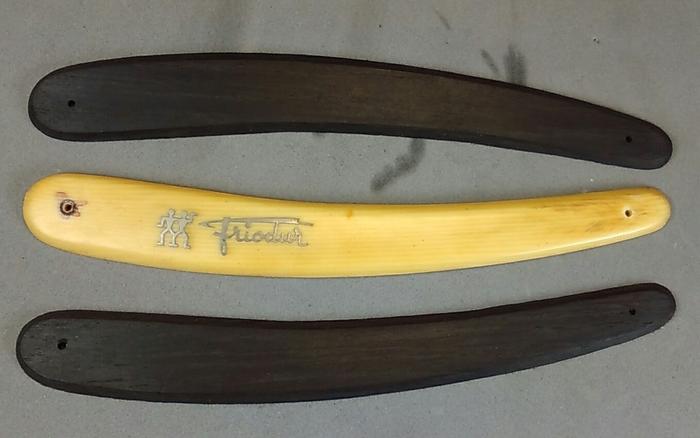
Rounded scales.
Last edited by outback; 05-29-2022 at 02:33 PM.
Mike
-
The Following 2 Users Say Thank You to outback For This Useful Post:
randydance062449 (05-29-2022), STF (05-29-2022)
-
05-29-2022, 01:48 PM #37Skeptical Member
- Join Date
- Nov 2016
- Location
- Colorado Springs
- Posts
- 10,551
Thanked: 2194
That's a cool link.
I made a copy for myself. Sure would have helped me in the past. I don't make many nowadays plus I have made lots of patterns and have saved lots of broken scales for patterns.
Still, a great link for someone getting started.
I use the same tape for thinning as Mike showed. I ran out of it last time so I need to pick up some more before I can continue with my scales. I do very close to the same as Mike. But I incorporated a few power tools.
Last edited by Gasman; 05-29-2022 at 01:52 PM.
It's just Sharpening, right?
Jerry...
-
05-29-2022, 01:57 PM #38Senior Member
- Join Date
- Oct 2019
- Location
- Kingsville On, Canada
- Posts
- 2,435
Thanked: 207
Thank you that is going to save me a lot of freehand, not sure about autocad though. I'll have to look into that but it might be a bit tricky because i haven't used it before. Originally Posted by joamo
outback likes this.- - Steve
You never realize what you have until it's gone -- Toilet paper is a good example
-
05-29-2022, 03:10 PM #39Senior Member

- Join Date
- Dec 2018
- Location
- Gainesville, FL
- Posts
- 6,683
Thanked: 675
I use low temp hot glue to stick them together. It comes apart easily, peels off with a fingernail and doesn't leave a residue. Then I do shaping freehand for the initial before taking them apart.
Of course it helps to have a belt sander with varying grit belts. The 1" belt is perfect for shaping. Once apart I use a caliper to check thickness as I go.
Last edited by PaulFLUS; 05-29-2022 at 03:26 PM.
Iron by iron is sharpened, And a man sharpens the face of his friend. PR 27:17
-
05-29-2022, 03:12 PM #40Senior Member
- Join Date
- Mar 2015
- Location
- Akron, Ohio
- Posts
- 12,110
Thanked: 4314
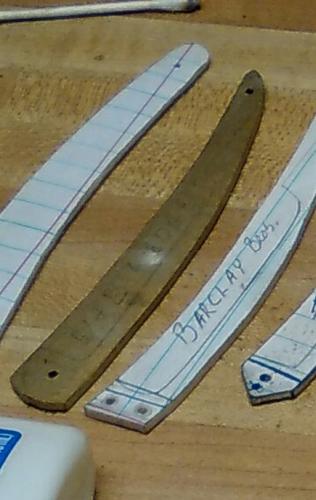
I'm not that computer savvy. So I draw my own, or use the unbroken scale as a template.
I drew one that I like a lot. It also seems to work with several different types of blades as well.
Having the template has been a blessing for making others.
 Mike
Mike
-
The Following User Says Thank You to outback For This Useful Post:
STF (05-29-2022)


 Reply With Quote
