
Results 1 to 10 of 71
 133Likes
Thread: Hinge Holes
 LinkBack URL
 About LinkBacks
Hybrid View
-
04-28-2022, 02:44 AM #1Razor Vulture


- Join Date
- Oct 2010
- Location
- Lone Star State
- Posts
- 25,888
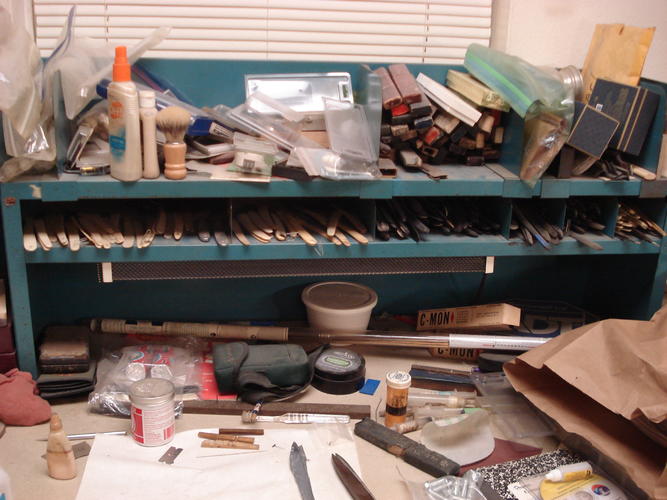
Thanked: 8590 Hard not to do, Jerry. Lots of dusty scales in the back.
 Originally Posted by Gasman

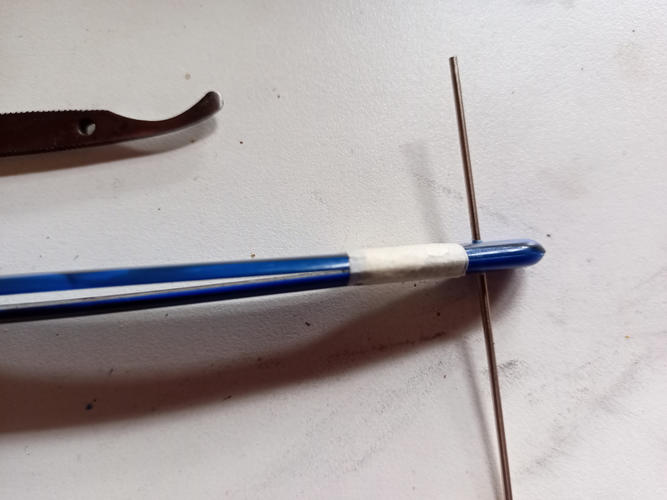
I take a matching rear scale and tape to a matching victim.
Front to back and vice-verssa. Touch the back of the victim through the pin-hole.
Untape and see if I like the position. If not, no harm done. Lots more patterns...
Then. I eyeball it and drill it from the back all willy-nilly!
I go slow and can feel when the tip of the bit is about to break through, Flip it and go at the top as I can see it.
Then, tape this one to it's other half and drill away. Works well for me.
-
04-28-2022, 08:19 AM #2Senior Member


- Join Date
- Dec 2018
- Location
- Gainesville, FL
- Posts
- 5,982
Thanked: 610
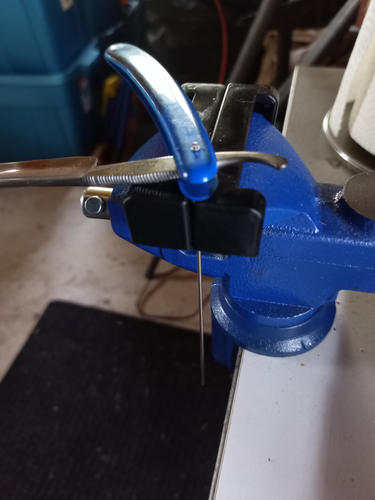
Yeah, I've done it that way too, mainly with wood blanks I have made from snag out of the forest. If you hold your finger against where the bit will come out you can feel it about to break the surface. It's much easier.to be cavalier if they are expendable. Things that are not easily replaced or that I have more significant investment in I find I am more cautious with.
STF likes this.Iron by iron is sharpened, And a man sharpens the face of his friend. PR 27:17
-
05-11-2022, 10:02 PM #3Senior Member


- Join Date
- Oct 2019
- Location
- Kingsville On, Canada
- Posts
- 2,435
Thanked: 207
Guess what I did?
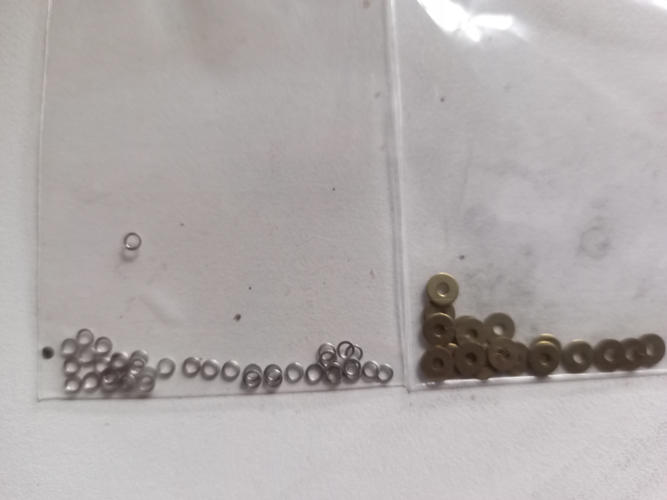
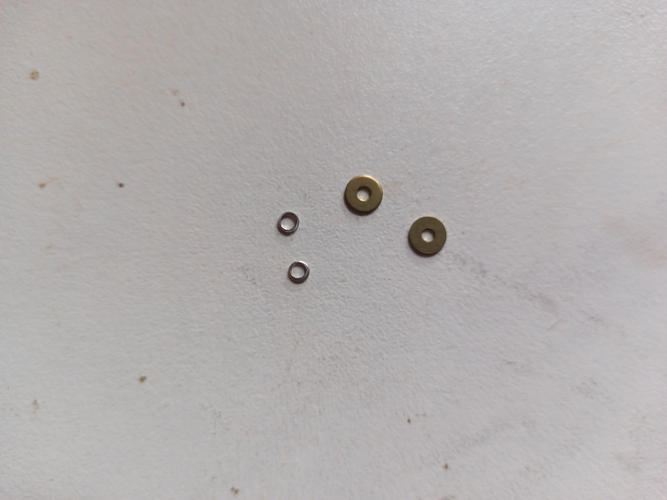
I kept losing the collars when they fell off, I must have gone through about six razors worth so I'll have to try to find the ones I lost.
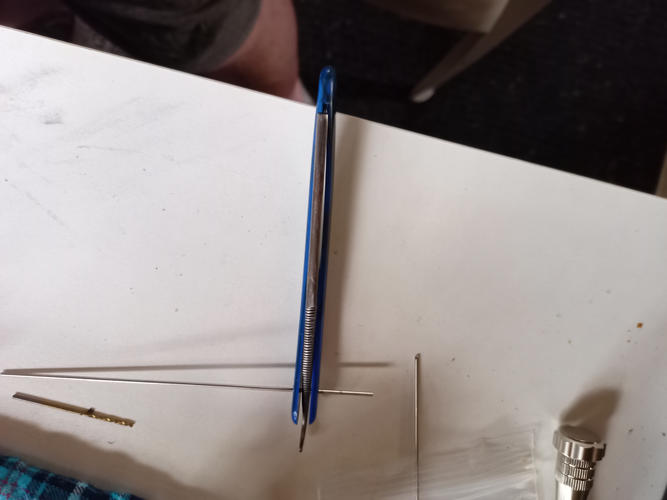
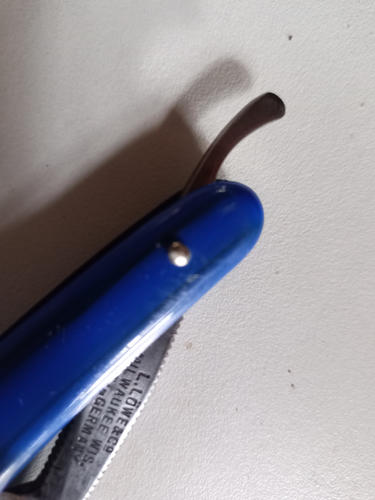
I think the pin may have been too long, started with 1oz ball tap tap, forget that nonsense. 8oz claw hammer, whack wack then finish making it pretty with the 1oz.
The holes are not straight so I need a drill press I reckon, and it is nice and tight when open but goes loose and baggy when I close it again.
Practice makes perfect I know but OMG what a pita of a job. How do you guys have the patience for this stuff.- - Steve
You never realize what you have until it's gone -- Toilet paper is a good example
-
05-11-2022, 10:11 PM #4Skeptical Member

- Join Date
- Nov 2016
- Location
- Colorado Springs
- Posts
- 10,486
Thanked: 2186
Too long and you take a chance in bending the pin. Peening takes a little time. Dont hurry it with a big hammer. Its only going to make things go bad.
It's just Sharpening, right?
Jerry...
-
The Following User Says Thank You to Gasman For This Useful Post:
STF (05-12-2022)
-
05-11-2022, 11:34 PM #5Senior Member
- Join Date
- Dec 2018
- Location
- Gainesville, FL
- Posts
- 5,982
Thanked: 610
Tight then loose usually means a bent pin. The pin is usually bent because it is too longWhat I have is a peening block with 1/16 hole just deep enough for the pin to have a little to snip of when the top is peened. I put the pin in it then stack up everything then take a pair of side cutters and cut it off as close as it will get then peen that. Once it is peened down I flip it then clip it off as close as you can get it. I then peen that with the already peened side in a divot drilled in the block. This should give you just enough.
Also be patient. Pounding it will not only bend the pin but possibly crack the scales.Iron by iron is sharpened, And a man sharpens the face of his friend. PR 27:17
-
The Following User Says Thank You to PaulFLUS For This Useful Post:
STF (05-12-2022)
-
05-12-2022, 12:20 AM #6Senior Member

- Join Date
- Oct 2010
- Location
- 50 miles west of randydance
- Posts
- 9,575
Thanked: 1352
A couple of quick thoughts.
I agree is sounds like your starting pin was to long.
How sloppy was the pin in the hole in the tang?
Since this is your practice piece I would remove this pin and try again.
My sympathy with dropping the washers. The archery shop that I hang around has a carpet that hides dirt good but also small pieces dropped on it.
-
05-12-2022, 12:33 AM #7Razor Vulture
- Join Date
- Oct 2010
- Location
- Lone Star State
- Posts
- 25,888
Thanked: 8590
Steve, look through this thread. Some things I do to avoid collar loss as well as other tips.
Supposed to be a workshop sticky, but as in most things, I seem to be invisible.
Might help? https://sharprazorpalace.com/worksho...-halves-2.htmloutback likes this.
-
The Following User Says Thank You to sharptonn For This Useful Post:
STF (05-12-2022)
-
05-12-2022, 02:27 AM #8Senior Member

- Join Date
- Mar 2015
- Location
- Akron, Ohio
- Posts
- 11,975
Thanked: 4304
Give it to him, Tom. !!
Steve....when I started into restoration, Tom always rode me about my nut n bolt, pins.
So I started playing around with pinning piece's of paint sticks, and scraps, before doing razors. Still botch one every now n then, but that's the good part about it...just unpin and start over, before things go wrong.
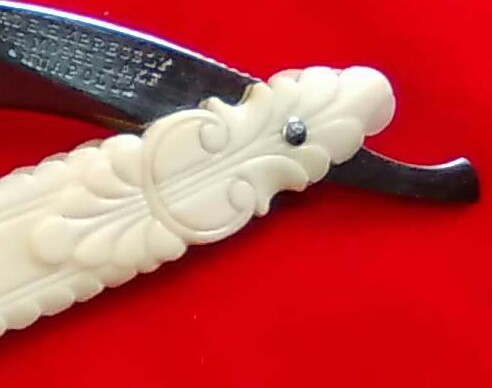
Knowing the..before things go wrong, is learned thru the experience of pinning lots of razor's. Once I was confident in my pinning, then I moved to collarless peening. The final test was to peen ivory.
I use several of the tips, Tom has given you in those posts, as well as from others, here.
Just burn up a few meters of rod, you should have it down by then, along with a few tricks of your own.
No kiddin... I've gone thru over 5 meters of brass rod, and nearly as much silver/nickle.Mike
-
The Following User Says Thank You to outback For This Useful Post:
STF (05-12-2022)
-
05-12-2022, 01:37 PM #9Senior Member
- Join Date
- Oct 2019
- Location
- Kingsville On, Canada
- Posts
- 2,435
Thanked: 207
The hole in the tang was certainly more than 1/16 but not ridiculously big. Originally Posted by 32t
- - Steve
You never realize what you have until it's gone -- Toilet paper is a good example
-
05-12-2022, 01:41 PM #10Senior Member
- Join Date
- Oct 2019
- Location
- Kingsville On, Canada
- Posts
- 2,435
Thanked: 207
Just so I am sure I understand Paul, cut the pin off just about as flush as I can with my flush cutters after the colar is on? Originally Posted by PaulFLUS
The tiny fraction that is impossible to cut flush is all I need to peen?- - Steve
You never realize what you have until it's gone -- Toilet paper is a good example


 Reply With Quote