
Results 1 to 10 of 19
Thread: C-MON Blackie Rebuild Pics....
 LinkBack URL
 About LinkBacks
-
03-24-2011, 07:08 AM #1all your razor are belong to us


- Join Date
- Sep 2009
- Location
- Fresno, CA
- Posts
- 1,368
Thanked: 446 C-MON Blackie Rebuild Pics....
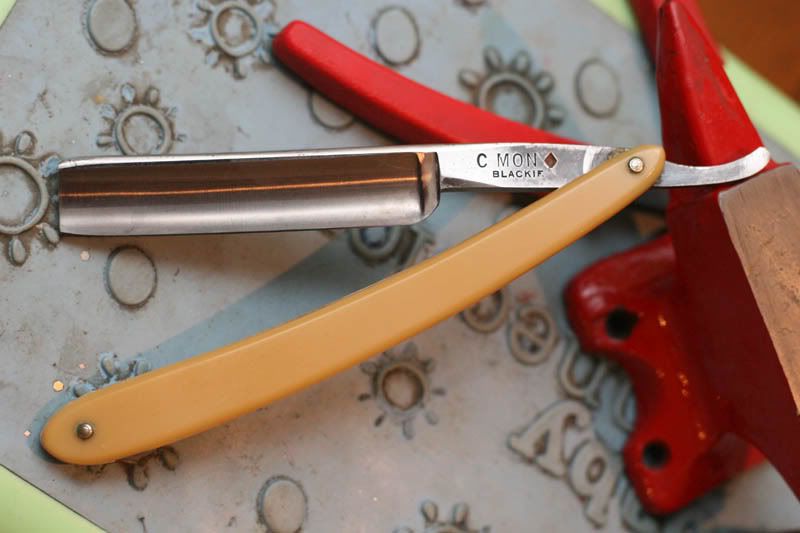
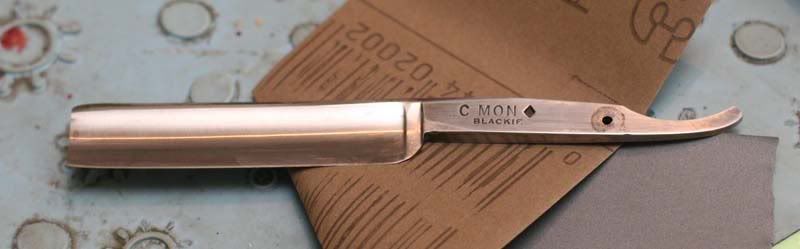
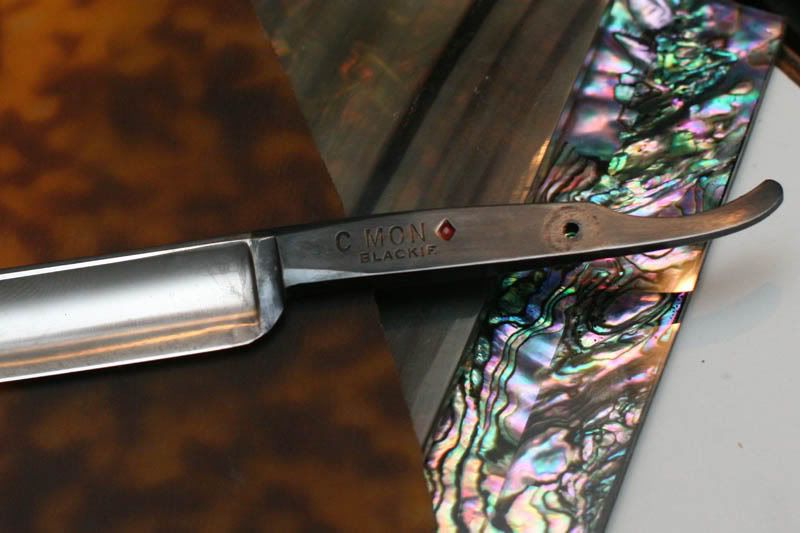
I wanted to take a bunch of pics of a C-MON Blackie rebuild that I'm working through to show that although you don't have a bunch of shop equipment, you can still do a really nice rebuild on a low budget and get some nice results.
I've had this Blackie for about six months and it shaves great, but the scales are thin, puny things that don't look right on the blade...actually, I hate the scales that it has on it.
First thing I did was to remove the pins using the method I wrote about here: http://straightrazorpalace.com/works...al-method.html
Here was the result
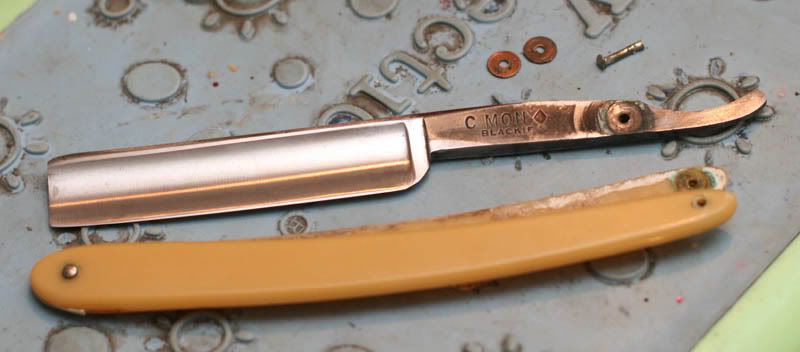
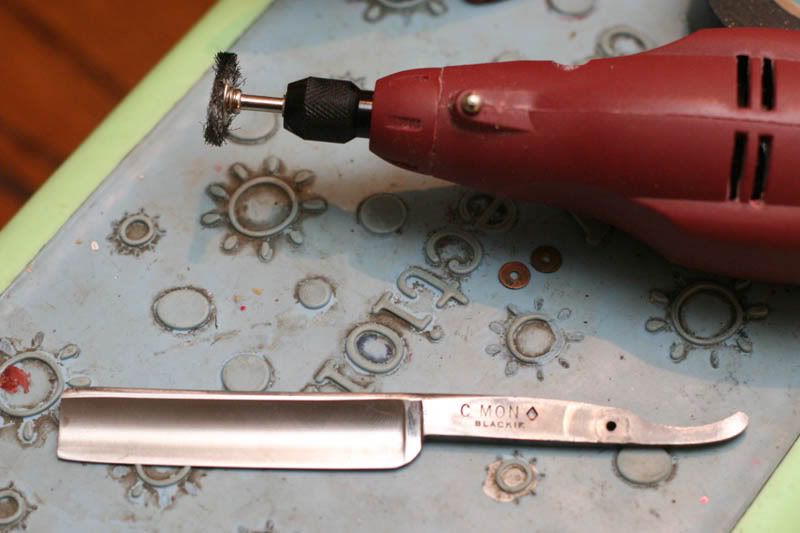
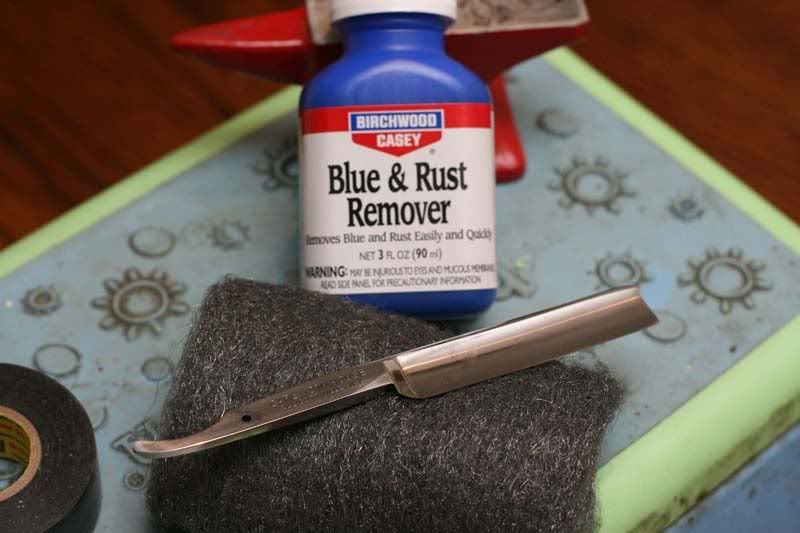
I don't do full restores due to lack of proper skill and equipment so I'll call this a 'rebuild' instead of a full restore. The blade looked nice but as you can see, there's lots of scum and lather residual that had to be removed. So using a HF rotary, I used the metal brush to get rid of all the scum and old blue from the tang only.
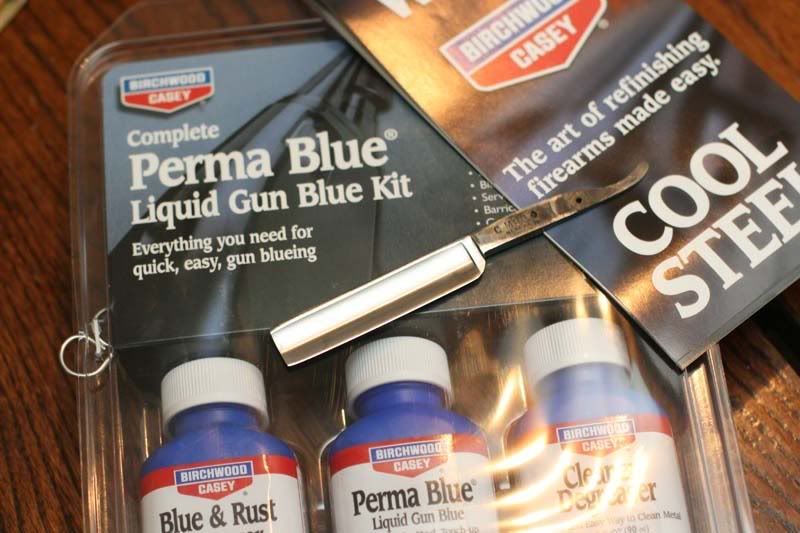
From here, I went to a local sporting goods store and picked up a Perma-Blu kit to redo the tang...
Following the direction, I wet sanded at 400 over the tang...
I followed up with an ample sanding using 2k wet sandpaper to smooth out as many imperfections as I could...
After the 2k, I moved on to about thirty minutes of Mother's metal polish to bring as much of the shine out as I could.
-
03-24-2011, 07:09 AM #2all your razor are belong to us
- Join Date
- Sep 2009
- Location
- Fresno, CA
- Posts
- 1,368
Thanked: 446
The next stage includes cleaning all the oils off the tang using the included degreaser. After degreasing, it's important that you not touch the tang lest you end up with a botched blue job.
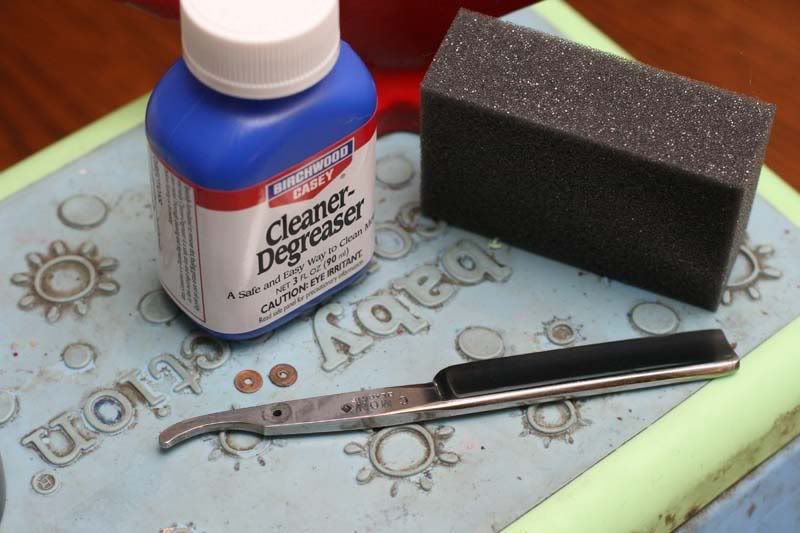
After degreasing, the next step is to use the included blue remover. Apply for a full two minutes and then carefully rinse off the solution...with any luck, the remaining old blue will be gone leaving you with nice clean metal. Must also mention that back in the sanding stage, you have to get all that red paint out of your diamond.
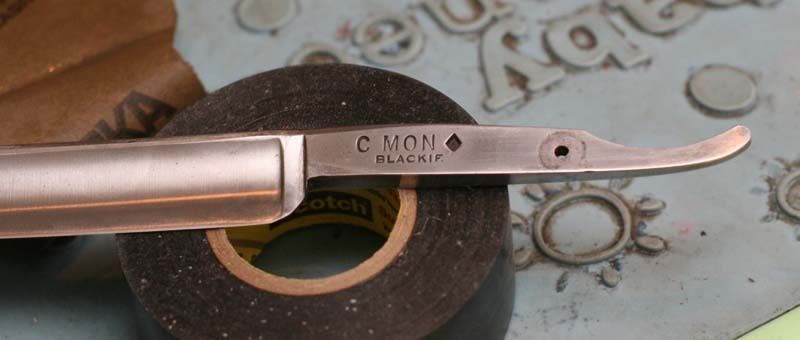
This is where the fun begins! Time to start blueing your tang. Before I get going, I taped down the area where I wanted the blue to stop using some electrical tape. I burnished down the tape to help prevent blue from running underneath. Remember...no touching the tang!!!
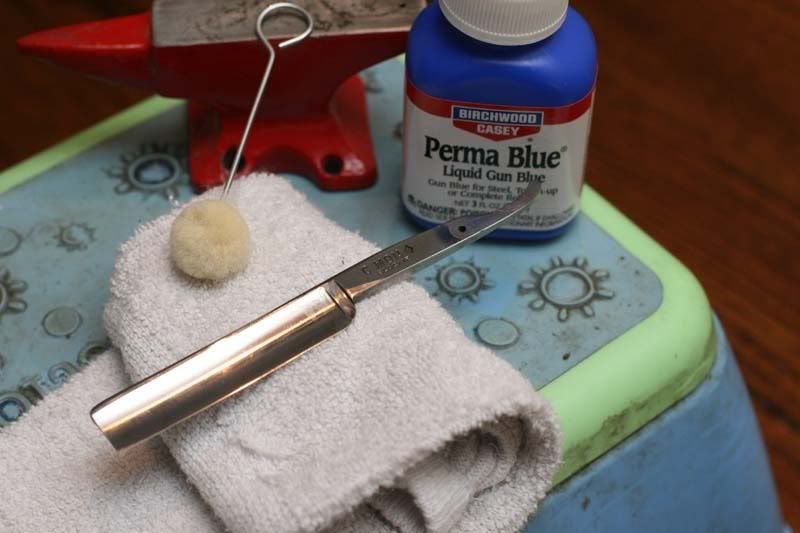

It took about four-five coats of blue before I got to the place where I was happy with the results. The directions said to only leave the blue on for 30-60 seconds before rinsing it off and checking your results.

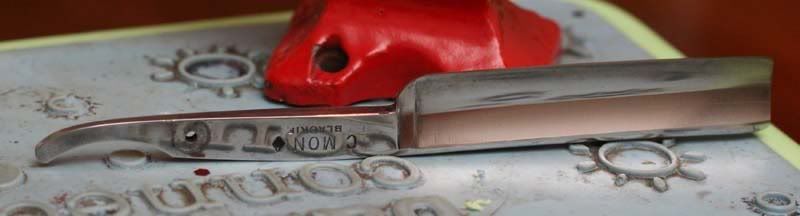
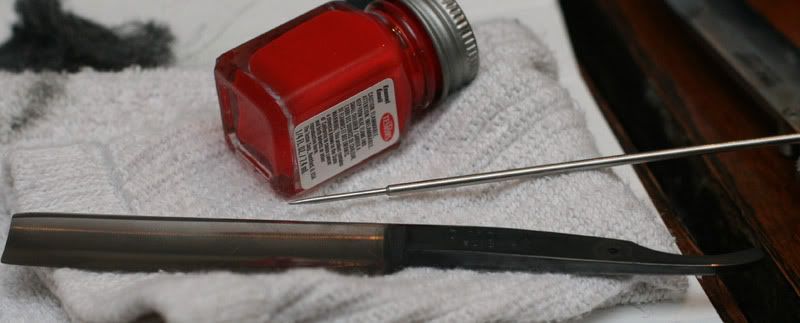
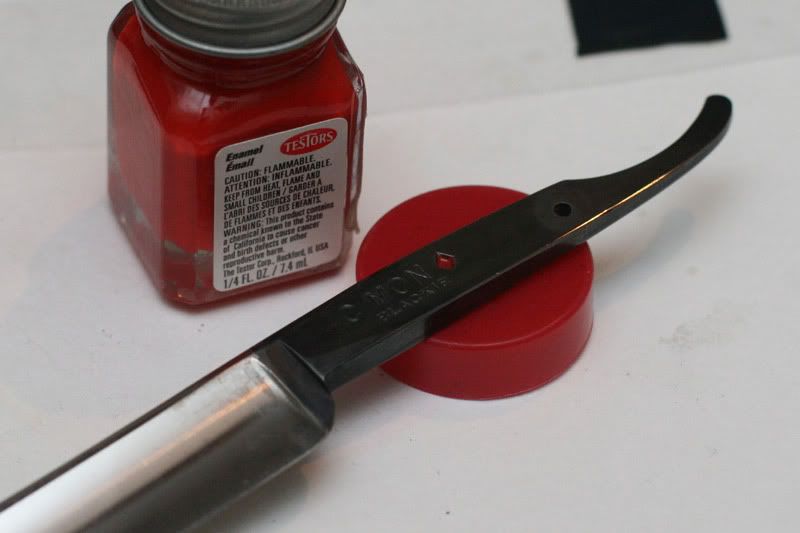
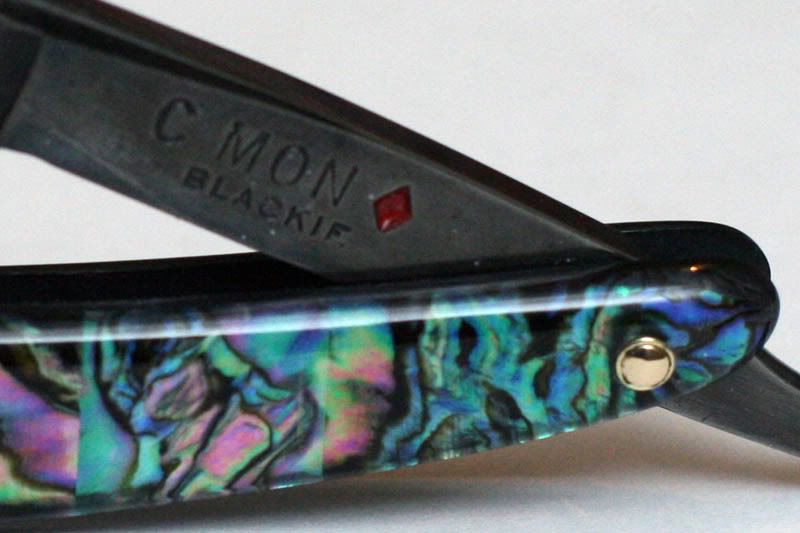
After leaving the blade to sit for a while, it's time to add a touch of detail using a needle and some Testor's red enamel right into that diamond. Care has to be taken or else you'll get that red paint EVERYWHERE...trust me, I know...and it's a pain to get off your finished work.
-
03-24-2011, 07:15 AM #3all your razor are belong to us
- Join Date
- Sep 2009
- Location
- Fresno, CA
- Posts
- 1,368
Thanked: 446
After applying your enamel carefully, WALK AWAY! Let the darned stuff dry for at least a day before you come back to it! The next day, use the included steel wool to carefully burnish the tang and remove any enamel that oozed out of your diamond. The steel wool will take the black blade into a unique blue/black color that you want.
For now, I'm going to stop. If you're planning on doing this with limited power tools, it CAN be done, but set aside the greater part of a weekend to get it done properly...
For tomorrow....decisions, decisions, decisions. Should it be celluloid, horn, or abalone? Hmmmmm....
-
03-24-2011, 07:17 AM #4Know thyself


- Join Date
- Feb 2008
- Location
- New York
- Posts
- 11,930
Thanked: 2559
That came out looking really good. Though I do have to say, having a buffer makes cleaning up tangs & tails SO much faster than doing it by hand. :-) Don't think that I'm saying that to detract from your work at all, because you did a first rate job.
-
03-24-2011, 07:31 AM #5all your razor are belong to us
- Join Date
- Sep 2009
- Location
- Fresno, CA
- Posts
- 1,368
Thanked: 446
Agreed...power tools would be SOOO much easier and faster. Still trying to get a basic shop put together, but don't know where I would put the stuff in my apartment, lol.

-
03-25-2011, 01:27 AM #6..mama I know we broke the rules...

- Join Date
- Feb 2010
- Location
- Toronto, Ontario, Canada
- Posts
- 2,895
- Blog Entries
- 8
Thanked: 993
So far so good. I'm diggin' the way it's turning out. FWIW, I'd like to see what horn looks like on that one. Maybe some dark stuff, with a red wedge to match your diamond?
Just thinking out loud.....
-
03-25-2011, 02:17 AM #7all your razor are belong to us
- Join Date
- Sep 2009
- Location
- Fresno, CA
- Posts
- 1,368
Thanked: 446
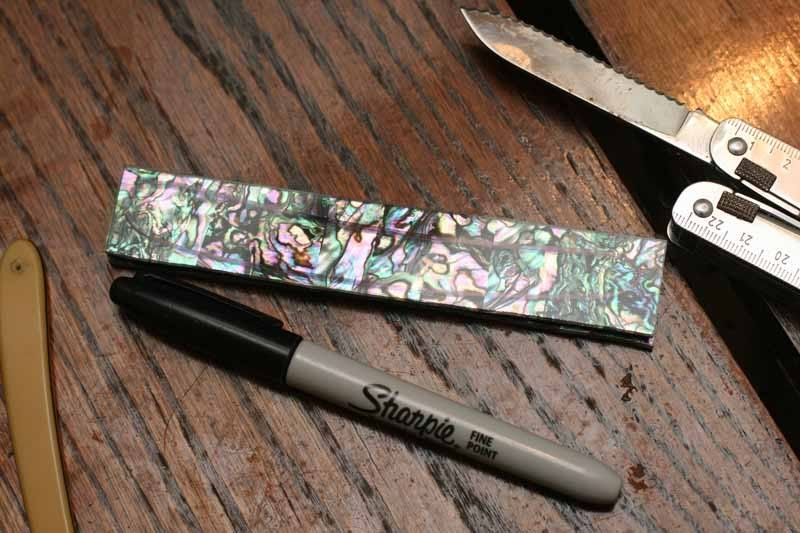
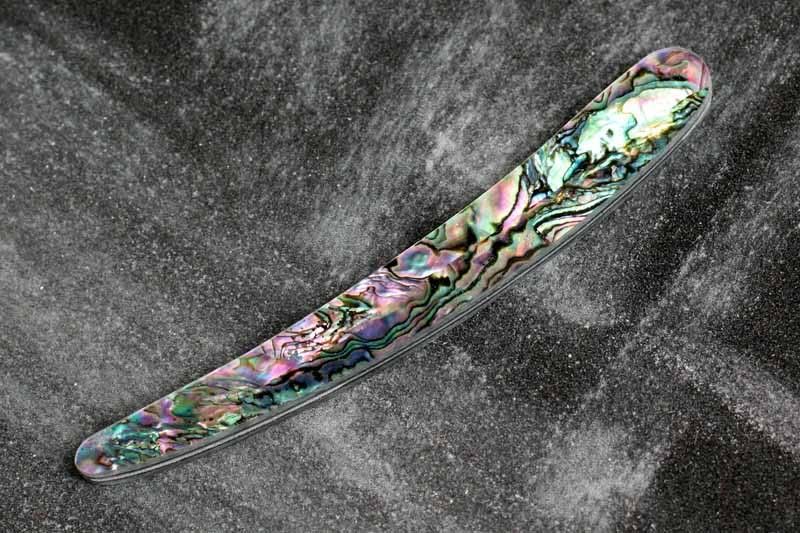
Today, I pulled out the coping saw and measured up some LVS abalone sheet in preparation for the scales. After measuring, the cutting began. I made them a bit larger since these scales are just for myself I tend to work a little organically...if I like where something is headed, then I head in that direction. I don't have a preconceived notion of what I want my scales to look like and not really concerned about 'following the lines'.
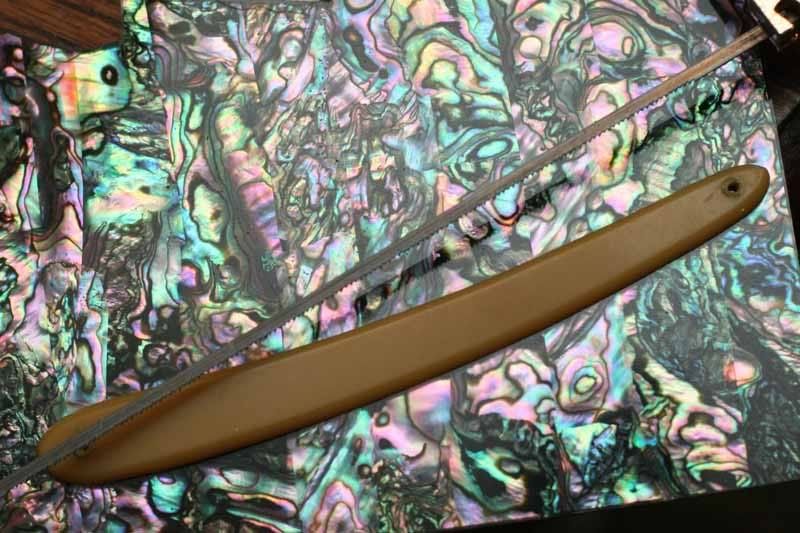
Now, having said that I work organically, I still need a baseline for my design. I know I want it to look kinda traditional except a bit larger all around to make them look more proportioned to the blade.
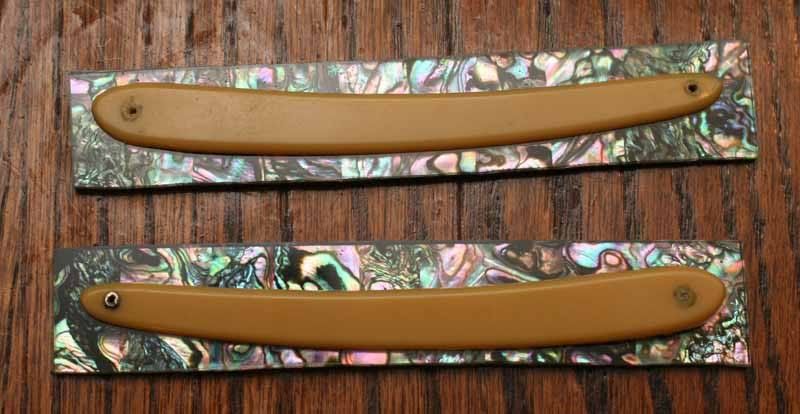
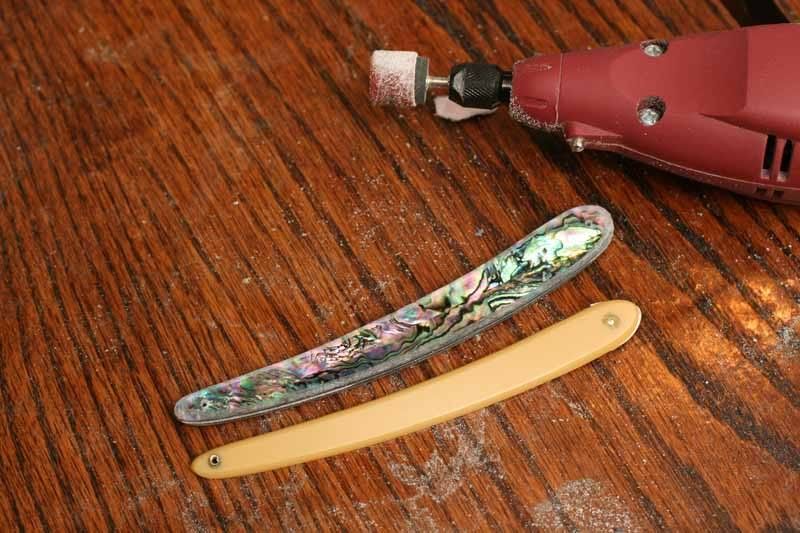
Cope that parts you can cope and use a rotary tool with some sanding wheels and get to work. It'll take a couple hours and about half a dozen sanding wheels to get the job done. This stage was completed at 60 grit. After mechanically roughing out my design, I go to the 60 grit emery to smooth out the rough grind from the rotary.
This, for me, is the scary part. No drill press here...only a $17 electric drill. Gotta take extra care here or else you'll blow the whole project on a crooked hole....gulp, drill....perfect! I only get those kind of results about half the time, the rest of the time my holes are a bit off. A good drill press is on my priority list due to the precision needed on this part of the job.

-
03-25-2011, 02:32 AM #8all your razor are belong to us
- Join Date
- Sep 2009
- Location
- Fresno, CA
- Posts
- 1,368
Thanked: 446
Once I get the drilling done, I pull the rotary back out and hog out some bevels along the edges of the scales.
You can get a variety pack of wet/dry papers from HF for a couple bucks and then it's time to get to work. I spend out 20 minutes on each grit, but that's because I skip grits sometimes...lol. When done with the paper, it's off to give the scales some hand love with the Mother's (somehow that just doesn't sound quite right) But I digress. I sit and watch TV while polishing.
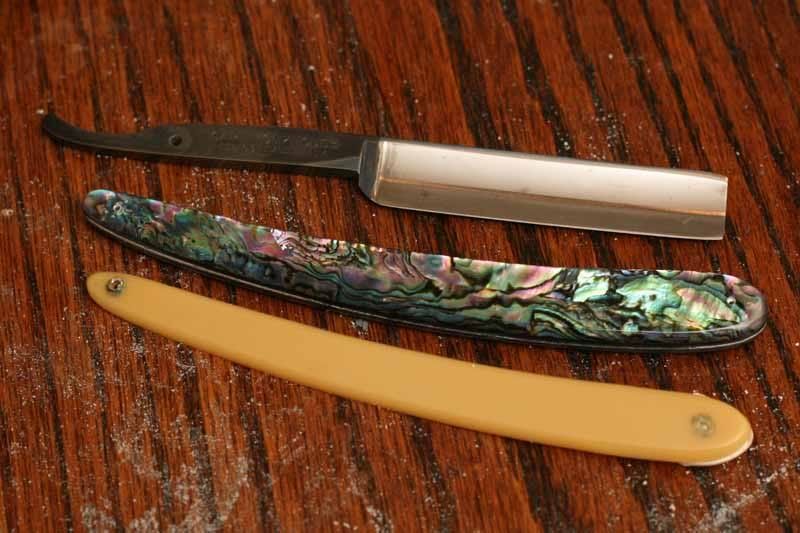
I could keep carrying on over the wedge, pinning, yada yada....but they've been covered several times in the wiki and through video so I don't think I'll cover that area and just move on to the finished project...project over, weekend over...back to work tomorrow but no before a great shave
BEFORE:
AFTER:
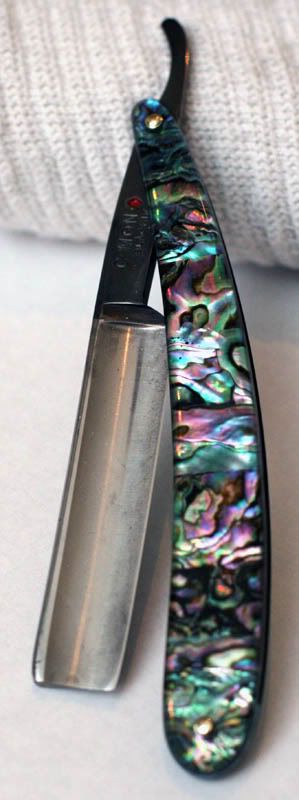
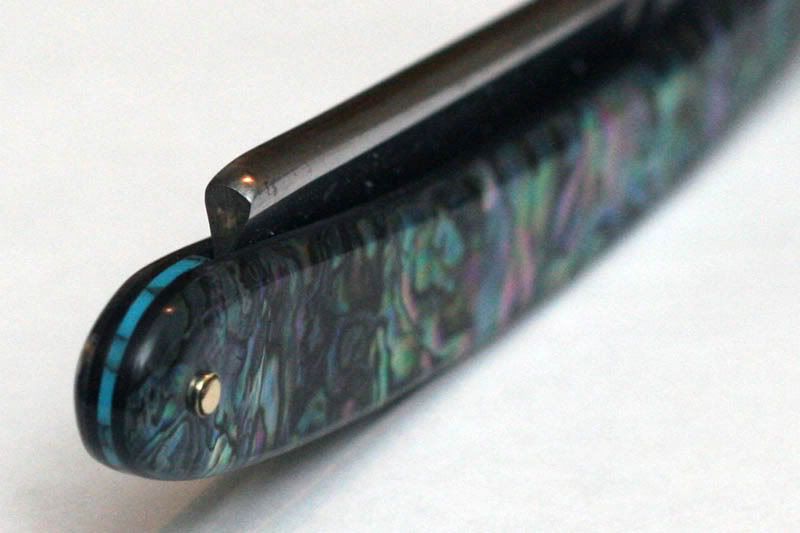
Now it's time for a beer!...
-
03-25-2011, 02:48 AM #9Senior Member


- Join Date
- Oct 2009
- Location
- Springfield,Ma
- Posts
- 3,145
Thanked: 1285
Oh man you suck.
 I have power tools and mine dont come out that nice. Great job beautiful pinning. My hat is off to you! You should be very proud of your work.
-
03-25-2011, 10:07 AM #10Predictably Unpredictiable

- Join Date
- Jan 2010
- Location
- Northern NJ
- Posts
- 3,588
Thanked: 1487
Very nice. I have tools also and won't even try.
Two things are infinite: the universe and human stupidity; and I'm not sure about the universe.
Albert Einstein


 Reply With Quote