
Results 1 to 6 of 6
 11Likes
Thread: Magnetic Razor Jig
 LinkBack URL
 About LinkBacks
Hybrid View
-
11-16-2012, 04:42 PM #1

It was mentioned above but I will emphasis it
Use a masking tape or #33 electrical tape over the magnets. That will prevent the magnets from polishing a spot on the blade where they contact it. Change the tape when turning the blade over.
I learned that the hard way!
~Richard
I have the Gentleman's Best model of wood with the magnets exposed and an aluminum sheet inset at the blade edge.Tarkus likes this.
-
11-17-2012, 03:59 PM #2Senior Member


- Join Date
- Sep 2012
- Location
- Washington DC Metro
- Posts
- 165
Thanked: 18 Lazy man's finger and blade saving magnetic jig
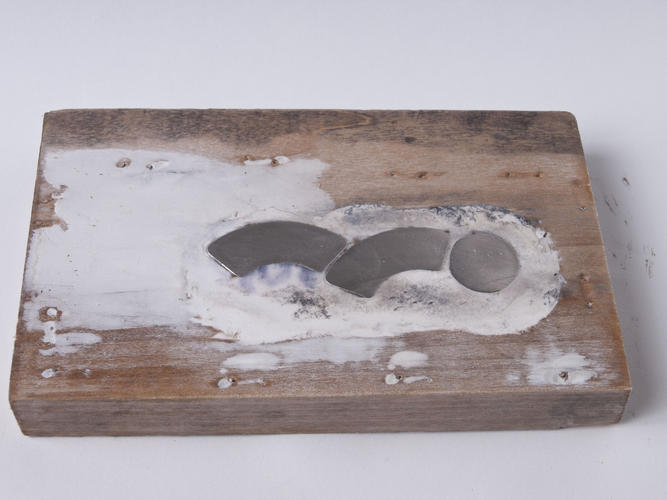
Here is my bare bones finger saving jig, obviously inspired by the nice work of others. I only had about a dozen razor to fix so I didn't want spend too much time on making a jig. Two hard drives' worth of magnets and a couple of other rare earth magnets I had left from something else. Hard drive magnets are pretty large and oddly shaped. All magnets are double. Drilled a few big holes in a piece of board. Spackled all the extra space in a couple of rounds, and sanded all flat.
In the jig's first edition I stretched and stapled a piece of deer hide over it. You can still see the holes from the staples. It looked great for the first five blades but got pretty ugly and black after.
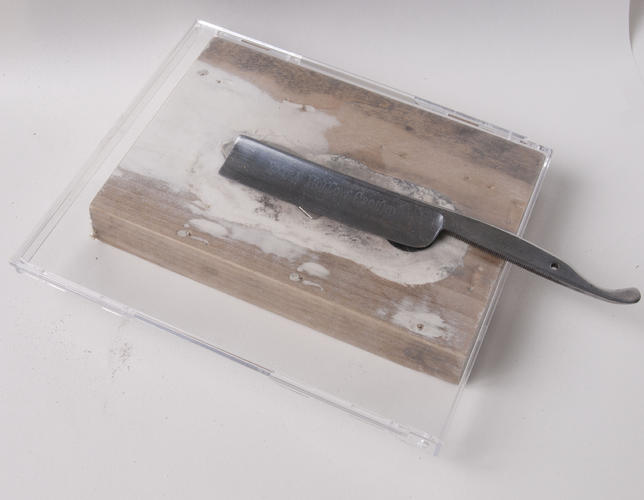
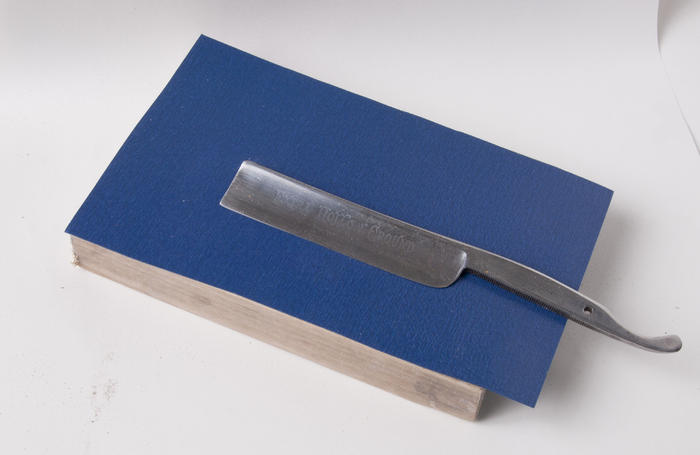
In jig rev. 2 I simply took a part of a CD-case. I haven't even fastened it to the board. It doesn't matter that it is loose. The magnets are so strong everything is held firmly in place while it is in use. For polishing I put a piece of stiff plastic cut from a sheet protector. Works great. I see no need for the guide that I have seen on other variations of magnetic jigs. The magnets, at least when doubled up, are very strong! This jig took marginally longer to make than it took to write this and take the pictures.
Besides the superbly easy way to fix the blades while sanding, jigs offer another advantage: The odds of breaking old and brittle scales are dramatically reduced!
Last edited by Storsven; 11-17-2012 at 04:05 PM. Reason: Extra clarification
Tarkus likes this.
-
The Following User Says Thank You to Storsven For This Useful Post:
Geezer (11-17-2012)
-
11-18-2012, 05:46 PM #3Senior Member


- Join Date
- Dec 2011
- Location
- I'm Gonna Spend Another Fall In Philadelphia
- Posts
- 2,024
Thanked: 498
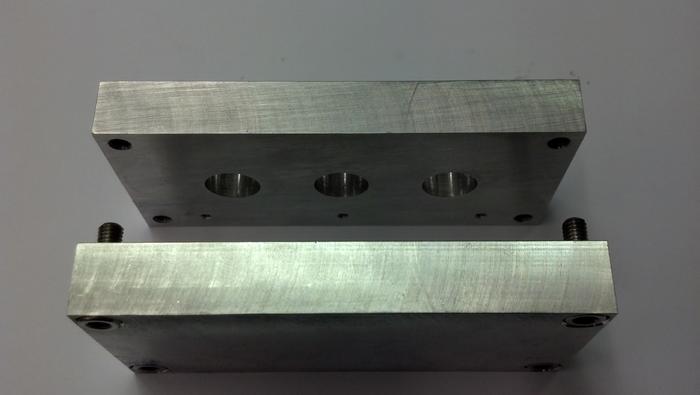
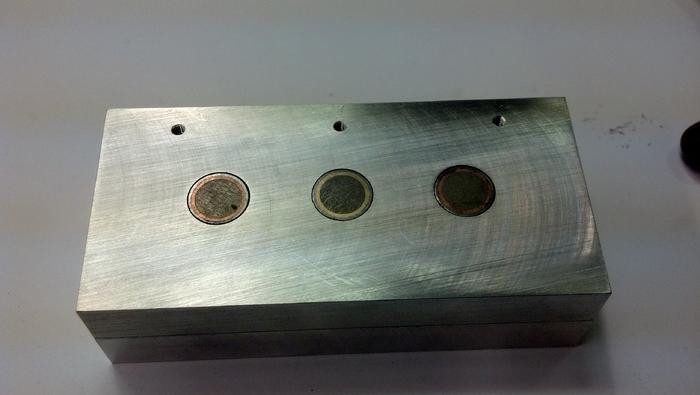
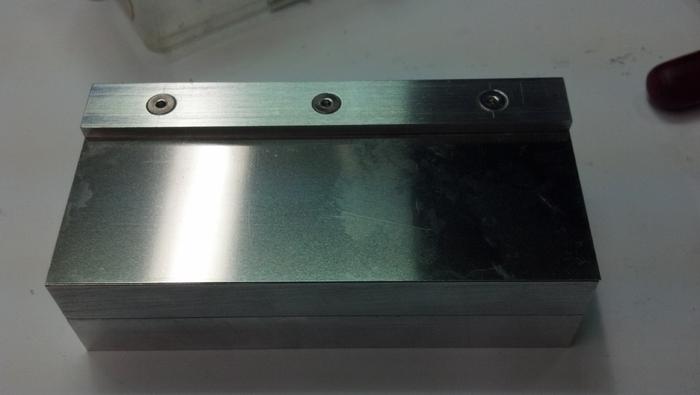
That instruction was a godsend to me. I followed the instructions pretty much to a tee, but I used aluminum body components instead of wood.
I super glued the thin stainless steel shim stock to the top surface and fastened it all together with stainless steel screws.
It works like a champ. Almost to good, those rare earth magnets are down right dangerous.
-
The Following User Says Thank You to Tarkus For This Useful Post:
Geezer (11-19-2012)


 Reply With Quote