
Results 1 to 10 of 15
 6Likes
Thread: my greaves
 LinkBack URL
 About LinkBacks
-
12-22-2011, 06:46 PM #1Easily distracted by sharp objects


- Join Date
- Apr 2011
- Location
- Tempe, Arizona, United States
- Posts
- 824
Thanked: 94 my greaves
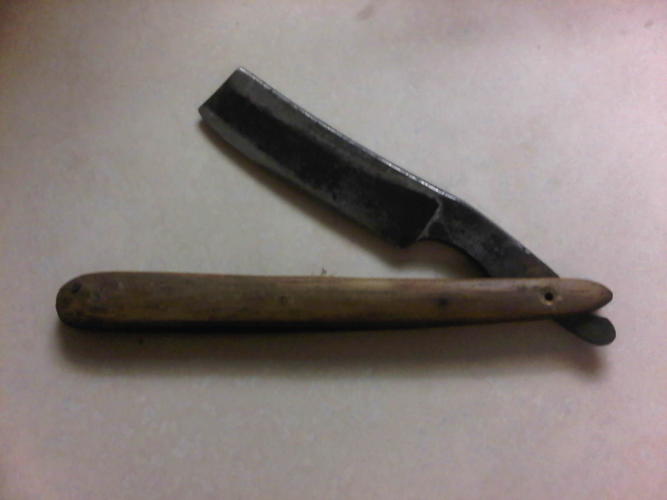
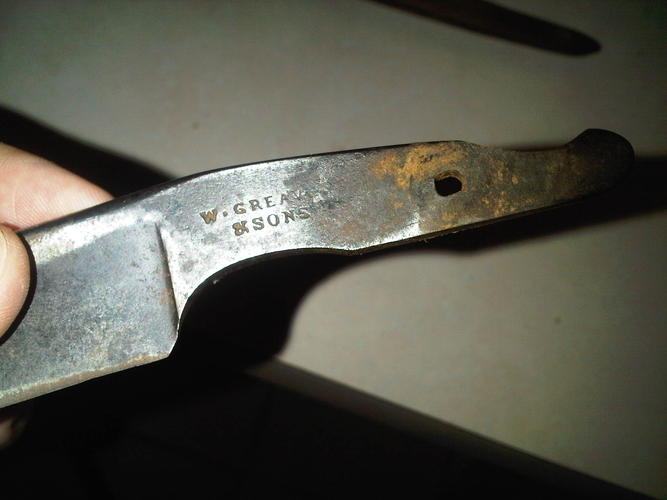
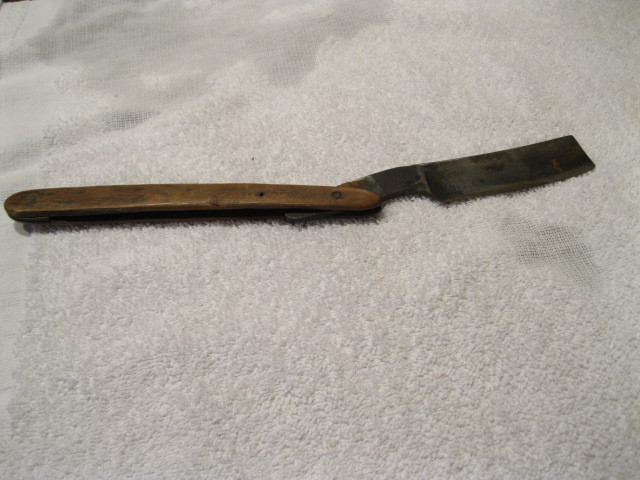
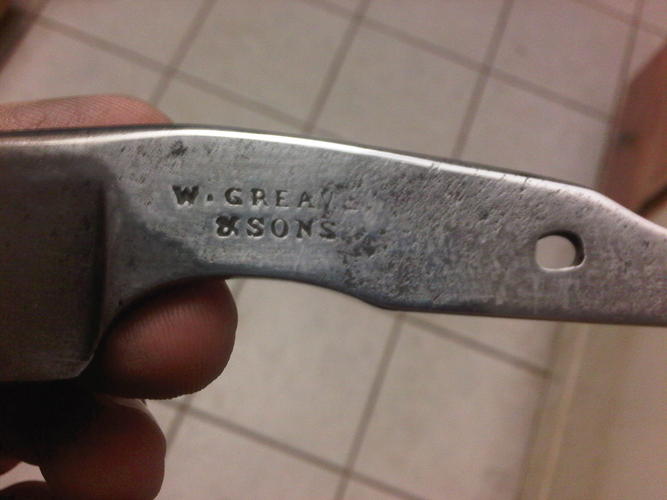
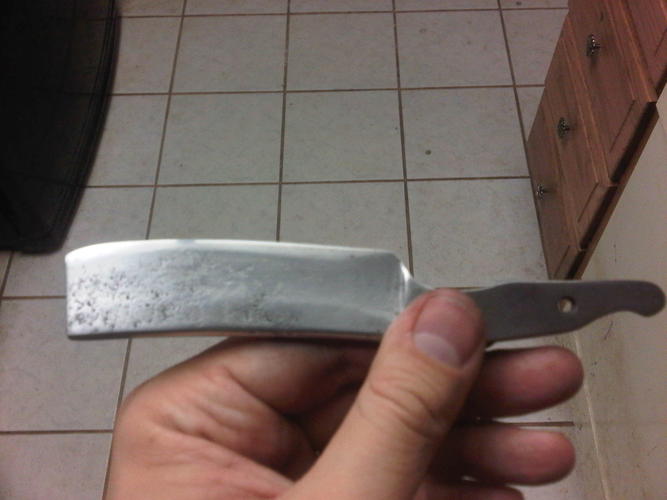
Ok so I got an old Greaves and son wedge of the bay. I am going to upload pics as things get accomplished, and look for ideas from other members! This will be my first real restore. As you can see by the pics it looks to be an early 1800's 7/8's+ with a stub tail. There is quite a bit of pitting on the blade above the bevel. I started sanding last night with 125 3m wet dry. I dont have pics of the results yet as cut my finger open and had to stop for the night. I will post result pics as I go this evening. I look forward to all comments!
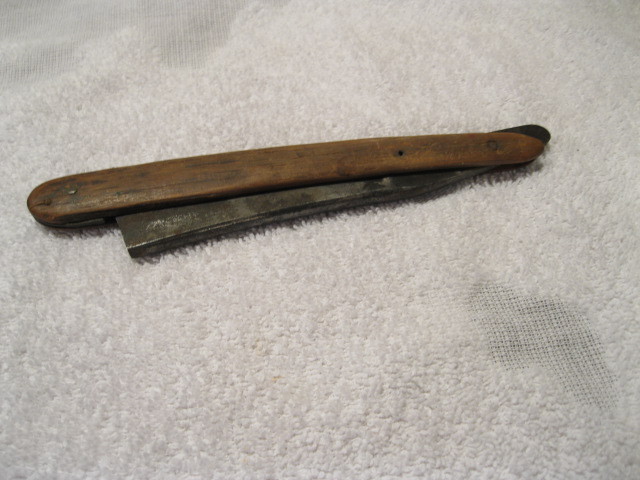
Btw the scales seem to be toast. There are multiple holes in them and dont seem to be original. I was thinking of going with ebony and doing a 3rd pin.
 Earthdawn likes this.
-
12-22-2011, 07:16 PM #2< Banned User >
- Join Date
- Dec 2011
- Posts
- 218
Thanked: 21
that's a nice one. Since it sounds like you alreadly cleaned off the loose rust, I'd suggest skipping the sandpaper and going straight to greaseless compound. You'll save yourself a lot of aggravation, and likely a few more good cuts.
-
12-22-2011, 07:22 PM #3Easily distracted by sharp objects
- Join Date
- Apr 2011
- Location
- Tempe, Arizona, United States
- Posts
- 824
Thanked: 94
I have never worked with greaseless compound before. Wouldnt know where to start! lol
I have sanded quite a bit and am comfortable. Last night's hiccup was an exception to the norm. That being said, if someone lived in az and wanted to show me how to use compound and a buffer, that would be freaking fantastic! lol
-
12-22-2011, 09:26 PM #4Member

- Join Date
- Apr 2011
- Location
- Brisbane, Australia
- Posts
- 1,434
Thanked: 642
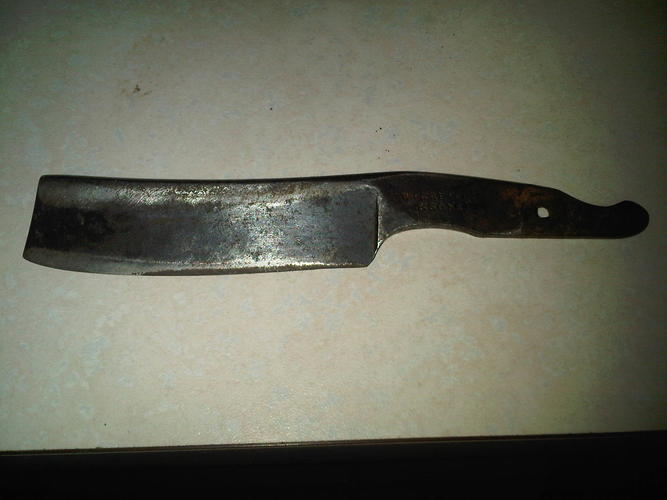
Looking forward to seeing how things progress. That blade looks as though it has a fair bit of hone wear and also a large bevel. It may just be the light.
Have fun and keep posting your progress.
Stualb1981 likes this.
-
12-23-2011, 07:38 AM #5Easily distracted by sharp objects
- Join Date
- Apr 2011
- Location
- Tempe, Arizona, United States
- Posts
- 824
Thanked: 94
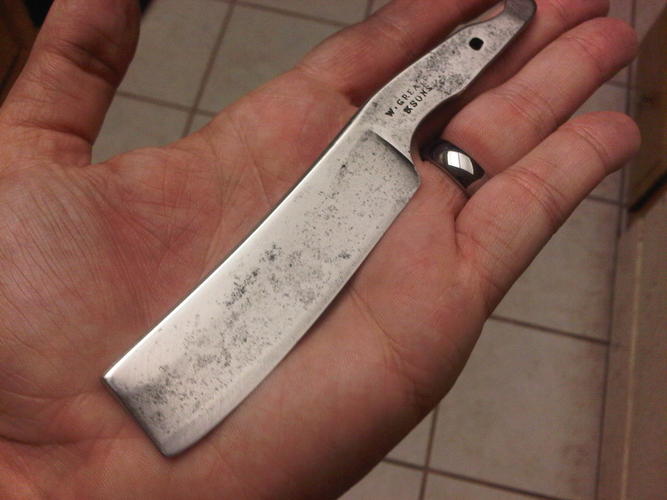
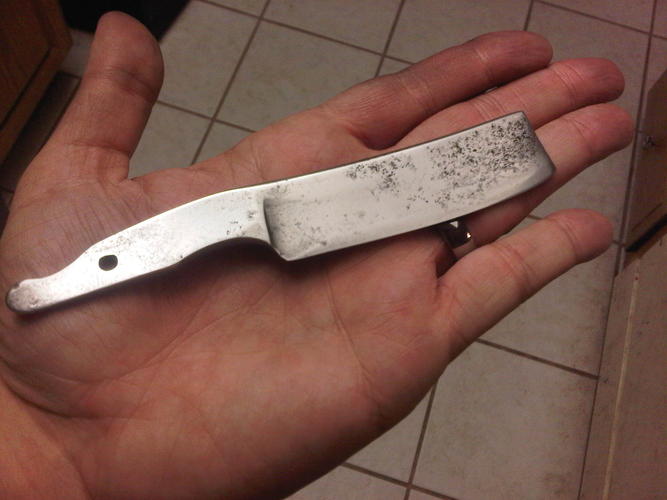
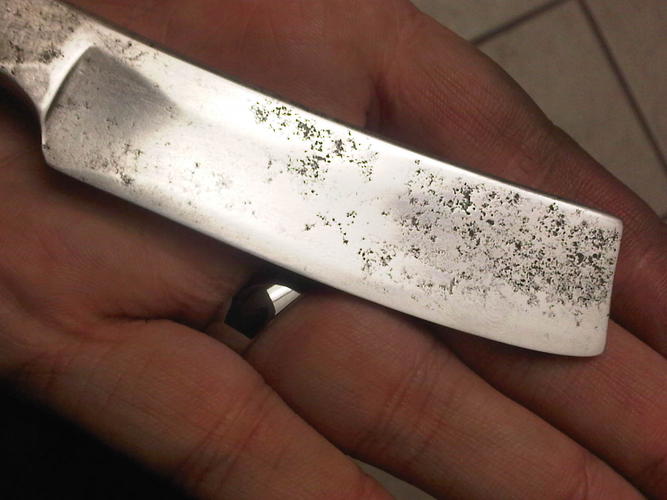
ok so here is the blade after a sheet of 125. There are still a bunch of deep pits, I am not sure they can come out unless it gets a regrind. What do you think guys? what would you do? keep in mind I dont have any power tools, just hand sanding. Have a dremel but dont want to ruin a dang near 200yr old blade.
-
12-23-2011, 07:59 AM #6Senior Member

- Join Date
- Jul 2011
- Posts
- 768
Thanked: 99
Adam, I myself would leave the pits. Taking them all away has it's draw, for certain, but on this particular blade, I'd leave 'em. Maybe run a little mothers over the heavily pitted areas to see how they look polished instead of blacked. It might change your mind.
eTom likes this.
-
12-23-2011, 09:21 AM #7Easily distracted by sharp objects
- Join Date
- Apr 2011
- Location
- Tempe, Arizona, United States
- Posts
- 824
Thanked: 94
I agree, I dont want all the pits out, I just want to get any that could affect honing in the next 50 years lol!
 Originally Posted by medicevans

-
12-23-2011, 09:29 AM #8Senior Member
- Join Date
- Jan 2011
- Posts
- 302
Thanked: 79
Wow! Congrats on finding this. I haven't done any restores so far, looking forward to following how yours turns out.
alb1981 likes this.
-
12-23-2011, 04:13 PM #9Member

- Join Date
- Nov 2011
- Location
- San Angelo, TX
- Posts
- 57
Thanked: 4
I'm posting to follow this thread. I have a similarly old razor for restore, but am going to try to leave the old wooden handles intact. Good job so far! I'd leave the pits too, don't want to take too much of the metal off. JMHO.
-
12-23-2011, 04:41 PM #10Senior Member


- Join Date
- Jun 2008
- Location
- Upstate NY
- Posts
- 5,003
Thanked: 1827
Nice Razor!
If you don't have power tools to remove the pits you will have to live with them, which would be fine if it were my razor. Even with power tools there is no way to know how deep the pits will go. Sometimes they worm their way through the metal which would require a lot more metal removal than expected. Evem just hand sanding the pits that are visible would require lots of elbow grease.
Good lluck with this one. I'm looking forward to seeing your finished restore and hear about the shave.alb1981 likes this.If you always do what you always did, you will always get what you always got. (A. Einstein)


 Reply With Quote