
Results 11 to 15 of 15
 1Likes
Thread: Advice on hand sanding...
 LinkBack URL
 About LinkBacks
-
02-04-2012, 01:57 AM #11Senior Member


- Join Date
- Jul 2010
- Location
- Michigan
- Posts
- 735
Thanked: 104
I used the kitchen sponge, but I did not focus on the pits, instead just kept sanding the whole thing until the pits were gone...
Jeff.
-
02-04-2012, 08:39 PM #12Member

- Join Date
- Jan 2012
- Location
- United Kingdom
- Posts
- 48
Thanked: 0
Thanks to the advice here, I've got the shallows out!
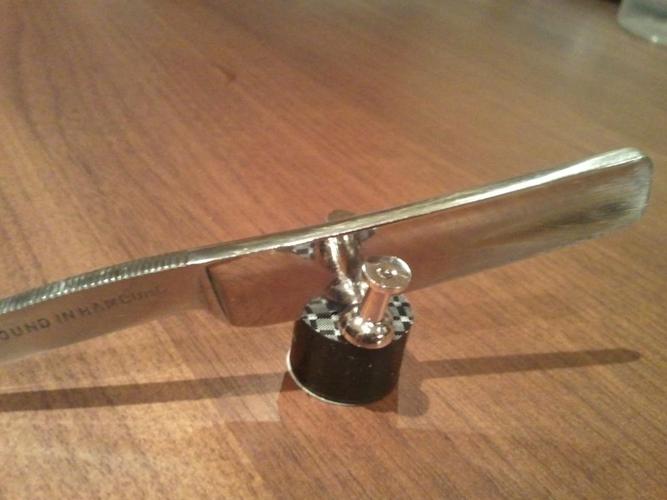
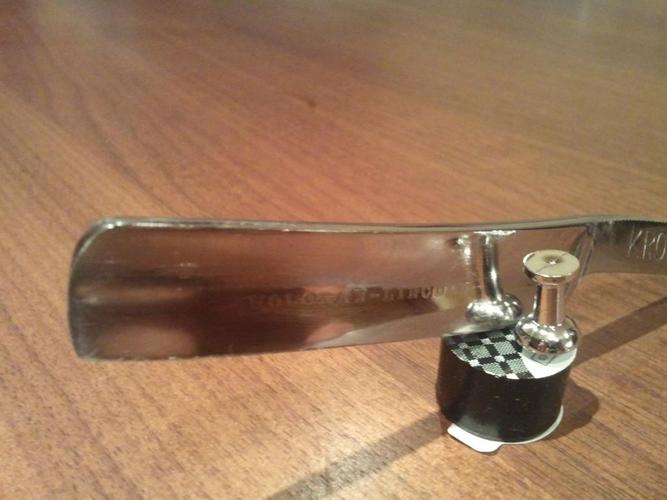
I wrapped dowling wood in some 80 and 120 grit paper, and rubbed back and forth over the whole blade, and eventually the shallows disappeared.
The blades looking really good now, all the pitting, stains and rust has gone. My only dissapintment is that I've made the writing on the blade a little bit too soft in areas, so I'm not sure if I should remove it totally, or leave what I have (opinions?). Over the next week or so I'll start moving up the wet and dry grits to get a mirror finish on it
One more question I have - should I be able to see any scratches at all on it when I'm finished with the 1500, or does the metal polish take the final lot of scratches out?
I quite pleased with how its going so far considering this is my first restore I need a set of scales, pin set and someone to hone sharpen it in the UK now - I've never done that myself so I could really use a professional to do it so I know what sort of edge I'm supposed to have - I'll get some Naniwa Super Stones for my next restore and try honing it myself.
Thanks to everyone who's given me advice so far
-
03-13-2012, 09:25 AM #13Fizzy Laces Connoisseur
- Join Date
- Dec 2009
- Location
- Scotland
- Posts
- 1,562
Thanked: 227
Hey man,
How did this work out?
Geek
-
03-15-2012, 04:40 PM #14Member
- Join Date
- Jan 2012
- Location
- United Kingdom
- Posts
- 48
Thanked: 0
I got the shallow out in the end. Originally Posted by TheGeek

I'll post a picture tonight I ended up sending it to be honed, polished and have the new scales fitted - its now my every day razor. It looks great. I know its not all my own work, but I feel like I "part" restored it at least. Maybe my future restores will be all my own work.
My next blade is a similar situation too, I've taken it from rusty to the same level as you see in the picture, but sent it off to have a mirror polish and scales put on. However, I'm going to hone the next one myself. I'll add a bit more of the restoration process each time I do a blade, and one day I'll be doing it all.
kD.
-
03-15-2012, 10:04 PM #15Member
- Join Date
- Jan 2012
- Location
- United Kingdom
- Posts
- 48
Thanked: 0
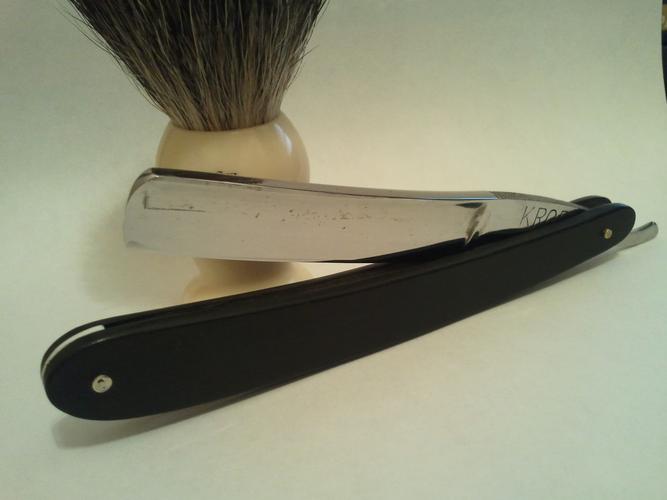
There we go! So the work I did was remove the old scales and hand sand the rust and patina off the blade. The blade was polished to a mirror finish and had the scales fitted by The Invisible Edge. The scales are solid ebony with a white wedge.
The blade actually has a twist in it and the tip of the blade nearly touches the edge of the scales when closed. I think the hole needs re-drilling and bushing, but I'm not skilled enough to do that. I've sent messages to Jamie and he might have a look at it, but I can't really get a photo showing the problem.


 Reply With Quote