Results 11 to 18 of 18
Thread: Work in Progress
-
06-06-2012, 03:19 PM #11

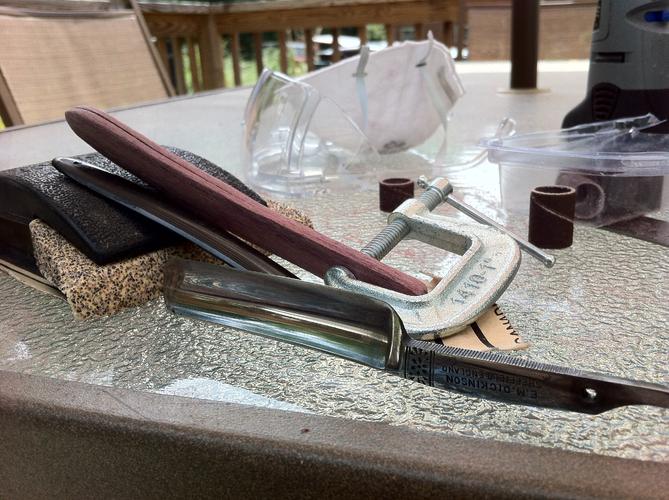
I could not do anything yesterday since we got drenched in central VA. I did get to work on it a little today though. So I did some of the aggressive work with a Dremel and I think I will be hand sanding from here on out. I decided to go with the original shape of the scales. I do need to decide on making a new toe spacer or keeping the old one. I might need to make one if the shape does not match up right. I guess?

-
06-07-2012, 01:00 AM #12

You can always match the scales to the old wedge & this is where the small nuts & bolts from microfasteners.com would help.
Another way to keep the scales together during shaping is to use double sided tape.
-
06-07-2012, 03:58 AM #13
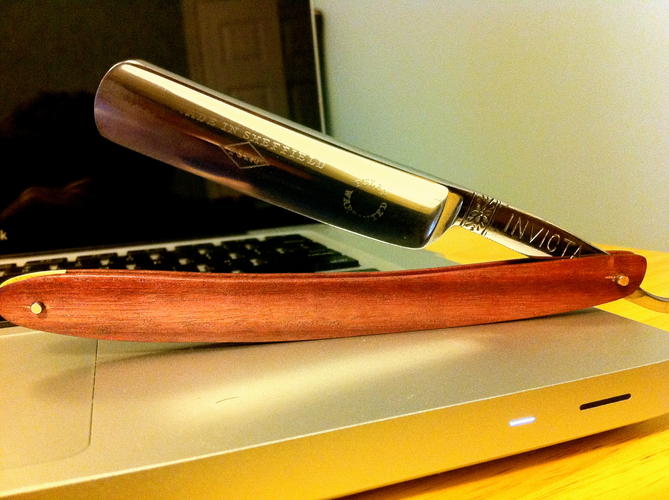
 For the most part, I am done with it. I need to do some final shaping at the toe but it is done.
-
06-07-2012, 05:16 AM #14

Looking good.

-
The Following User Says Thank You to onimaru55 For This Useful Post:
Mephisto (06-07-2012)
-
06-07-2012, 10:28 PM #15Member

- Join Date
- May 2012
- Location
- lawrence, ks
- Posts
- 62
Thanked: 6
i learned from watching charly lewis videos on youtube to put tiny dots of wood glue on both pieces of wood and put any piece of paper between them. clamp and dry. it worked great.
-
The Following User Says Thank You to hellrazor308 For This Useful Post:
Mephisto (06-08-2012)
-
06-07-2012, 10:39 PM #16

Good for you! That's a good looking razor. Congratulations on a successful first effort!
-
06-08-2012, 09:14 AM #17

Did you use washers on the outside of the scales? The wood looks a bit like it has slightly split.
Without washers, the rod expands a bit in the scales and if the fit is tight, it can cause cracks.Til shade is gone, til water is gone, Into the shadow with teeth bared, screaming defiance with the last breath.
To spit in Sightblinder’s eye on the Last Day
-
The Following User Says Thank You to Bruno For This Useful Post:
Mephisto (06-08-2012)
-
06-08-2012, 01:43 PM #18

The splits were caused by the drilling. I guess I should have drilled the holes first then finished the scales. Or get better equipment or better drilling skills. Or all of the above
 I did use washers but only on the inside on the heel side...where the tang is. I used jewelry crimps for fasteners. The rod needed to be filed a bit for the crimps to fit but they worked in the end.


 13Likes
 LinkBack URL
 About LinkBacks


 Reply With Quote


