
Results 1 to 10 of 24
 11Likes
Thread: N Mills Warranted.
 LinkBack URL
 About LinkBacks
-
01-04-2013, 04:19 AM #1Senior Member


- Join Date
- Nov 2012
- Location
- Across the street from Mickey Mouse in Calif.
- Posts
- 5,320
Thanked: 1184 N Mills Warranted.
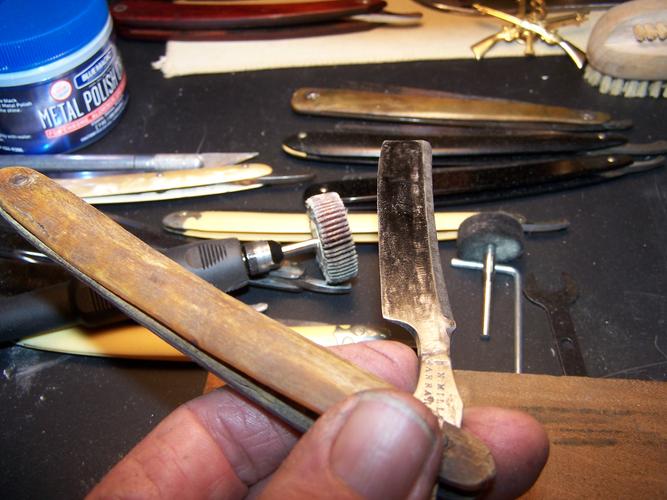
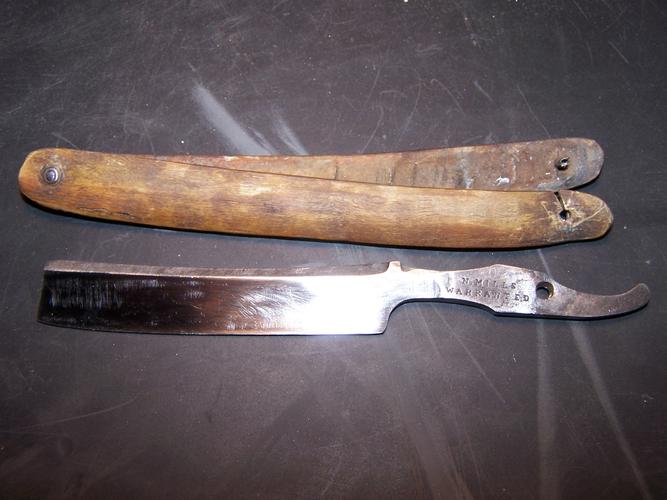
I missed a couple of older razors and my rad had me going in this direction for a short time. I bought 2 this one being the first. I figured it would need some work when I bought it but I am not sure where to start. I gave it a quick polish to see it better and here is what I see.
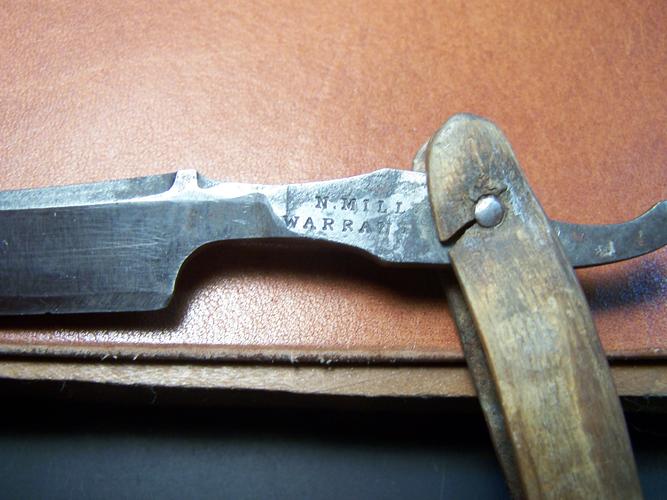
It looks like I got my work cut out for me. It looks like somebody found it under a wood pile and tried to fix it up. It has heavy grind marks on the blade with some deep pits on the heel, and toe. On the non stamped side you may be able to see some vertical ridges. I can feel a couple of these real easy. Bumps like on the blade. The radius is rather large so it doesn't look like it was done with a dremel. It may be original grind but I am guessing not. I haven't done any research yet but will after this post and I am not sure what it is supposed to look like to begin with. The scales look like bone and 1 looks okay but the other is warped and cracked. ( another thing to learn). I am thinking I should start by removing the scales and taking the heavy grind out of the blade, maybe fixing the radius from spine to edge and then ???Good judgment comes from experience, and experience....well that comes from poor judgment.
-
01-04-2013, 04:33 AM #2Greaves is my friend !!!

- Join Date
- Nov 2012
- Location
- N.East OH
- Posts
- 2,297
Thanked: 307
i like the way that razor looks !!!
-
01-04-2013, 04:50 AM #3Senior Member
- Join Date
- Nov 2012
- Location
- Across the street from Mickey Mouse in Calif.
- Posts
- 5,320
Thanked: 1184
I saw it and it was Buy Now $26.00 . My trigger finger never had a chance to itch. Boom it's on it's way . LOL
gooser likes this.Good judgment comes from experience, and experience....well that comes from poor judgment.
-
01-04-2013, 05:11 AM #4Senior Member


- Join Date
- Dec 2010
- Location
- South Florida
- Posts
- 13,530
Thanked: 3530
I would say , leave those scales on there, until you see if you can hone it first. See if you can reset the bevel, then try to shave ready it. Why work scales , if she won't shave.
You never know, ,,you might have a good shaver that is Cosmetically Challenged.
-
01-06-2013, 03:09 AM #5Senior Member
- Join Date
- Nov 2012
- Location
- Across the street from Mickey Mouse in Calif.
- Posts
- 5,320
Thanked: 1184
Well the scales are cracked bent and flop around in the breeze and will have to be fixed at some point. I would love to give it a hone a try it out but wondering if that will increase the chances of chipping the edge when I do go to sanding and fixing the shape of the blade. The scratches are almost unbearable to look at and the pics don't show that very well. After spending more time thinking about what might have happened to this poor thing, it does look like somebody took the wedge out with a dremmel. the top of the bevel is wavy and it is the same at the spine. A single large radius wouldn't do that I don't imagine. It's like they tried to make it easier to hone. It has a small chip in the edge also about a half an inch from the heel. It's going to need some love before I am happy with it really.
Good judgment comes from experience, and experience....well that comes from poor judgment.
-
01-06-2013, 05:09 AM #6Senior Member

- Join Date
- Mar 2012
- Location
- Tulsa, Oklahoma, United States
- Posts
- 1,031
Thanked: 163 Re: N Mills Warranted.
I like the shape of the blade, but you've definitely got a stack of work in front of you with that one. Keep posting updates as you go.
When the Dude is recognized in the world, unDudeness will be seen everywhere--- the Dude de Ching
-
01-06-2013, 09:17 AM #7Senior Member
- Join Date
- Nov 2012
- Location
- Across the street from Mickey Mouse in Calif.
- Posts
- 5,320
Thanked: 1184
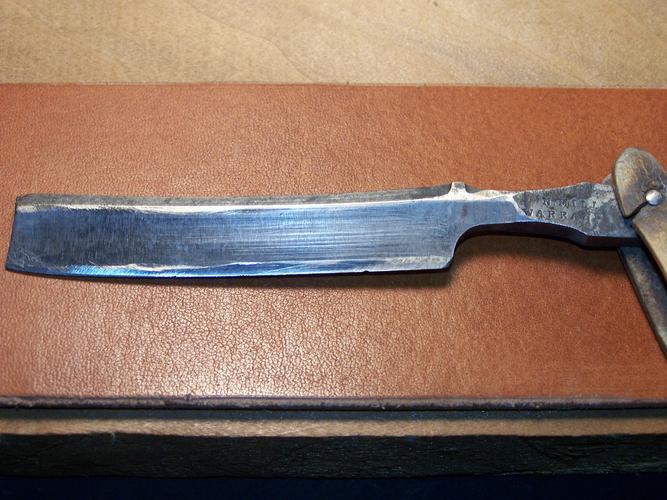
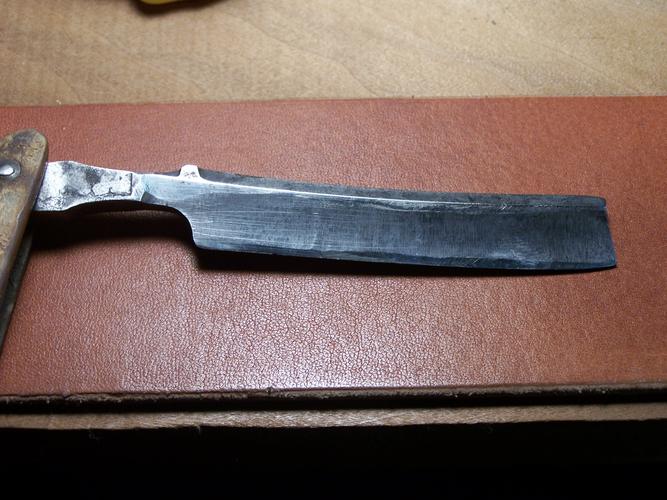
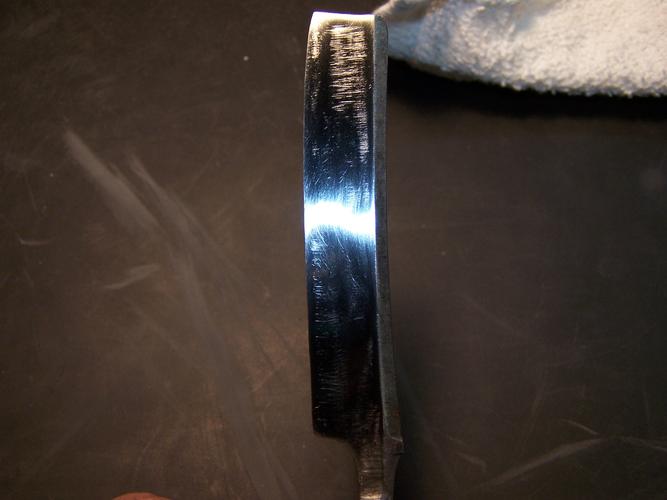
Okay well... I put a few hours into it today. I started to hone it like Hirlau suggested. In the pictures above you see what looks like hone mark and edge but that is actually what is left of the original true wedge it once had. I brought it down from 1000k to 250 and gave up. It had some chips in the edge which after what I felt was waaay to much time on the 250 I wasn't even touching yet. I stopped and thought about it and decided nothing to lose so I might as well try to do something with the shape of the blade. I took the edge right to the 250 hone and got the chips out and kept the edge shape to match the spine. It had been hollowed out with something of a heavy grit and so I thought I would start with cleaning that up. I grabbed the rotary tool and put a flap sand disk on it and went to town very carefully. I stayed away from the spine and edge until I got a feel for how the tool was working with the razor. After some time I got right up next to the line at the top and took down more of the old wedge face. Then I went to the edge(keeping it flat against the wood) and tried to smooth the last part of the old wedge shape out. No accidents yet as I have been paying close attention to spin direction and where the edges are. Here is what I got so far.
I got the vertical gouges out of this side and almost all the old wedge face.

You can still see the course scratches that I am trying to get out at the top
and some of the wedge face still left at the edge but I am getting happier about it.
I also did some hand sanding on the tang and around the scales just to clean it up some and give my hand a rest from the vibration. Also hand sanded the blade some before i took the pic so things would show up better. I might take it back to the hone for a few laps to see what the real results are so far. Shinny smooth sticks out like a sore thumb and will give me an idea how much is left to do. I don't think I am going to have to spend to much more time shaping the blade. I just hope the bevel isn't to tall on the blade as I think it may look way wrong that way. As long as it's not a double bevel looking thing like before I might be okay with it. Naaa it has to look good now LOL. Working with those scales on is becoming more of pain and If I can repair them I think I should take them off before I break them more.Hirlau likes this.Good judgment comes from experience, and experience....well that comes from poor judgment.
-
01-06-2013, 01:35 PM #8Senior Member
- Join Date
- Mar 2012
- Location
- Tulsa, Oklahoma, United States
- Posts
- 1,031
Thanked: 163 Re: N Mills Warranted.
If they're as floppy and funky as you say, then I'd take them off for sure. It's easier to work the blade that way. To me at least.
As far as hand sanding, I haven't made one of those wooden sanding jigs like I've seen in the wiki. However I have had good results using sandpaper wrapped around an eraser. My favorite is one of my art erasers that is an oval. Something to consider anyway.
Keep at it man!When the Dude is recognized in the world, unDudeness will be seen everywhere--- the Dude de Ching
-
01-06-2013, 05:06 PM #9Senior Member
- Join Date
- Nov 2012
- Location
- Across the street from Mickey Mouse in Calif.
- Posts
- 5,320
Thanked: 1184
That just might be my goal for the day. Taking off the scales. The more I picture the end result here the more I wonder about how well I can save these originals. The crack may be the deal breaker on that one. I always wonder how hard it would be to make some bolsters to cover a crack and hold it together. I have already purchased some 36 gage brass and 24 gage SS. More to learn later. The eraser trick sounds good. I have these little suede swabs it use. They get in between the scales real easy and not to hard to keep the paper off the soft stuff. Shown on this link below in post #7
http://straightrazorpalace.com/works...iney-hand.htmlGood judgment comes from experience, and experience....well that comes from poor judgment.
-
01-08-2013, 04:03 AM #10Senior Member
- Join Date
- Nov 2012
- Location
- Across the street from Mickey Mouse in Calif.
- Posts
- 5,320
Thanked: 1184
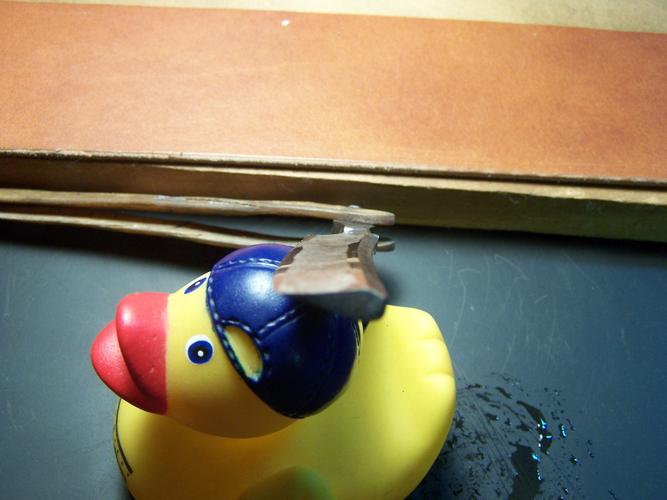
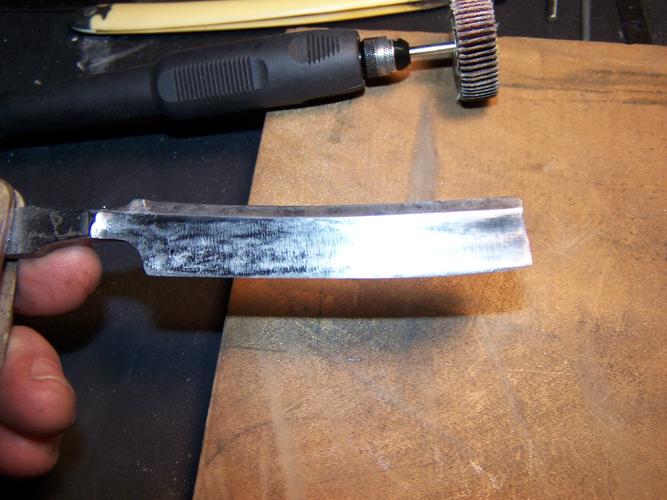
Well, I drilled the pin out and amputated the scales. Done with the rotary tool for today and hand sanding in the other direction with 220 to see what I got.
I thought this side was the best side but you can see I have a large depression right where the light washes out
the blade and another small one to the left at the same height. The toe shows pretty even sand marks. I went at the depressions for what seemed to be forever and I will have to go back and do some more work with the rotary tool to get them out.
The good thing about this tool is that it is fairly slow at removing material and I have yet to feel any heat on the blade. I have gone off the edge a few times and also over the top of the spine with it. Glad I got in the habit of keeping the edge down flat on wood or the rubber mat. No damage thank goodness.
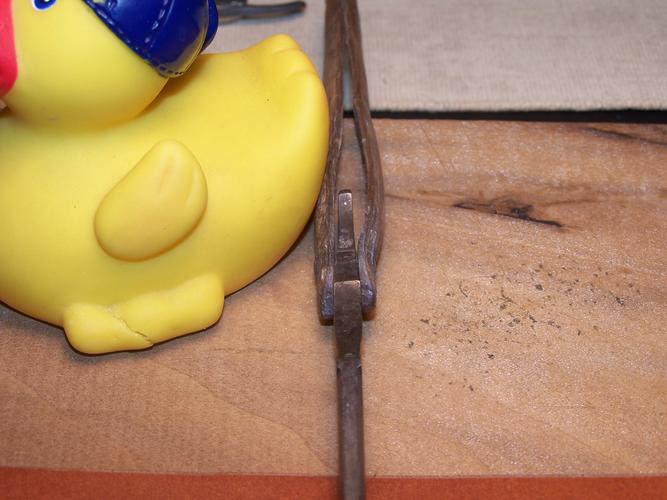
This is the side I was worried about but it is coming out good.
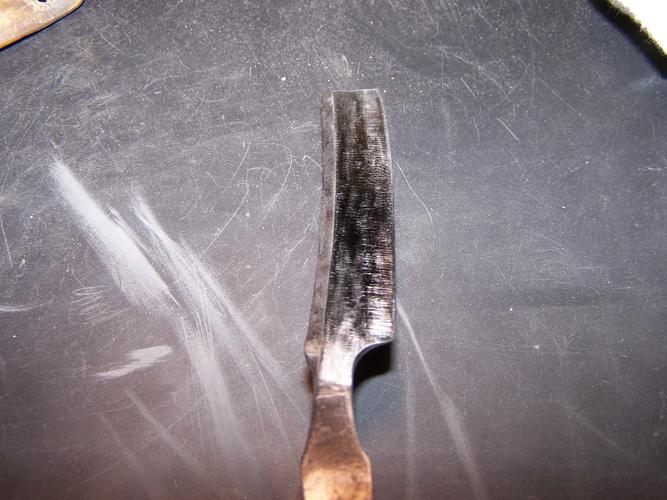
The hollow looks a lot better than it did. If I was going to do very many more of these I think I would be looking for a fine grinding wheel or 2 or 3.

I had a thought about this thread.. Maybe I should of started it in workshop and not Show and Tell ? I am showing you what I did and telling about it LOL .Good judgment comes from experience, and experience....well that comes from poor judgment.


 Reply With Quote