Results 1 to 10 of 17
Thread: Dremel polishing
-
01-06-2013, 08:54 PM #1
 Dremel polishing
Gentleman I've been having great success cleaning up straights with my Dremel tool.This process has been used by many people and I can't take credit for the procedure but I added some things and so far so good so thought I would share it:
What you will need
Dremel tool battery operated
Dico buffing compounds: use in this order
E5 grey
Cr1 red
Wr1 white
Chr oxide paste
Maas
All available at ace hardware except the chr oxide paste many vendors have it..
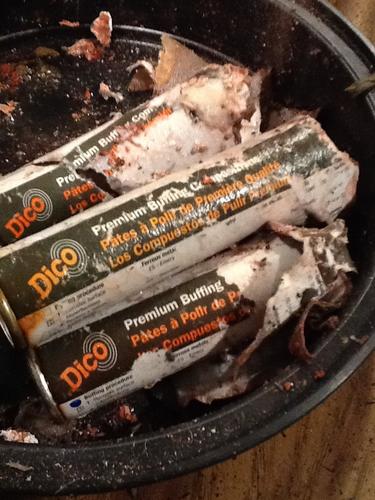
Dremel polishing wheels 1/2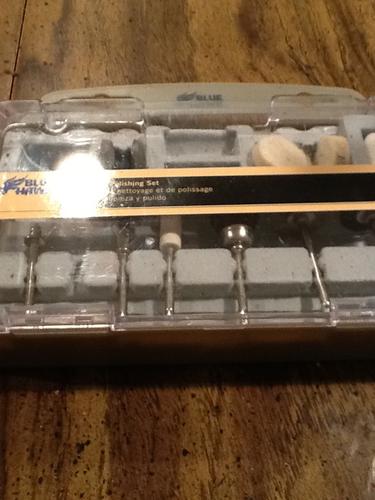
Scrubbing bubbles bathroom cleaner
Before polishing razor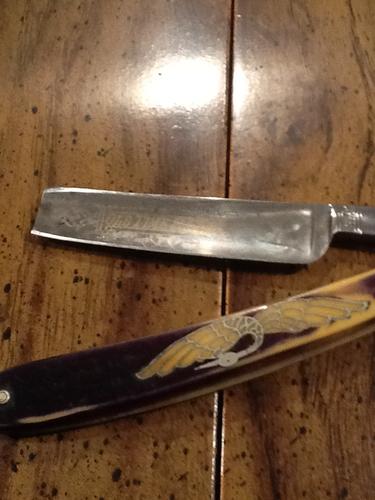
Now I apply the e5 polishing compound using the Dremel I just spin the wheel inside the compound tube until its loaded and apply it to the blade, don't raise the Dremel speed above 2 and b very careful near the edge of the blade.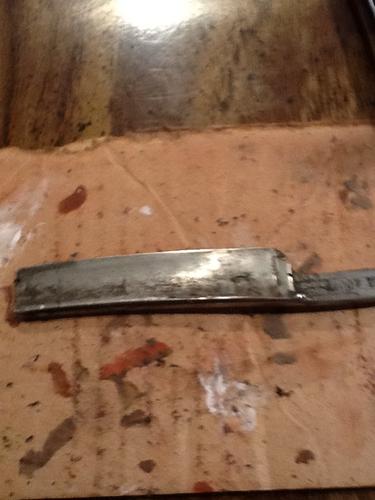 wipe off the e5 pic of it wiped off
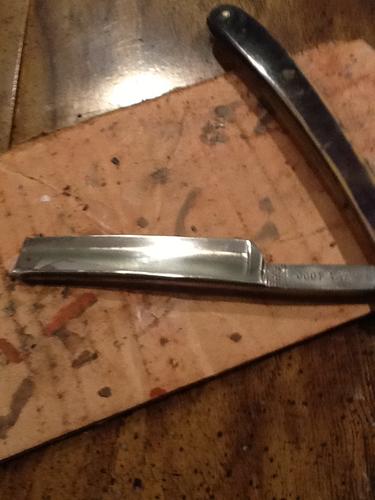 now move on to the cr 1 polish red in color making sure to change the Dremel wheel
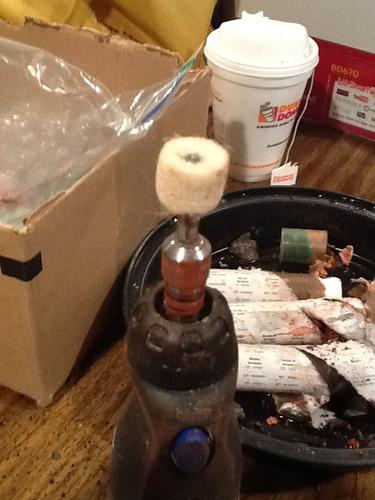 picture of the cr1 applied
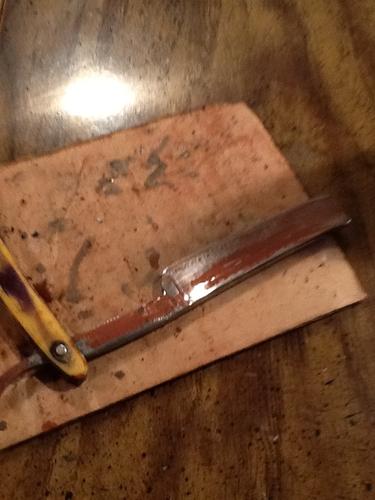
Same thing wipe it off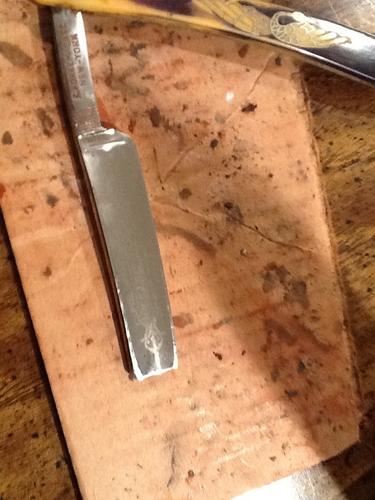 next is the wr1
 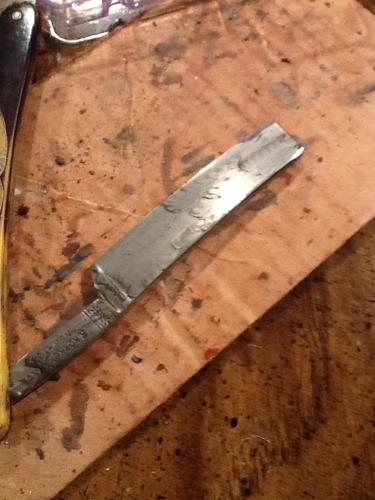 wipe it off
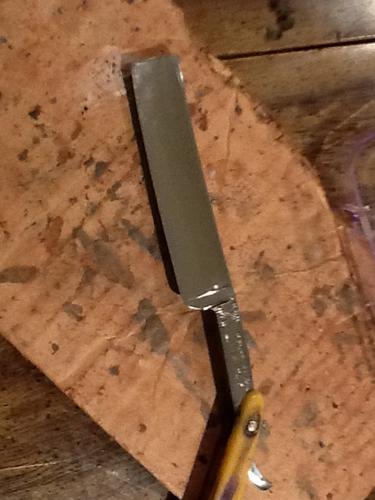 now last buffing compound I use is the chromium oxide paste loaded on to the wheel next post..
Last edited by Airportcopper; 01-06-2013 at 09:01 PM.
-
The Following 3 Users Say Thank You to Airportcopper For This Useful Post:
jc50 (01-29-2013), JeffR (01-07-2013), Shaggy8675 (01-06-2013)
-
01-06-2013, 09:00 PM #2
 Dremel polishing
Chromium oxide
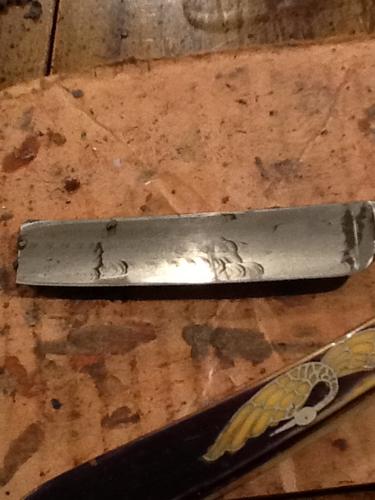 wiped off
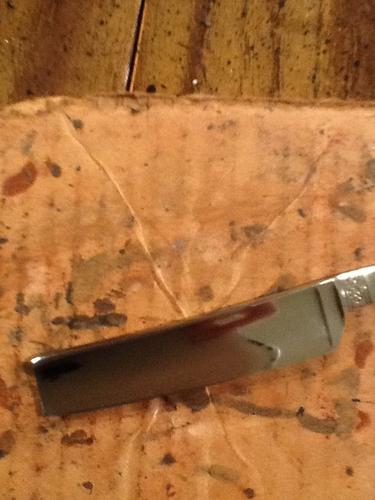 now I apply Maas to the blade and scrub and wipe by hand , then place blade in sink spray with the scrubbing bubbles
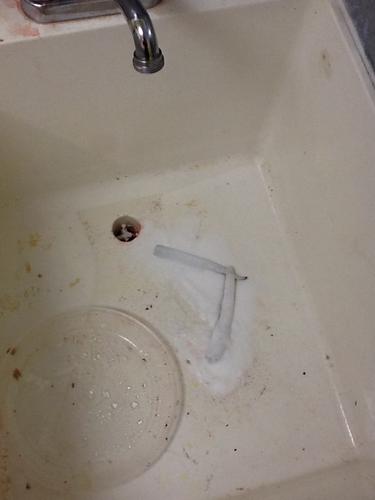 scrub with toothbrush and dry with a clean rag and u get the final product
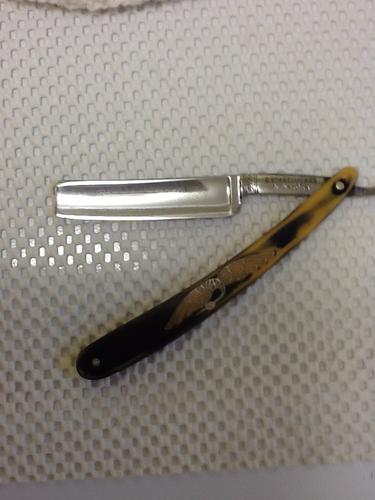
-
-
01-06-2013, 09:01 PM #3
 Dremel polishing
Hope u guys enjoy!!
-
01-06-2013, 09:03 PM #4
 Dremel polishing
If u look closely the etching in the blade does remain its just clean and shiny now
-
The Following User Says Thank You to Airportcopper For This Useful Post:
10Pups (01-06-2013)
-
01-06-2013, 09:49 PM #5Senior Member


- Join Date
- Nov 2012
- Location
- Across the street from Mickey Mouse in Calif.
- Posts
- 5,320
Thanked: 1184
I would put a big + on watch the edges !! Have you used it for other things too ?
Good judgment comes from experience, and experience....well that comes from poor judgment.
-
01-06-2013, 10:13 PM #6

My first restore was done with a dremel, works fine as long as you watch the direction of rotation, and the edge of the blade. Nicely done.
Mastering implies there is nothing more for you to learn of something... I prefer proficient enough to not totally screw it up.
-
The Following User Says Thank You to tiddle For This Useful Post:
JeffR (01-07-2013)
-
01-06-2013, 10:14 PM #7

Tried to sand a dovo with it when first started straight razor shaving didn't know what i was doing, didn't use grease less compounds and left a dent in the dovo plus tons of scratches
I just do light restores now rep inning cleaning rescaling thats it
-
01-06-2013, 10:33 PM #8

Thx Airport!! I will definitely give your method a try. I have just started getting into buffing/repinning razors, but don't really know what I'm doing as of yet. Right now, I have a cordless Dremel and use red & green Jewelers Rouge buffing compound, and Mother's Metal Polish to finish. It seems to work pretty well, but your method is more thorough.
I'm going to get the supplies this week and will be sure to post my results!
Oh one more question: Is it true that you have to watch the speed/pressure of the Dremel? I heard that the heat buildup can ruin the temper of your razor...Last edited by jpcwon; 01-06-2013 at 10:36 PM.
-JP-
-
01-06-2013, 10:36 PM #9

Nice job. Looks really nice.
“Two things are infinite: the universe and human stupidity; and I'm not sure about the universe.”
Albert Einstein
-
01-06-2013, 10:49 PM #10

Don't raise the speed past 2 go very lightly on the blade keep feeling the blade let compounds do the work when the blade gets hot to touch dip in a glass of ice water forgot.to.mention.that temperature is important but i haven't had that problem any questions let me know.im.no.expert but just learning also.but getting good results
Last edited by Airportcopper; 01-06-2013 at 10:52 PM.


 8Likes
 LinkBack URL
 About LinkBacks


 Reply With Quote