
Results 1 to 10 of 34
 10Likes
Thread: First brush restore mistake
 LinkBack URL
 About LinkBacks
Hybrid View
-
04-13-2013, 07:17 PM #1Senior Member


- Join Date
- Jun 2012
- Location
- Long Island/Queens N.Y.
- Posts
- 1,035
Thanked: 74 First brush restore mistake
Here is a double duck set in rubber number two with old brush removed.. I made a mistake with the drill as u can see .. I figure once new brush is set I won't see the mistakes anyways.. My problem is I don't have calipers and have no idea what size brush to get .. The whole seems bigger then a quarter all,around what would be a safe size brush to get I could always open up the hole more?. Next post pic..
-
04-13-2013, 07:18 PM #2Senior Member
- Join Date
- Jun 2012
- Location
- Long Island/Queens N.Y.
- Posts
- 1,035
Thanked: 74 Picture of brush opening
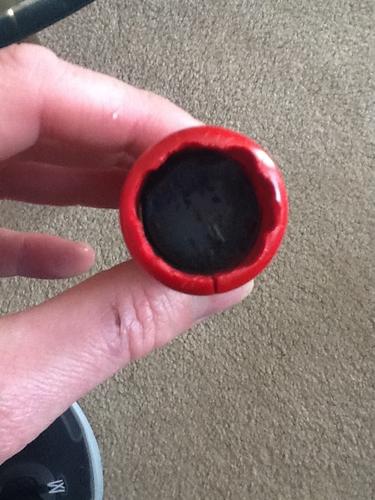 here is the brush opening
-
04-13-2013, 07:49 PM #3At this point in time...


- Join Date
- Jun 2007
- Location
- North Idaho Redoubt
- Posts
- 27,204
- Blog Entries
- 1
Thanked: 13250
Combined and moved to Brush Forum
-
04-13-2013, 08:27 PM #4Senior Member
- Join Date
- Jun 2012
- Location
- Long Island/Queens N.Y.
- Posts
- 1,035
Thanked: 74
My bad thank u sir..
-
04-13-2013, 09:05 PM #5Senior Member


- Join Date
- Mar 2012
- Location
- Thunder Bay, Ontario, Canada
- Posts
- 17,388
Thanked: 3228
Just measure the opening with a rule and convert the inch measurement to mm using Inches to Millimeters - in to mm conversion or similar converter program.
BobHirlau likes this.Life is a terminal illness in the end
-
04-14-2013, 12:13 PM #6Senior Member
- Join Date
- Jun 2012
- Location
- Long Island/Queens N.Y.
- Posts
- 1,035
Thanked: 74
Next time gonna use grinding wheel instead of bit.. learn from mistakes when u guys set the loft how do u determine what the right loft is.. not to floppy??
Last edited by Airportcopper; 04-14-2013 at 12:24 PM.
-
04-19-2013, 12:01 AM #7Senior Member
- Join Date
- Jun 2012
- Location
- Long Island/Queens N.Y.
- Posts
- 1,035
Thanked: 74
I got the hole smooth I was just thinking of dropping a wine cork in and setting in epoxy?. What could I use for an o ring ?.
Last edited by Airportcopper; 04-19-2013 at 12:16 AM.
-
04-19-2013, 12:18 AM #8Senior Member
- Join Date
- Jun 2012
- Location
- Long Island/Queens N.Y.
- Posts
- 1,035
Thanked: 74
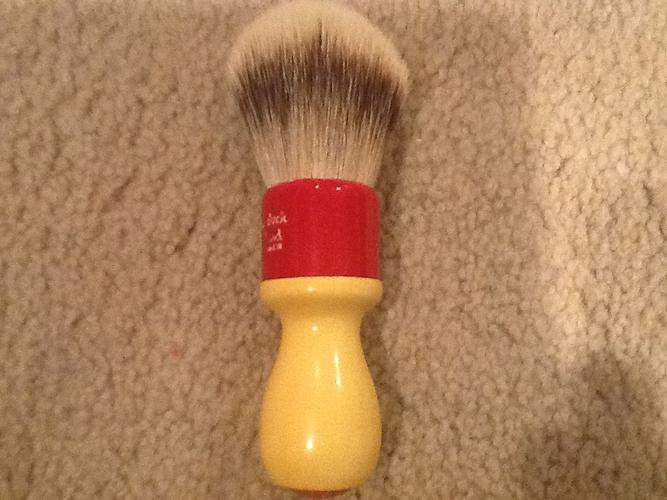
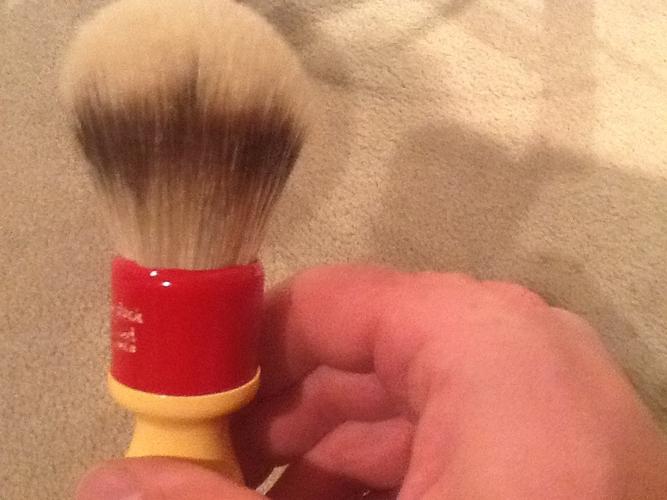
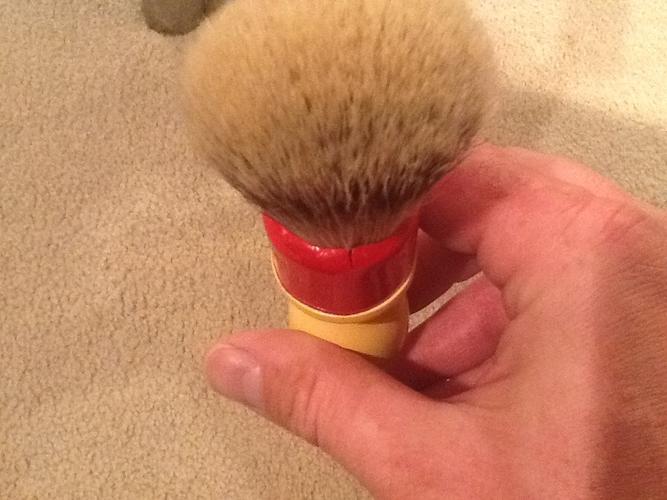
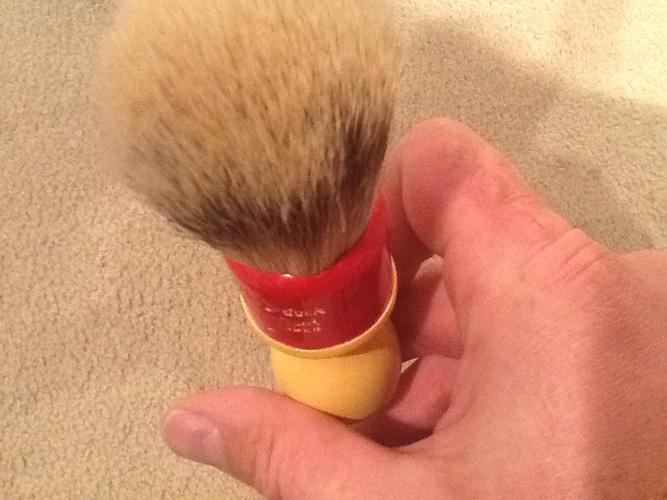
Here is what I got.. The brush fit in the hole is smooth.. I dropped a calk inside think its ok to epoxy how do I determine the loft
-
04-19-2013, 12:23 AM #9Senior Member
- Join Date
- Jan 2011
- Location
- Roseville,Kali
- Posts
- 10,432
Thanked: 2027
The loft is from the rim of the handle to the top of the hair,what size knot is it? the plug dia. do you face lather or bowl lather?
-
04-19-2013, 12:29 AM #10Senior Member
- Join Date
- Jun 2012
- Location
- Long Island/Queens N.Y.
- Posts
- 1,035
Thanked: 74
Bowl lather its a 22 silvertip I just need to figure out the loft and I think it will work.. I'm gonna have to live with the slight crack but as long as I can use it


 Reply With Quote