
Results 21 to 30 of 68
 128Likes
Thread: Few restorations/modifications
 LinkBack URL
 About LinkBacks
Threaded View
-
09-23-2014, 03:52 PM #1Member

- Join Date
- Dec 2013
- Location
- Warsaw, Poland
- Posts
- 80
Thanked: 48 Few restorations/modifications
Hello,
My first restoration. I made it really long time ago but now presenting here...
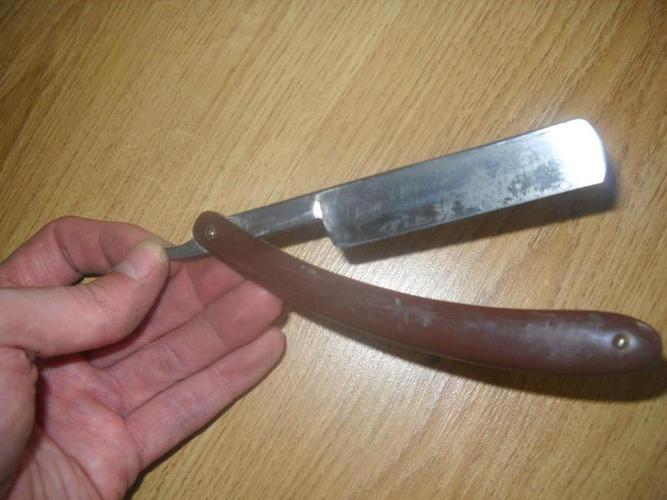
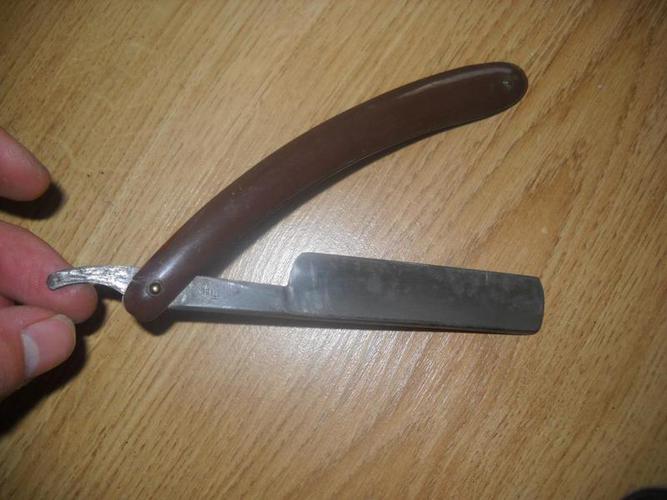
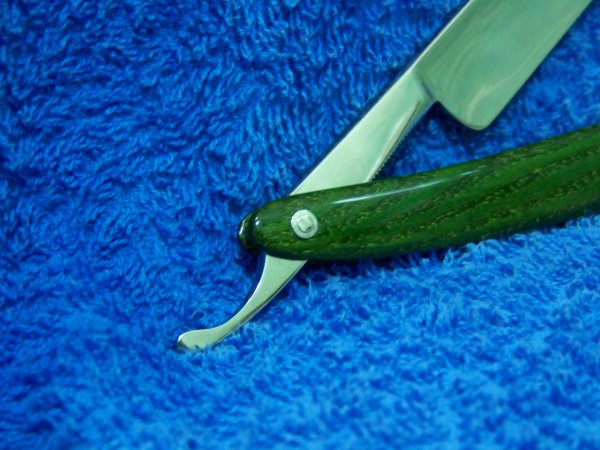
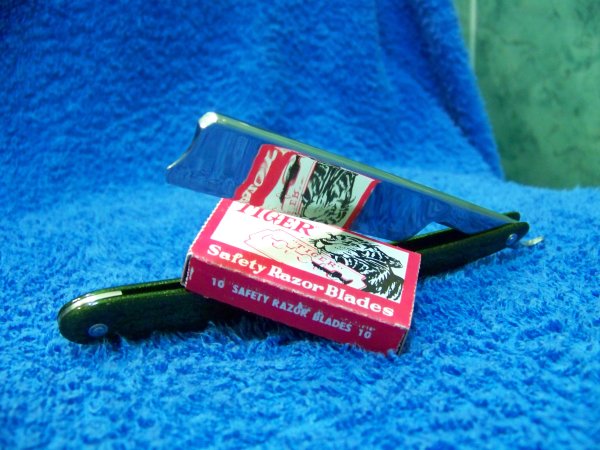
Russian Straight Razor: Trud Watcha Extra
Before:
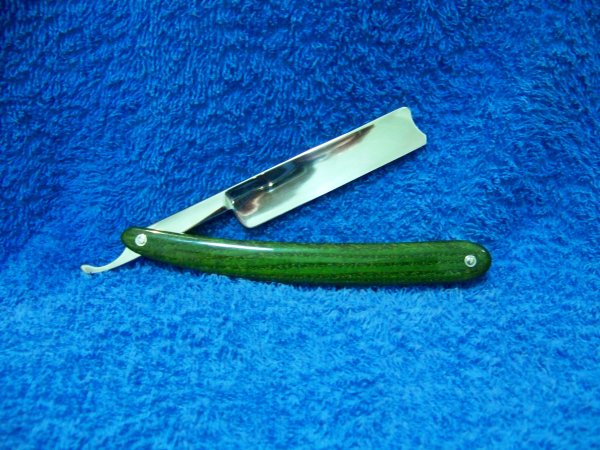
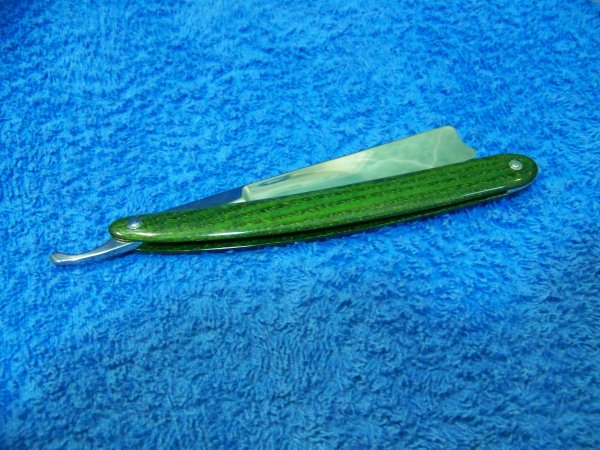
After:
Yes. This is the same one, but I changed point and tang profile.
... to be continued...Last edited by Lewy; 09-23-2014 at 04:05 PM.
-
The Following User Says Thank You to Lewy For This Useful Post:
Euclid440 (12-14-2015)


 Reply With Quote