Results 11 to 19 of 19
-
05-07-2011, 04:29 AM #11

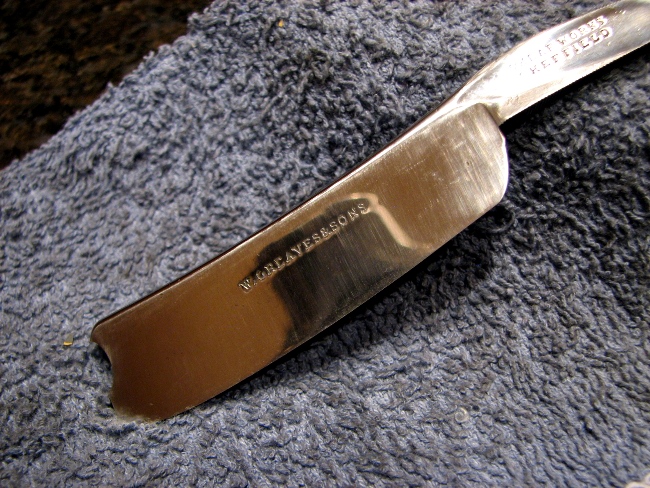
Another 4 hours and we are up to 1500 grit
-
-
05-07-2011, 10:58 AM #12..mama I know we broke the rules...


- Join Date
- Feb 2010
- Location
- Toronto, Ontario, Canada
- Posts
- 2,895
- Blog Entries
- 8
Thanked: 993
This is an awesome thread. I'm really diggin' the captions as the pictures unfold. Even though we have some great pics in the Wiki of handsanding and so forth, these are a little more specific in terms of the time invested in creating a great outcome. It's one thing to post a pic and say "This is after 600 grit", but it gives everyone a different point of view when its "This is 600 grit after three hours".
I want to be clear that I'm not bashing the work or pictures of others, I just find that this series is really detailing the amount of work involved in hand sanding. This would be a great thread for newcomers to look at, who intend to begin restoring razors.
Thanks very much for these!
-
05-07-2011, 03:38 PM #13

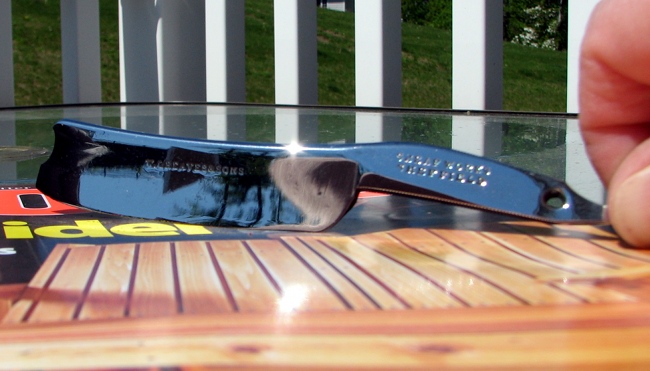
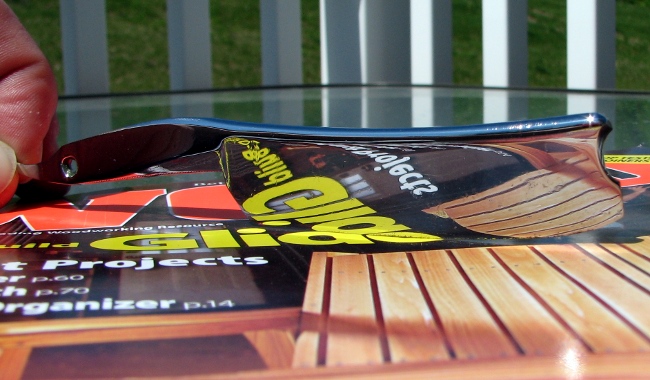
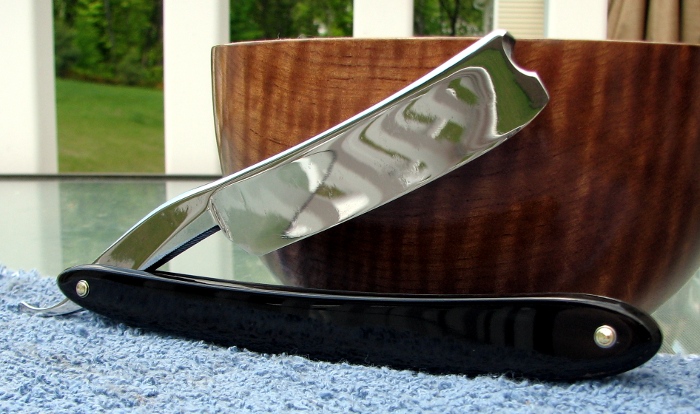
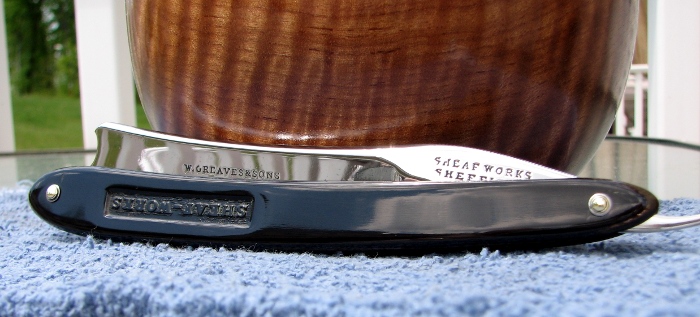
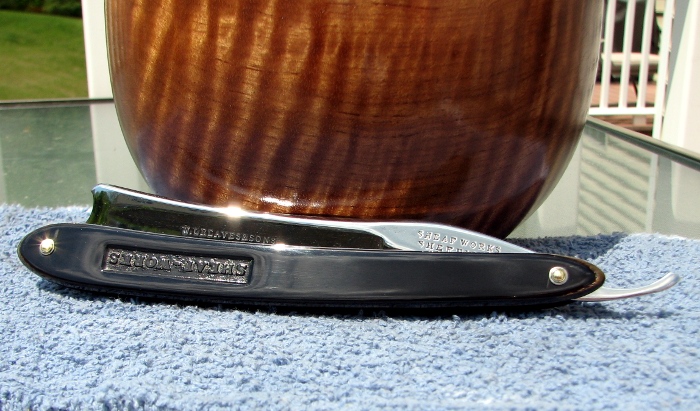
Almost there. Gave it another hour with the 2000 then a couple micro mesh pads to most all the striations out. Then It got a 4 compound progression on the buffing wheels and finished up with some hand polishing. Now it is time to turn to the scales. I am going to keep the original black stamped buffalo horn scales. They will get a good scrubbing to clean up all the old shave soap, then a 600-2000 grit wet sand and then finish with the buffing wheels. I usually rescale in new horn/wood/antler/etc... but since this blade is so unique (hard to find one that has not been reground) and the Shef Works stamp on the scales is in good order I am going to keep it original with the exception of the pins. Should look better than new when I get it finished.
-
05-07-2011, 05:21 PM #14

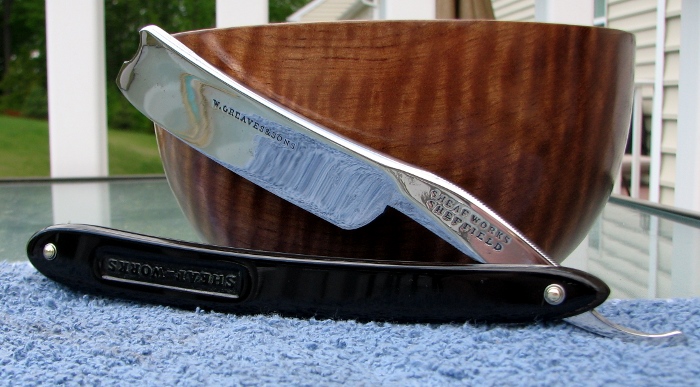
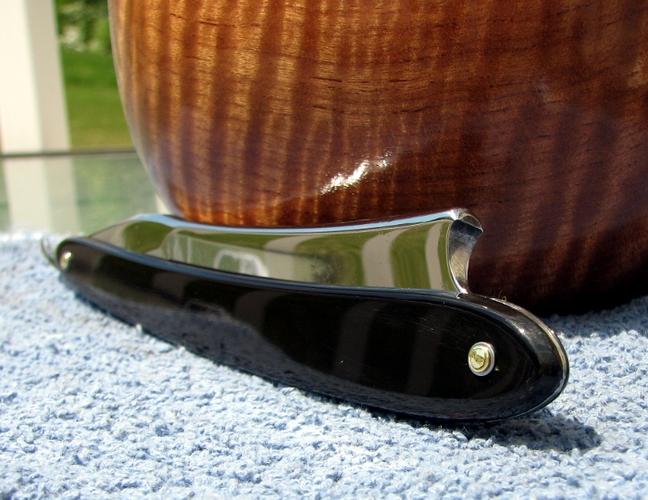
Wet sanded the scales up to 2000 grit. Then they got a heavy wipe (actually 3) in neats foot oil to re-hydrate the buffalo horn. Once the scales had soaked up as much oil as they wanted I cleaned them then gave them a buffing on the wheels to shine them up better than new.
The pins are 1/16 brass rod with brass over stainless washers and brass thrust bearings. The wedge is the original led wedge. I sanded and properly fitted the wedge then pinned it all back together. Looks nice IMHO.
-
The Following 4 Users Say Thank You to cannonfodder For This Useful Post:
baldy (05-08-2011), eTom (05-07-2011), nicknbleeding (05-08-2011), niftyshaving (05-09-2011)
-
05-07-2011, 05:28 PM #15

Excellent work, Beautiful razor.
Congrats
-
05-07-2011, 08:32 PM #16

Niiice!

That looks absolutely great, and definately better than new!
-
05-08-2011, 02:37 AM #17

Wow awesome job. What buffing compound did you use on the scales?
-
05-08-2011, 02:46 AM #18
-
05-08-2011, 05:42 AM #19

Gorgeous!!!!! Simply stunning.
-- Any day I get out of bed, and the first thing out of my mouth is not a groan, that's going to be a good day --


 4Likes
 LinkBack URL
 About LinkBacks


 Reply With Quote


