Page 4 of 5 FirstFirst 12345 LastLast
Results 31 to 40 of 43
Like Tree88Likes

Thread: Grinder accesories and ideas

  1. #31
    Senior Member jfk742's Avatar
    Join Date
    Jan 2015
    Location
    Pinole, ca
    Posts
    1,526
    Thanked: 339

    Default

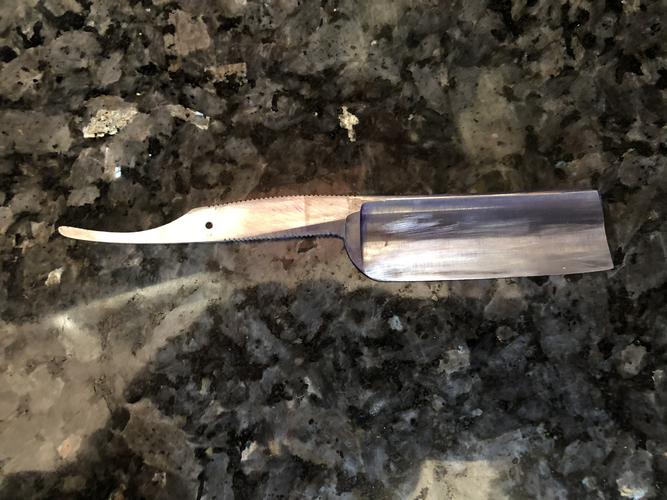
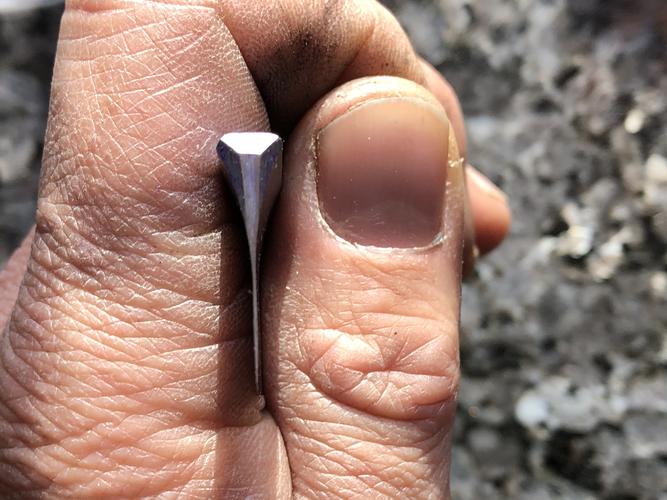
    Here is a few pics of the full hollow I went a little too far. The difference between success and failure was leaving enough material to hand sand. Mind you this a 3rd attempt at full hollow this thin. The next razor should be a success but we will see.

    There is still some layout dye that I didn’t thoroughly cleaned off. I may just leave it as is and clean up the tang and spine some then just shave with it to check my heat treat for edge retention. I always learn more from my mistakes.
    Name:  5B9232FE-6208-4B6B-98EA-F5795B6A298F.jpg
Views: 188
Size:  56.6 KB

    [ATTACH=CONFIG]329627[/ATTACH

    Name:  CDA08867-D58D-4C94-9582-8627FE0E55F3.jpg
Views: 196
Size:  58.7 KB
    Attached Images Attached Images  
    spazola, 32t, rolodave and 4 others like this.

  2. The Following User Says Thank You to jfk742 For This Useful Post:

    spazola (02-14-2021)

  3. #32
    Senior Member blabbermouth bluesman7's Avatar
    Join Date
    Jul 2014
    Location
    Denver CO
    Posts
    4,629
    Thanked: 811

    Default

    Nice one John!

  4. The Following User Says Thank You to bluesman7 For This Useful Post:

    jfk742 (02-17-2021)

  5. #33
    Member woodscavenger's Avatar
    Join Date
    Sep 2016
    Location
    Boise, id
    Posts
    41
    Thanked: 1

    Default

    Quote Originally Posted by jfk742 View Post
    Here is a few pics of the full hollow I went a little too far. The difference between success and failure was leaving enough material to hand sand. Mind you this a 3rd attempt at full hollow this thin. The next razor should be a success but we will see.

    There is still some layout dye that I didn’t thoroughly cleaned off. I may just leave it as is and clean up the tang and spine some then just shave with it to check my heat treat for edge retention. I always learn more from my mistakes.

    Name:  5B9232FE-6208-4B6B-98EA-F5795B6A298F.jpg
Views: 188
Size:  56.6 KB

    [ATTACH=CONFIG]329627[/ATTACH

    Name:  CDA08867-D58D-4C94-9582-8627FE0E55F3.jpg
Views: 196
Size:  58.7 KB
    How do you do the jumping? Looks nice and clean.

  6. #34
    Senior Member jfk742's Avatar
    Join Date
    Jan 2015
    Location
    Pinole, ca
    Posts
    1,526
    Thanked: 339

    Default

    A checkering file. I use a file guide to get it started, once the first set of tracks is established you can move on down, registering on your file in the already established cuts. I think the size is 00 which is 20 lines per inch, iirc.
    rolodave, RezDog and petercp4e like this.

  7. #35
    Senior Member blabbermouth bluesman7's Avatar
    Join Date
    Jul 2014
    Location
    Denver CO
    Posts
    4,629
    Thanked: 811

    Default

    I have my sights on a 9" 1° conical disk grinding surface now.
    spazola, 32t and jfk742 like this.

  8. #36
    Senior Member blabbermouth bluesman7's Avatar
    Join Date
    Jul 2014
    Location
    Denver CO
    Posts
    4,629
    Thanked: 811

    Default

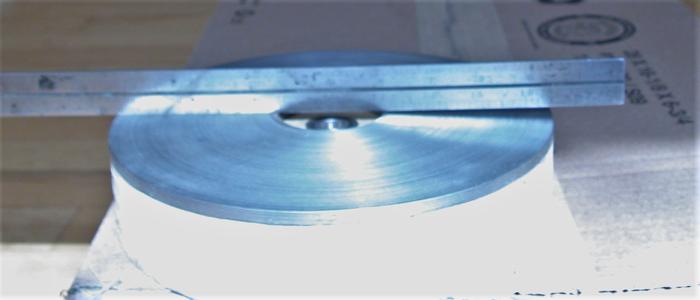
    9" beveled disc
    Name:  DSCN2327 (2).jpg
Views: 171
Size:  16.9 KB

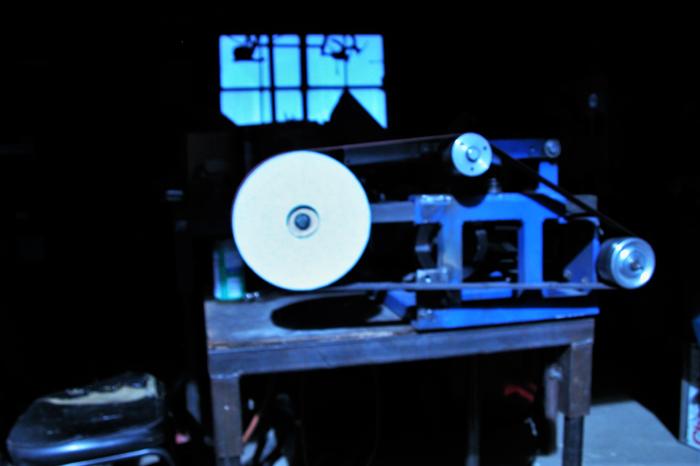
    Hard to see, but here is the disc installed on my 2x72.
    Name:  DSCN2328 (2).jpg
Views: 172
Size:  24.9 KB
    Last edited by bluesman7; 02-22-2021 at 08:34 PM.
    32t, rolodave and jfk742 like this.

  9. #37
    Member woodscavenger's Avatar
    Join Date
    Sep 2016
    Location
    Boise, id
    Posts
    41
    Thanked: 1

    Default

    What is the purpose of the conical wheel?

  10. #38
    Senior Member blabbermouth bluesman7's Avatar
    Join Date
    Jul 2014
    Location
    Denver CO
    Posts
    4,629
    Thanked: 811

    Default

    Quote Originally Posted by woodscavenger View Post
    What is the purpose of the conical wheel?
    It is used the same as a flat disc, but the bevel gives you clearance on the other side of the center.
    rolodave likes this.

  11. The Following 2 Users Say Thank You to bluesman7 For This Useful Post:

    32t (02-26-2021), rolodave (02-26-2021)

  12. #39
    Senior Member blabbermouth bluesman7's Avatar
    Join Date
    Jul 2014
    Location
    Denver CO
    Posts
    4,629
    Thanked: 811

    Default

    I'm in the process of putting a flat disc on the other side of the wheel.

    I'm doing this mainly for two reasons, I can have two different grits mounted, and having discs on both sides makes them effectively turning in opposite directions (picture grinding a flat grind knife edge up on either side).

    A third but less important reason is that I figured I may as well make this second disc flat to help evaluate the difference between flat and beveled and see if there are uses where flat is better. I can easily bevel it in the future if I need or want to.
    Last edited by bluesman7; 03-06-2021 at 03:29 PM.
    32t, rolodave, RezDog and 1 others like this.

  13. #40
    Senior Member blabbermouth bluesman7's Avatar
    Join Date
    Jul 2014
    Location
    Denver CO
    Posts
    4,629
    Thanked: 811

    Default

    The 9" dual sanding disk/wheel rocks for general shop work. I have three different grits turning at the same time.
    32t, rolodave and RezDog like this.

Page 4 of 5 FirstFirst 12345 LastLast

Posting Permissions

  • You may not post new threads
  • You may not post replies
  • You may not post attachments
  • You may not edit your posts
  •