
Results 11 to 20 of 23
 10Likes
 LinkBack URL
 About LinkBacks
-
11-04-2011, 11:23 AM #11Senior Member


- Join Date
- Sep 2011
- Posts
- 1,979
Thanked: 196
That's really fantastic that you can do this. I'm impressed!
-
11-04-2011, 09:32 PM #12Member

- Join Date
- Jan 2011
- Location
- Polk City, Florida, United States
- Posts
- 65
Thanked: 17 Chapter 4
Step 9:starting the finish work.
After polishing with green rouge I start cutting blade decorations and details. The jimps I cut with a dremel. This blade is designed around arthritic hands so the jimps are deep and wide to add control. The tang is dropped low (the tail is level with the cutting edge) for a more ergonomic grip, and the thumb notch is wide and set forward (actually set over the heel of the cutting edge) with larger than normal lower jimps. All these features are meant to allow curving fingers and reduced grip better control of the cutting edge.
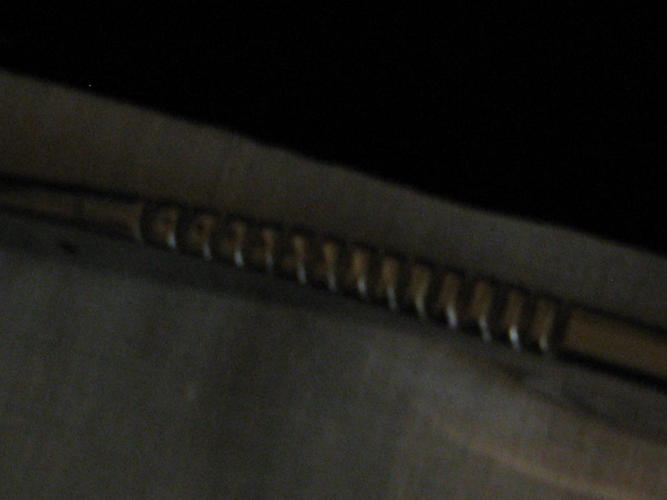
Deep and wide.
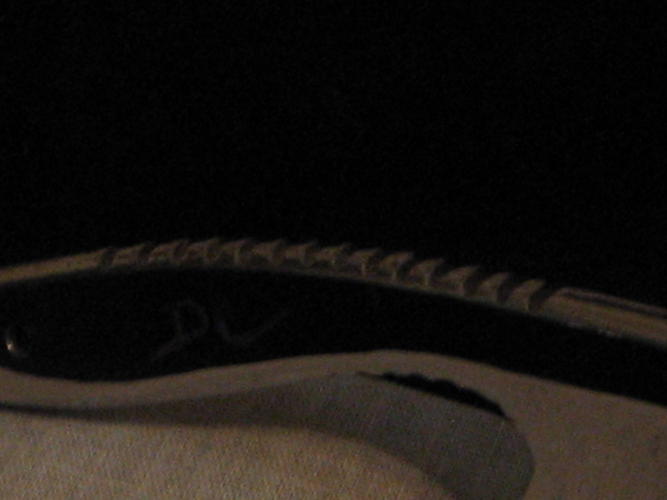
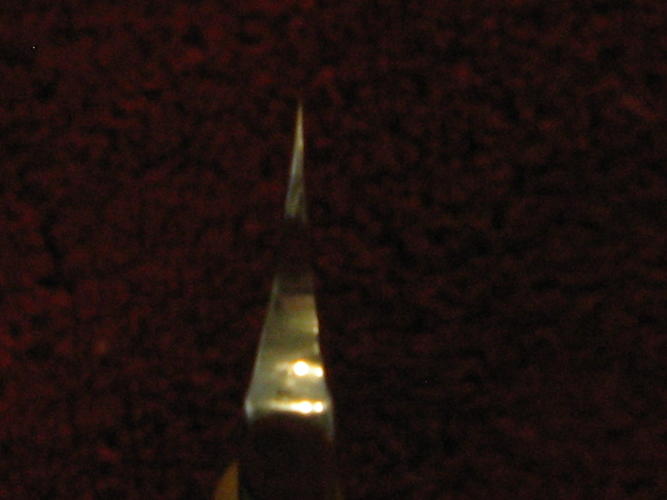
The only way I could get a pic of the lower jimps was with a flash, that's why the pic looks like a negative.
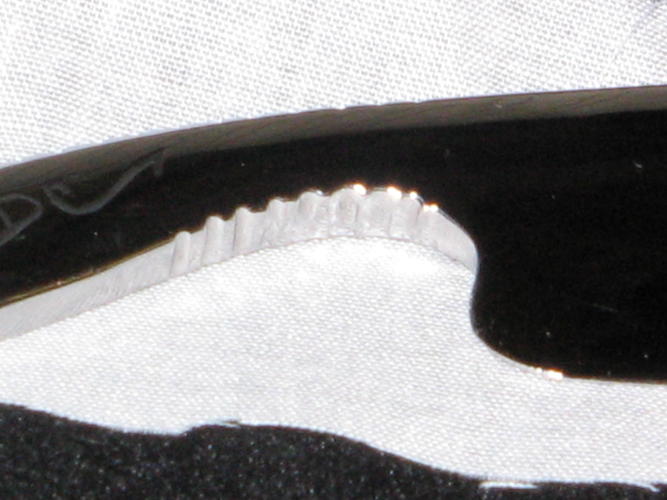
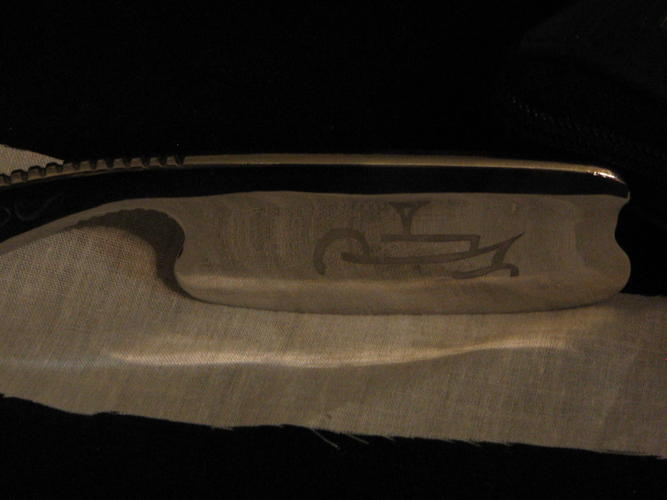
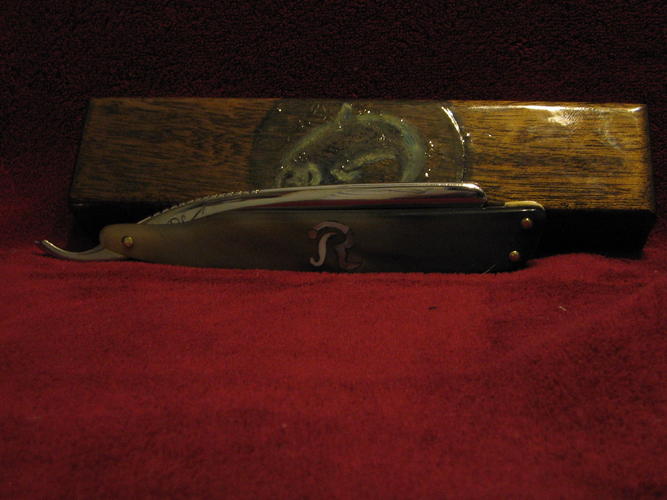
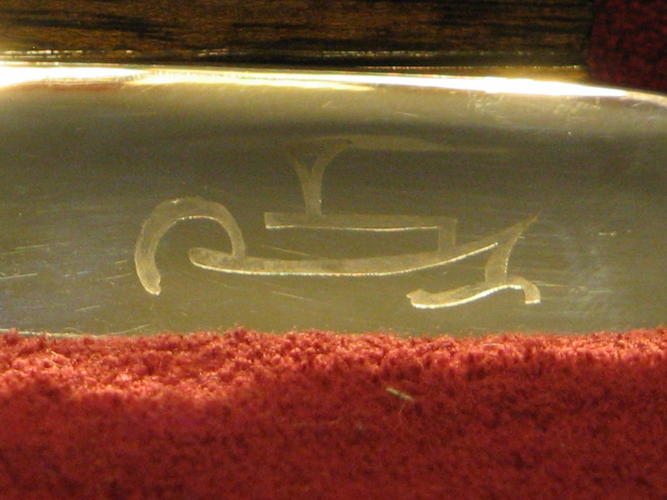
The final decoration on the blade is an etched art deco river boat. Also I have now shaped the cutting edge. the blade width is a 17/16 - 9/8 - 17/16 smile. My largest blade to date
 ThePhill and ScottGoodman like this.
-
11-05-2011, 11:17 PM #13Senior Member

- Join Date
- Feb 2011
- Location
- Eastern Washington, USA
- Posts
- 284
Thanked: 54
Very informative and that looks like a great looking blade. Can't wait for the finished product.
Jeff
-
11-06-2011, 12:51 AM #14Senior Member
- Join Date
- Mar 2011
- Location
- Washington DC Metro Area
- Posts
- 468
Thanked: 114
I learned a lot reading this post. Thanks for sharing your knowledge. Sweet looking razor too.
-
11-06-2011, 02:50 AM #15Member
- Join Date
- Jan 2011
- Location
- Polk City, Florida, United States
- Posts
- 65
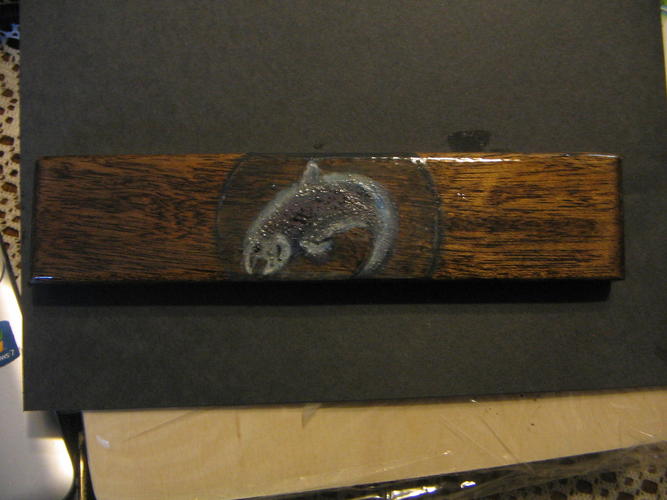
Thanked: 17 Chapter 5
Step 10:
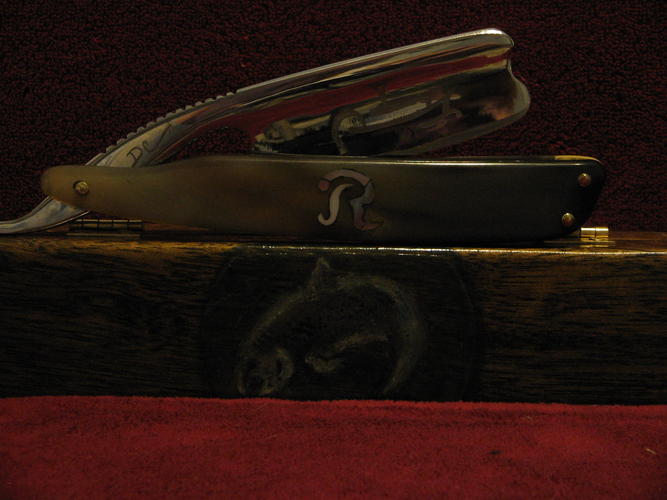
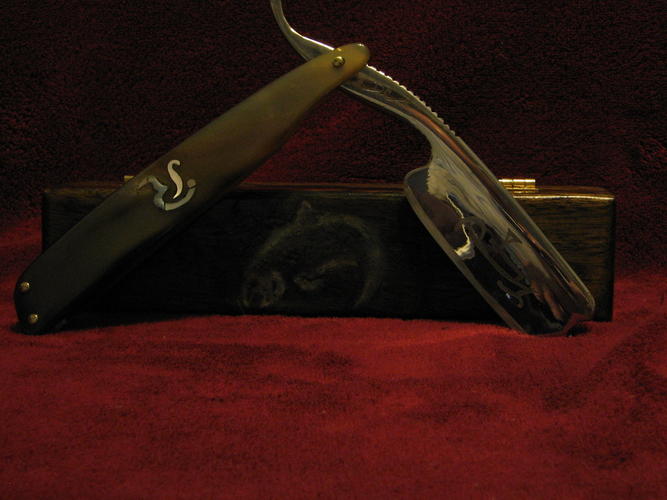
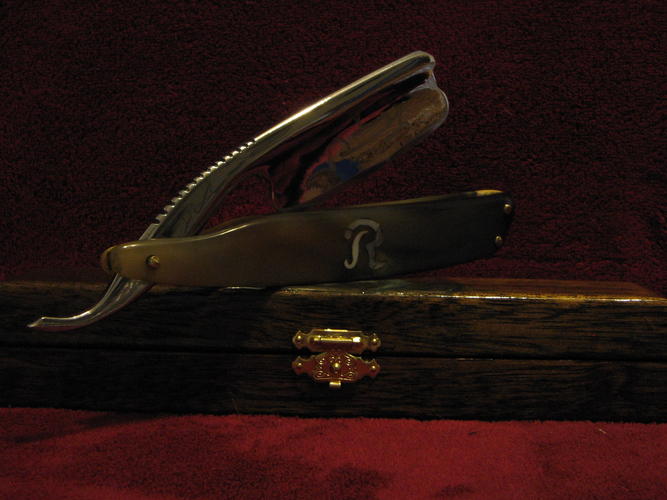
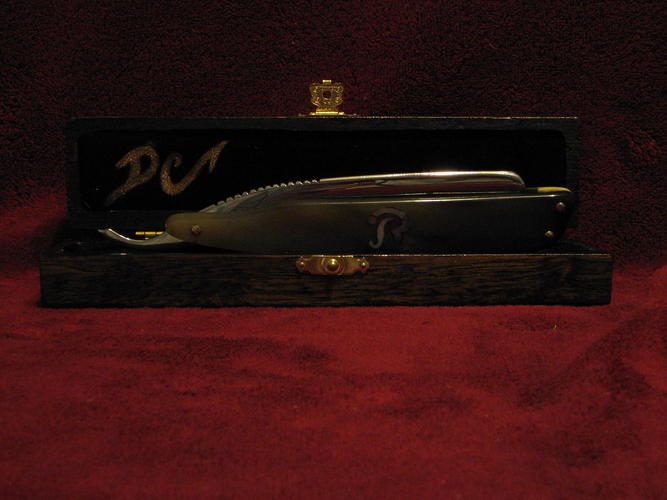
I start the heirloom box. This box is cut from a single piece of Teak, My father cuts the wood and hollows it out, then I finish it. This one is stained with black lacquer and then sealed under polyurethane. Between coats I painted the trout on the top of the box. It will receive another 5 coats after the painting.

Next time the inside of the box and assembling the razor
-
11-08-2011, 03:50 AM #16Member
- Join Date
- Jan 2011
- Location
- Polk City, Florida, United States
- Posts
- 65
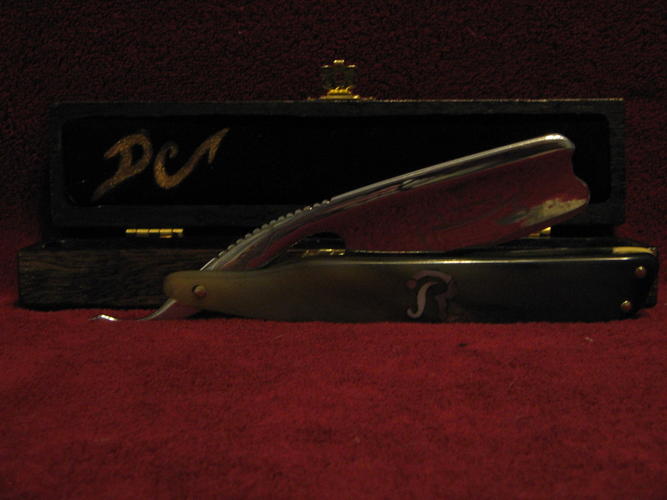
Thanked: 17 Epilogue
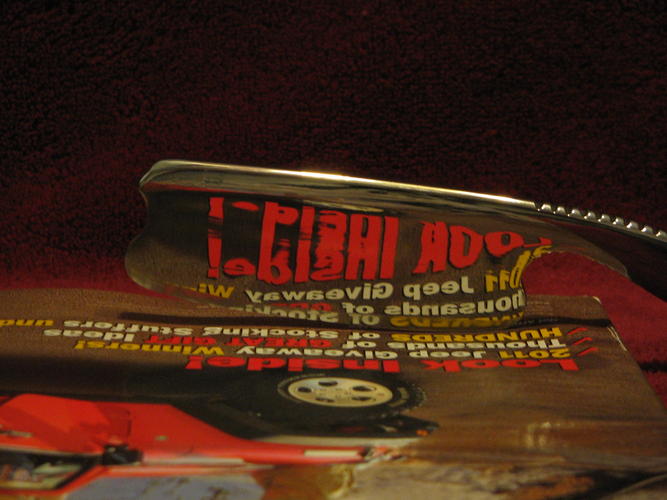
Put the finishing touches on this razor today, here's the details
KC-60 Length and Weight Specifications
Blade weight 69.5g
Total weight 100.7g
Cutting edge 2 7/8 in
Total blade length 6 1/16 in
Blade width 9/8 in
Scale length -5 5/8 in
Total open length 9 7/8 in
Total closed length 6 3/4 in
KC-60 Construction Specifications
- Scales -
Indian Buffalo Horn, Honey, 3/16 in. thick
Brass pins
Wedge Is Stag Horn
- Blade
Open Axe
Triple tempered Carbon-Chromium alloy
Near Wedge
Barbers Notch
Shoulderless
Straight Spine
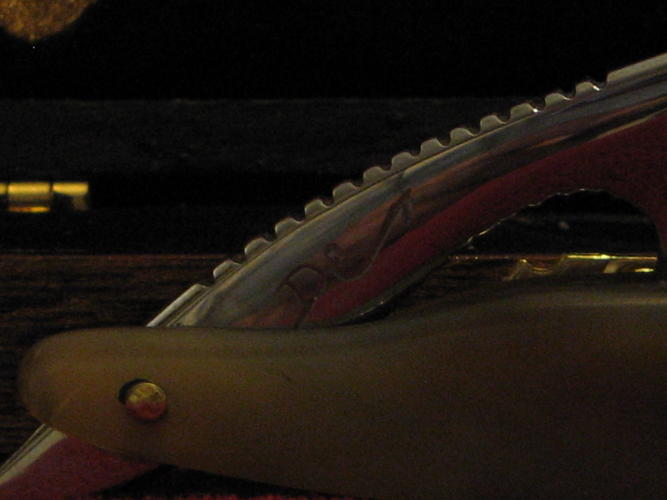
Extra Large Upper and lower Jimps
 ScottGoodman and jdto like this.
-
11-08-2011, 04:03 AM #17I'm on The Straight Road


- Join Date
- Sep 2011
- Location
- Toronto
- Posts
- 1,371
Thanked: 183
Very well-done. How's the shave?
-
11-08-2011, 04:11 AM #18Norton convert


- Join Date
- Jun 2011
- Location
- Stabekk, Norway
- Posts
- 1,380
Thanked: 310
To be honest, the photos are so dark and muddy I'm not sure how it looks....
Try and take some phots not using flash, use some soft window light, or take them outside.
-
11-08-2011, 04:13 AM #19Member
- Join Date
- Jan 2011
- Location
- Polk City, Florida, United States
- Posts
- 65
Thanked: 17
Like a dream. The weight will take some getting used to but it should live up to it's purpose.
-
11-08-2011, 04:15 AM #20Member
- Join Date
- Jan 2011
- Location
- Polk City, Florida, United States
- Posts
- 65
Thanked: 17
I get new photos tomorrow Originally Posted by Blix


 Reply With Quote