
Results 1 to 10 of 23
 10Likes
 LinkBack URL
 About LinkBacks
-
10-29-2011, 06:04 PM #1Member


- Join Date
- Jan 2011
- Location
- Polk City, Florida, United States
- Posts
- 65
Thanked: 17 Kerosene60 custom build Step by Step
I decided to not only show the progress of a custom but also to show how I build my razors step by step.
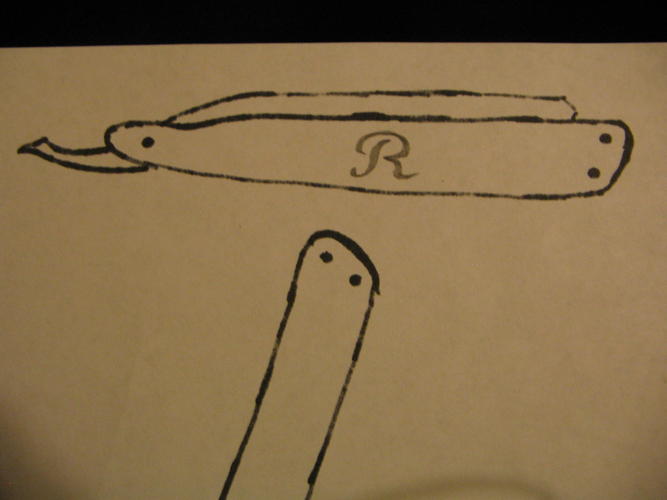
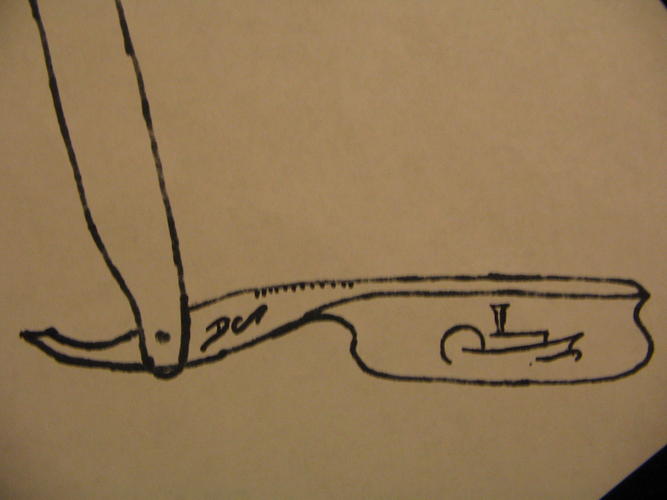
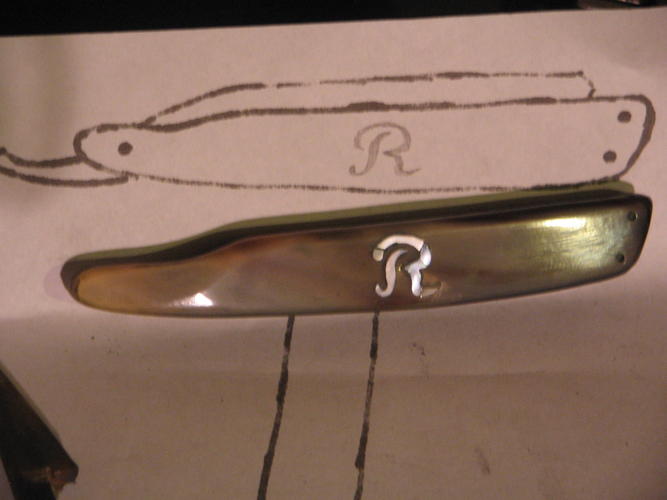
Step one design:
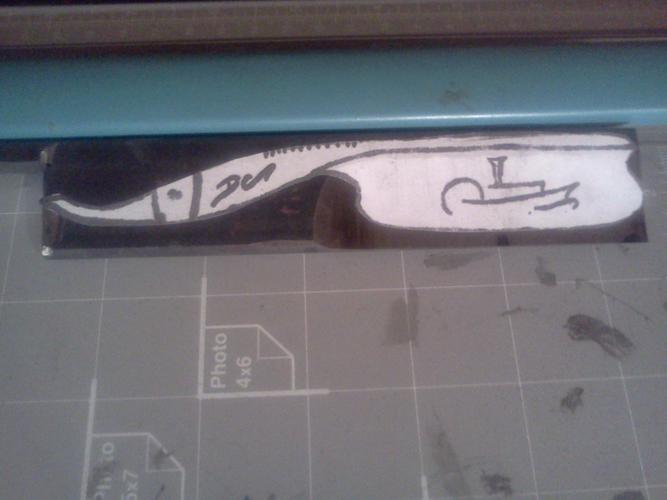
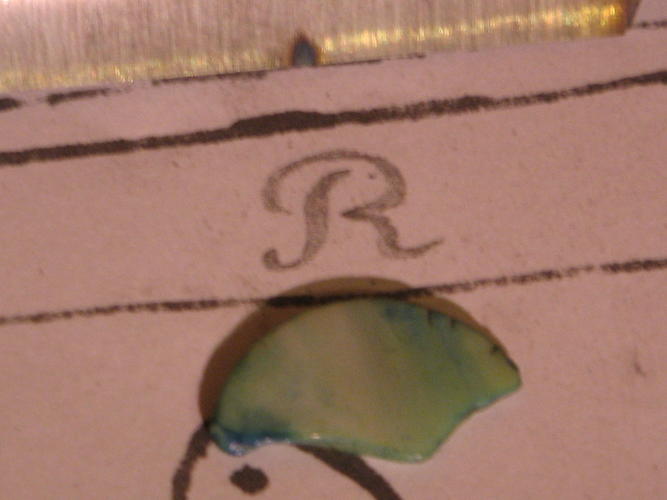
This step is just as it sounds, I draw the razor in full scale. The design below in the first three pics is the final design.

Step two:
I grind the blade. I built my own hollow grinder for this. It differs from knife hollow grinders in that it turns the other direction. This allowed me to build a blade clamp that can feed the blade into the stones accurately. I can cut a blade in two passes.
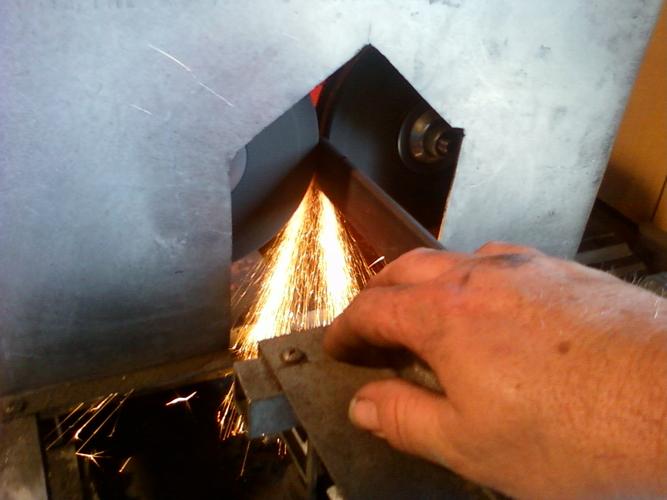
Safety Note:
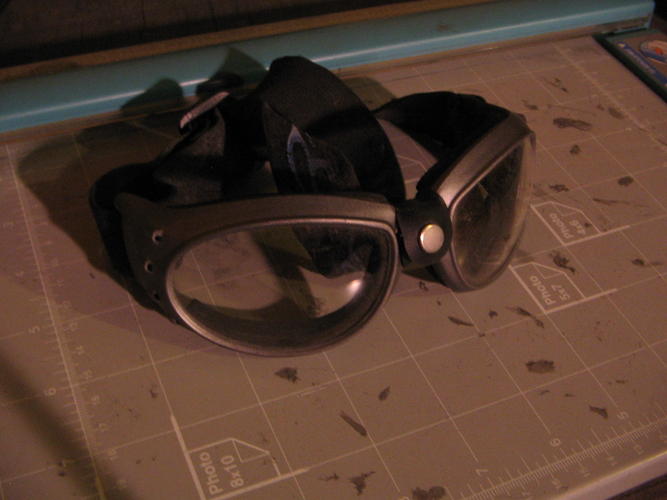
Grinding, power sanding, and polishing aerosols small particles of steel, aluminum oxide, carbides, and other crystal structures that are damaging to lungs, eyes, and ears. WEAR PROTECTION! Not just the normal kind either, safety glasses will not stop aerosol steel, it just floats around the sides. I use motorcycle goggles because they are designed to stop airflow. I use a washable air mask that seals to my face, this is important because ground particles are so light and small they can hide in your mask only to be inhaled later. Ear protection is a must for more reasons than I can count.
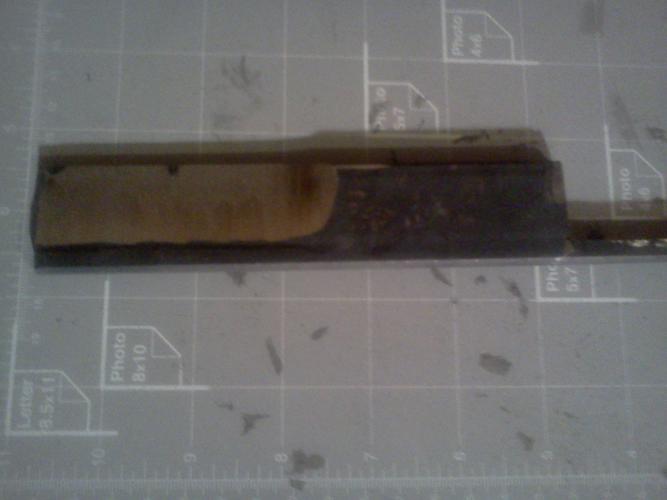
Below:
This is the rough ground blade after the second pass in the hollow grinder
I then attach, temporally, the pattern to the steel using a glue stick. I then use first a marks-a-lot then a sharpie to trace the pattern to the steel. The combination of the two lets the marking handle heat, water, and rubbing longer than either alone.
I then use a fiber cut off blade to remove as much excess material as possible.
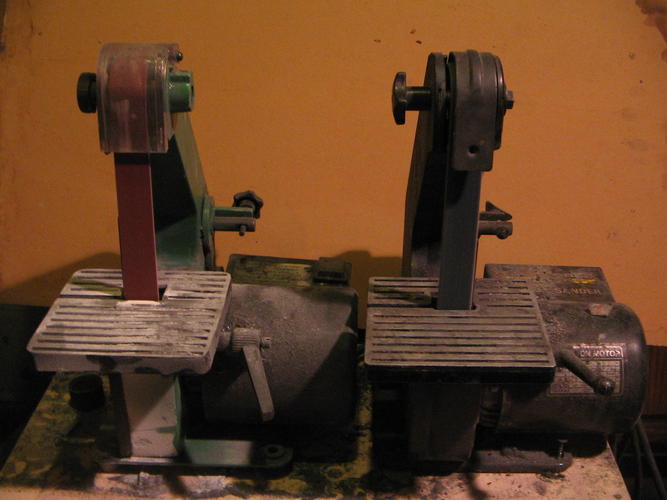
Now I go to my sanders, for this step the sanders are loaded, one with a 40 grit the other a 80 grit belt. All I want here it the rough shape of the razor, 40g to get close quick, 80g to get closer with more caution.
below:
after the first round through the sanders.

That's usually where I stop on the blade for the first day, I take the blade to the forge and re aneal the blade and allow it to rest for at least 12 hours.
Nest time Step three the first day on the scales.

Last edited by Maximilian; 10-29-2011 at 06:29 PM. Reason: removal sales/soliciting
-
10-30-2011, 12:16 AM #2Senior Member
- Join Date
- Mar 2011
- Location
- Corcoran, Minnesota
- Posts
- 665
Thanked: 170
Thanks so much for Chapter One of your blade method. Everyone is a tad different, and we all can learn from each other. I was interested to see you using smaller 1 inch belt grinders. I use a KMG - you do your fine work with something much smaller and less expensive, and your results are excellent. Thanks again for the post. I'm looking forward to future additions.
-
10-30-2011, 11:42 PM #3aka shooter74743


- Join Date
- Sep 2009
- Location
- SE Oklahoma/NE Texas
- Posts
- 7,285
- Blog Entries
- 4
Thanked: 1936
I like your method of starting the rough hollow before the blade shape...cool hollowing tool too!
Southeastern Oklahoma/Northeastern Texas helper. Please don't hesitate to contact me.
Thank you and God Bless, Scott
-
The Following User Says Thank You to ScottGoodman For This Useful Post:
bishpick1 (10-31-2011)
-
10-31-2011, 06:31 PM #4Member
- Join Date
- Jan 2011
- Location
- Polk City, Florida, United States
- Posts
- 65
Thanked: 17 chapter 2
Step 3 Scales:
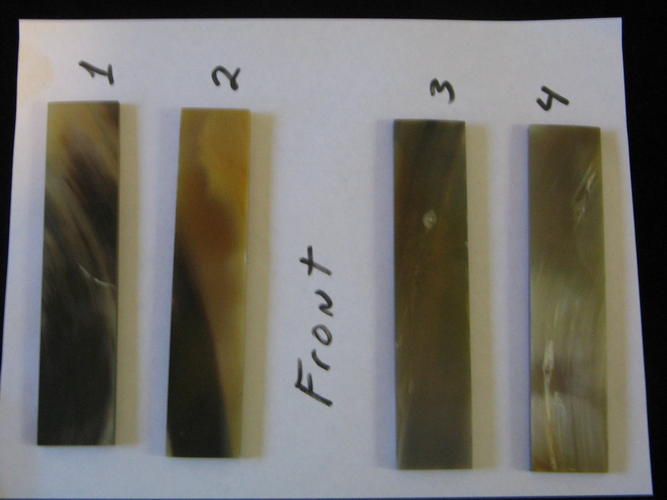
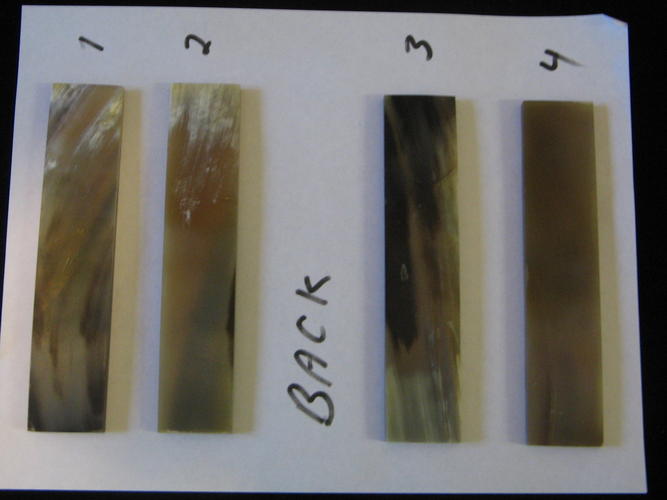
For this razor I'm using Indian blond buffalo horn, so I pick from the available horns in this case the "back" side of horn 1 and 2. Normally I only use one horn and split it two, but this razor requires 3/16" thick scales so I had to use two horns.
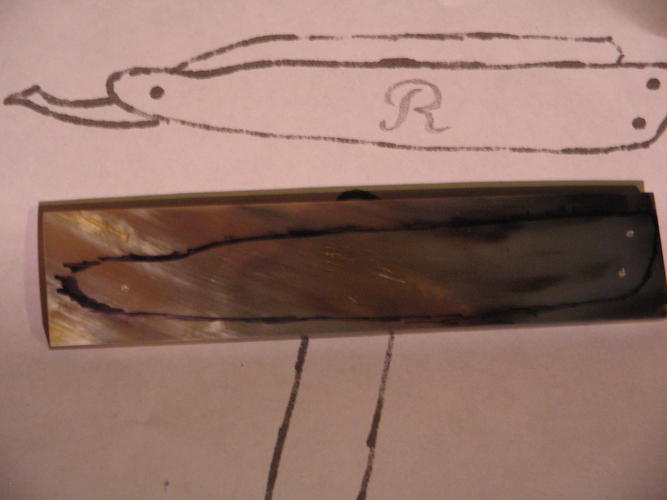
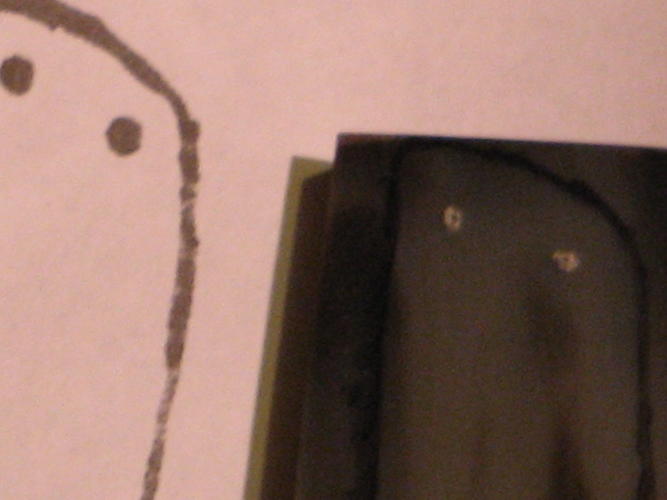
I trace the pattern on to the face side horn and mark the pins, I know the left side is supposed to be the face but I like a right side face. I don't know why..... Just strange I guess. I then use two sided tape to put the horns together and cut then out with a scroll saw leaving an extra 1/8" all around.
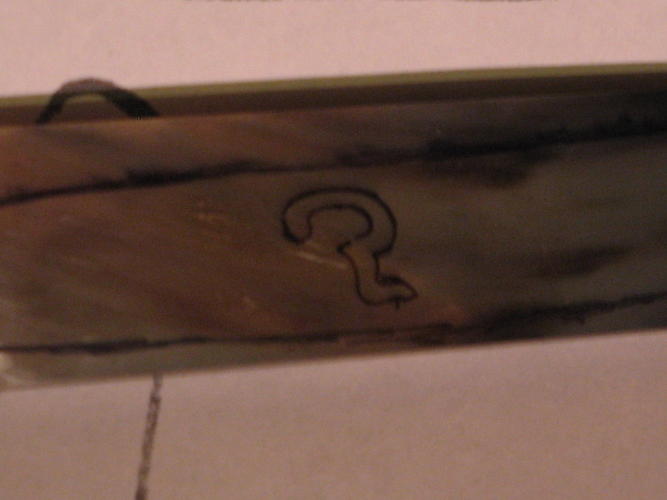
Next I'll start the inlay. For this razor I'm doing a mother of pearl inlay..... With a twist. First the materials, I get mother of pearl chips for my local craft store, I get a variety of colors, and I don't need anything larger than that so chips are perfect. I dont worry about them having been died; the die only goes a few 1/1000's deep so once I start to cut the inlay level I'll get to the real color quickly.
I attach a pattern to the chip using a glue stick (glue sticks are great because they don't hold very strong and they don't leave a difficult to remove residue).
This next pic is of one of three R's cut for this project.

I then trace the R onto the scale and dig a trench deep enough so that I won't polish all the way through the inlay.
I use a clear epoxy to set the inlay, you can see one of the pieces is still above the surface of the scale (this is before it is cut down and polished.
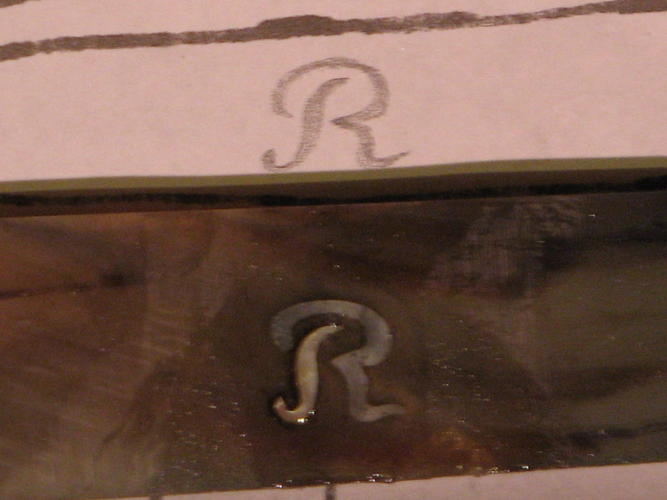
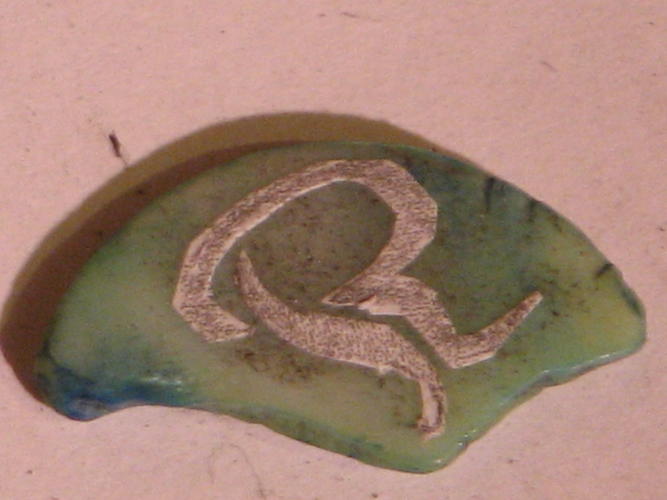
Here is the finished inlay. The outside stroke of the R is in four pieces made from the three pieces of mother of pearl. The different colors and patterns as well as the breaks in the inlay give it an antique feel (that's the twist). Inlays are not difficult their just incredibly time consuming and frustrating, and well worth all the trouble.
 ScottGoodman likes this.
-
11-02-2011, 11:36 PM #5Member
- Join Date
- Jan 2011
- Location
- Polk City, Florida, United States
- Posts
- 65
Thanked: 17 Chapter 3
Step 4,5,6, and 7 (repeat)
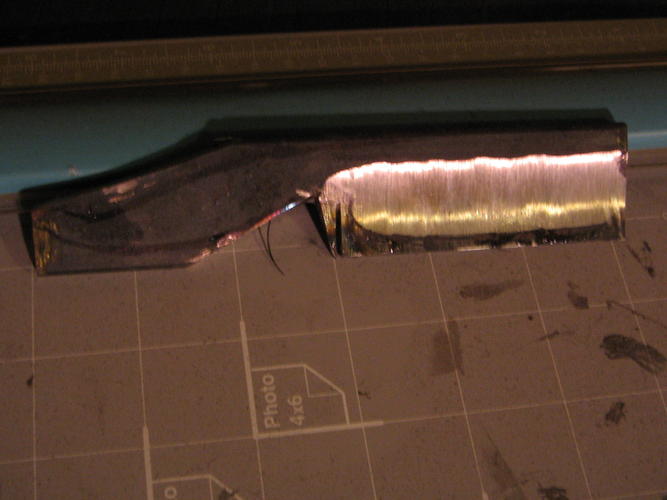
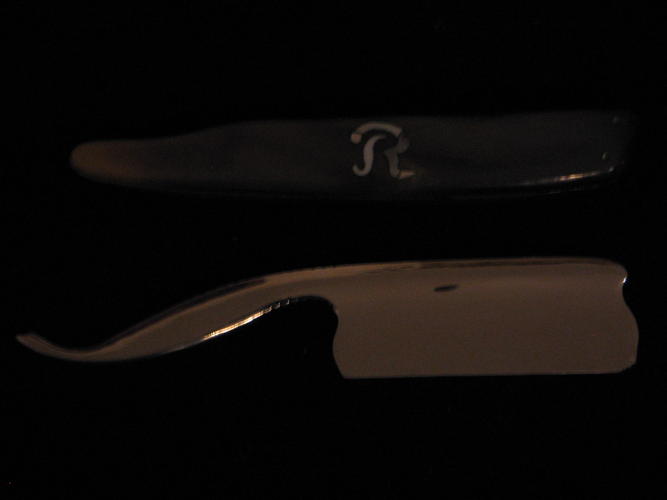
Tempering is a necessary pain in the southern regions. before I temper I sand the blade to 120 grit. then heat to critical (1550 deg.) soak for 15 min. then quench in 115 deg. oil. place in 250 deg. oven for 2 hours. let rest 24 hours, repeat, sanded to 220 grit, repeat, sanded to 400 grit. what you get is a black ugly smooth razor hardened to about 63-65 RC. (NOTE: the blade has not been cut back yet, it will be 7/8 when finished)
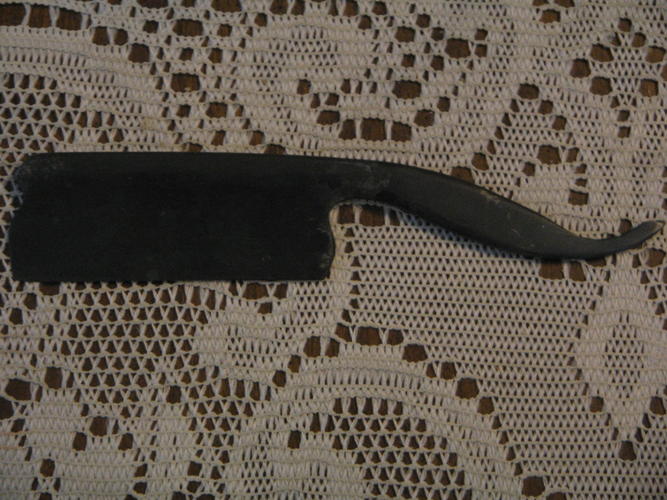
The pre-sanding makes the polishing much easier. the following pics show the blade polished up to white rouge. Not good enough for me, I'll sand one more time with 00 steel wool then polish with green jewelers rouge.
Last edited by bishpick1; 11-02-2011 at 11:46 PM.
ScottGoodman likes this.
-
11-03-2011, 09:41 PM #6Member
- Join Date
- Jan 2011
- Location
- Polk City, Florida, United States
- Posts
- 65
Thanked: 17 Just a side note
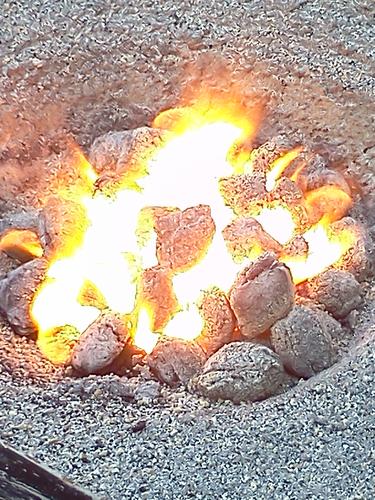
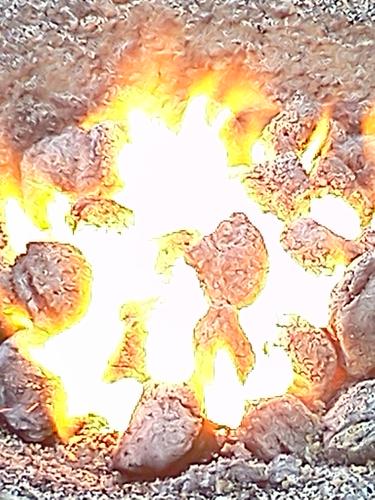
Just because I'm very happy with it here is some pics of my new forge
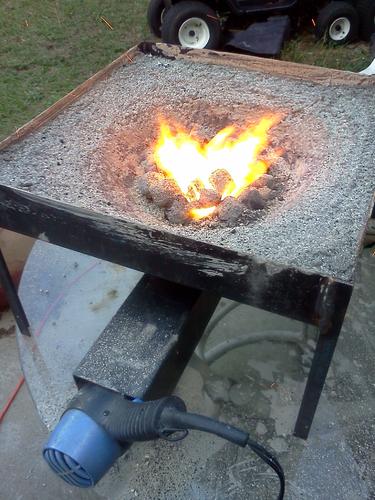
and again....
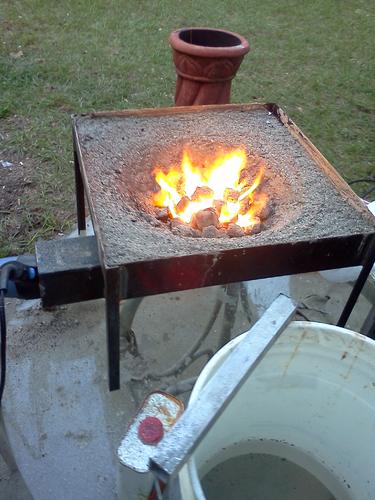
it has three air rates, First is low, which gives me HOT!
Next is Med. or WOW that's HOT!
last is of course High, or, Pits of h*#@ hot.
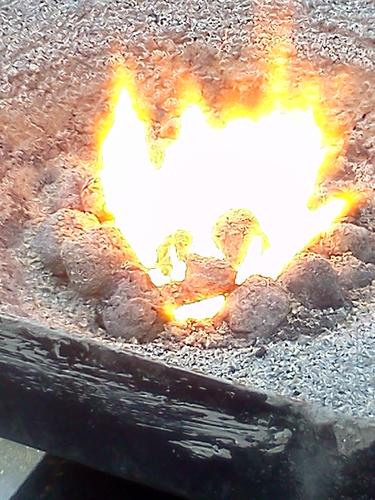
Just so it's relevant to the post, I did temper this razor in my new forge.
-
11-03-2011, 10:44 PM #7Senior Member
- Join Date
- Mar 2011
- Location
- Corcoran, Minnesota
- Posts
- 665
Thanked: 170
Cool - or hot stuff - or whatever. That is a very nice looking forge. And a really fine looking blade.
For what it's worth, folks I know who forge with charcoal say that the chuck style that still is shaped like pieces of wood works better than the briquets - something about the binder they use to hold it together. I've never tried them, but I have worked with home made charcoal. You might check with Danicon - the guy from Texas that is making the Japanese pit forge. He has done a lot of work with charcoal.
-
11-03-2011, 11:21 PM #8Member
- Join Date
- Jan 2011
- Location
- Polk City, Florida, United States
- Posts
- 65
Thanked: 17
I do use briquets, BUT I only use duraflame® Hardwood Briquets. they are 95% hardwood, 4% Vegetable starch binder, and No chemicals, mineral additives or fillers, I get all the benefits of lump charcoal, more even heat, and none of the briquet draw backs. Even with all that said, I'm not forging the steel, or welding, just tempering. Even the cheep brands would do for that. Originally Posted by skipnord

-
11-04-2011, 12:33 AM #9Senior Member
- Join Date
- Mar 2011
- Location
- Corcoran, Minnesota
- Posts
- 665
Thanked: 170
Thanks. I'll remember the Duraflame hint. I'm sure with the heat you are putting out you could forge and weld if you choose to. Maybe one of those wrought iron with carbon core items like Charlie's Kamisori? I'm tempted to try some variation of that.
Last edited by skipnord; 11-04-2011 at 12:36 AM.
-
11-04-2011, 09:34 AM #10
Last weekend I used my new forge for the first time, for actual forging.
I used regular BBQ coconut briquettes.
The first 15 minutes was pure sweet forging joy.
High temps, and quick heating to orange yellow steel.
Around the 15 - 20 minutes, the briquettes had burnt most of their fuel I guess, and within 2 minutes, they all pulverized to black brown powder that filled the entire firepit and smothere the briquettes that were left. I tried to get it going again but no use.
So if you don't need more than 15 minutes, the cocos would work.
If you need more, than they're absolutely useless, since they fall apart and smother the fire. And due to the temperatures and the fact that some briquettes remain glowing, removing the pulver is not really an option.
Btw, I wanted to use plain charcoal, but had none at the time, and decided to see if the cocos would work. I mainly wanted to know if my newly constructed forge would work and would reach high enough temperatures.Last edited by Bruno; 11-04-2011 at 09:38 AM.
Til shade is gone, til water is gone, Into the shadow with teeth bared, screaming defiance with the last breath.
To spit in Sightblinders eye on the Last Day


 Reply With Quote
