
Results 21 to 30 of 30
 13Likes
 LinkBack URL
 About LinkBacks
Threaded View
-
01-20-2015, 01:55 PM #1Senior Member

- Join Date
- Dec 2013
- Posts
- 152
Thanked: 5 Honing my custom french point razor issue
Ok, here is the issue. I built this razor myself. All is well . I tried to Hone it and this is what I am discovering , maybe someone could point me in the right direction or tell me if my idea to correct moving forward ?
1. I used X strokes to hone this razor . I have the Norton system. 220/1000 stone and 4000/8000 stone, chromium oxide on my strop and leather strop. I found after honing that the toe of my razor down to half way down the blade is not sharp but the heel is shave ready perfect. So , what I think I need to do and correct me if I am wrong is sine the French point is so so long and the blade tapers down from spine to edge is to turn the blade while honing so that the thickest part of the spine stays in contact with the bevel and thus a consistent hone all the way down the edge ?
am I correct. All input welcome .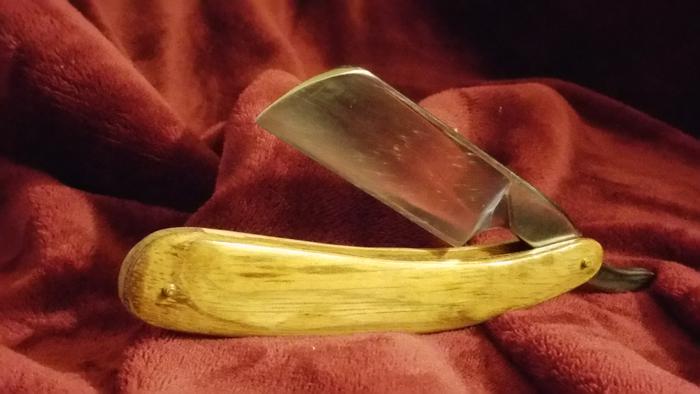 bare in mind this image is not after honing but before . The picture is just for showing the style of razor "French point" .
I did shave my neck with it and the only part that was shave ready was the heel and up about an inch or 2 from there as I said . I cant wait to make it all shave ready , very exciting to create something for the first time and use it .


 Reply With Quote