Results 51 to 57 of 57
-
05-01-2016, 06:51 PM #51Senior Member


- Join Date
- Apr 2012
- Location
- Diamond Bar, CA
- Posts
- 6,553
Thanked: 3215
There is a large pit in the first photo and there is something on the right side of the last photo.
You will have to remove metal, down to the bottom of the pit in the first photo, (about a quarter of the bevel). It looks like it is already at the edge. Was this a Cell Rot razor?
WD40 also works well for ink removal.
Sometimes you can get lucky and get an edge on weak pitted steel, but they fail and start to chip after repeated stropping.
If the ink does not come off the entire bevel in 2-3 laps, it is not flat. That is the hardest thing for guys to get, the “whole” bevel has to be flat and in the same plane. That the width of the bevel is not the same, from heel to toe, does not matter as long as it is flat and the bevels meeting.
We often tell guys, to watch the pressure when honing, but in this case it is not a garden variety honing, it is a repair, because of the pitting on the bevel. You have to repair it before you can hone it. You have to get the bevel flat and pit free at the edge.
When doing repairs, you may have to go to lower grit stones, I have stones down to 400 grit, for these kinds of repairs. If you don’t have lower grit hones, you have to use more pressure or more laps. You will also have to do more work removing the deep low grit stria. If the edge is ragged, just joint it straight and reset it and move up the progression.
If you do not spend the time to properly and fully set the bevel, you will fight the progression up the stones and still may not have a strong, keen edge.
-
05-02-2016, 02:29 PM #52

I had an hour and a half or so on the razor again this afternoon.
Mixed bag. I gave is a few swipes on my DMT and then started from scratch on a 1K stone.
Good for my ego = it picks up hair nicely along the blade, I have a very smooth left leg to support that.
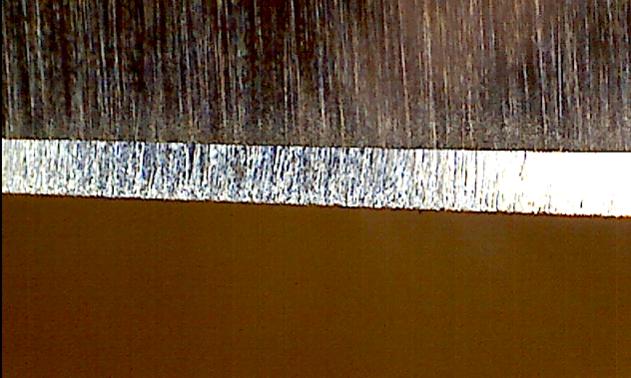
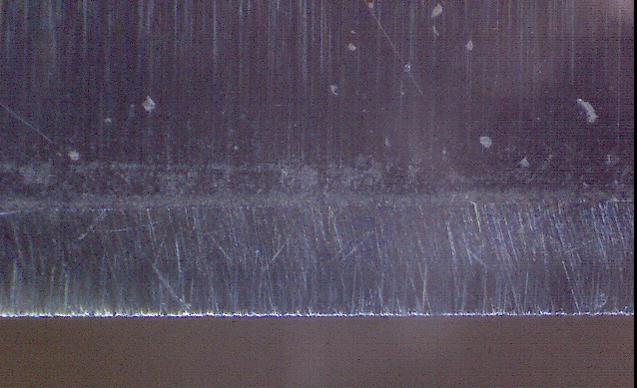
Bad for my ego. The pictures look absolutely rubbish. Although the razor seems to sit flat, negative wobbling, I have, particularly, a toe on the "branded" side f the razor (Name = TOWA) which is narrow and relucant to lose magic marker (although I did manage to remove the magic marker from the edge), and a heel on the opposite side of the razor (unbranded side) which is similarly reluctant to lose the magic marker and forms a narrow bevel.
So, first few pics are towards (branded side) toe, middle, heel
Then away stroke (unbranded up) toe middle heel.
I then decided to do a bit more, and ended up getting a ??wire edge with light coming back from the
I've given two examples below, can't remember what part of the blade those photos were from
APOLOGIES, I forgot to rotate the first two
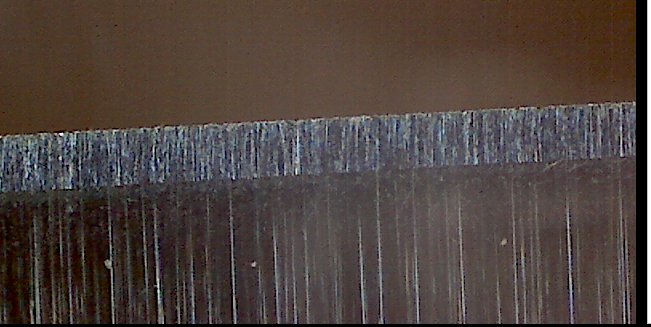
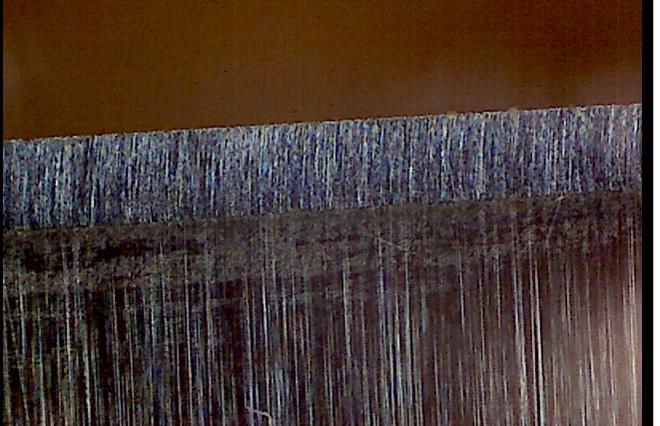
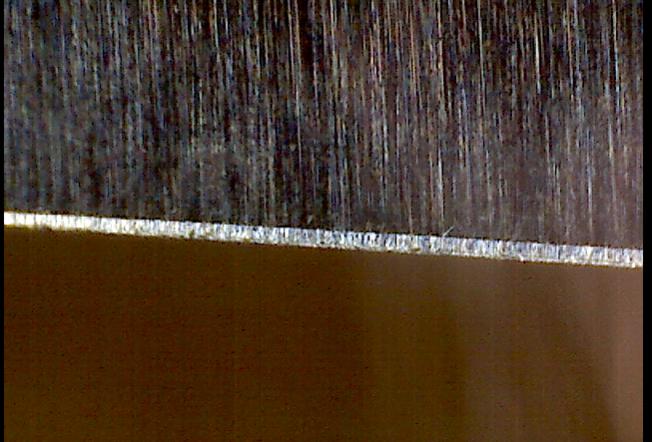
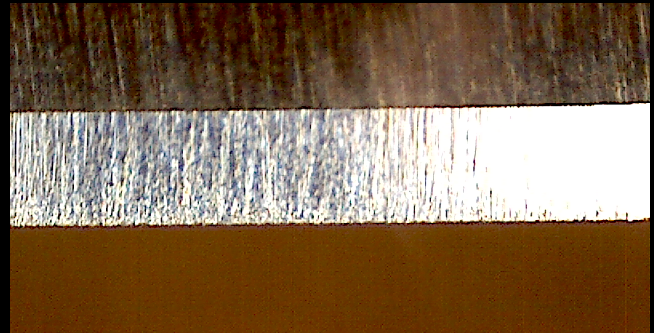

-
05-20-2016, 12:14 AM #53Senior Member


- Join Date
- Apr 2012
- Location
- Diamond Bar, CA
- Posts
- 6,553
Thanked: 3215
You are not honing to the edge, photos 4 & 5, really show that.
If you hone on a DMT you will have to do extra laps to set a new edge and remove enough of the steel, that Diamonds chewed up, or simply joint the edge straight, then re-set the bevel to the straight edge.
Add a layer of tape and ink the bevel, make sure you are honing all the way to the edge and removing all the ink. When the bevels are set all then ink should come off in a few strokes. Don’t be afraid if you “think” the bevel is set to joint it, then re-set it, it should only take 15-20 laps. Then you will be sure the bevel is set, fully.
-
05-20-2016, 09:45 AM #54

Going to give it another go this weekend if I get the chance. Might pop in to see Gary sometime soon too to get some mentoring. I understand what you mean about honing to the edge, but need to have a think about how to achieve that. I'm guessing it comes down to a pressure issue
-
05-20-2016, 04:34 PM #55Senior Member


- Join Date
- Apr 2012
- Location
- Diamond Bar, CA
- Posts
- 6,553
Thanked: 3215
To hone to the edge, you have to hone the bevel flat, in your case grinding away the back of the bevel. Or add a layer of tape, to increase the angle, so the edge half of the bevel makes contact with the stones. The razor may have been honed with tape.
Some hands on mentoring will make it all make sense and cut your learning curve, dramatically.
-
05-29-2016, 12:11 PM #56

Unfortunately Gary's schedule and mine haven't quite added up to a free day at the same time so far. However, I have had fun tinkering around and getting somewhere (I hope).
I shaved off 3K and 5K. The edge was comfortable and shaved as well as any other edge. I did WTG passes on my cheeks only - not brave enough for the neck.
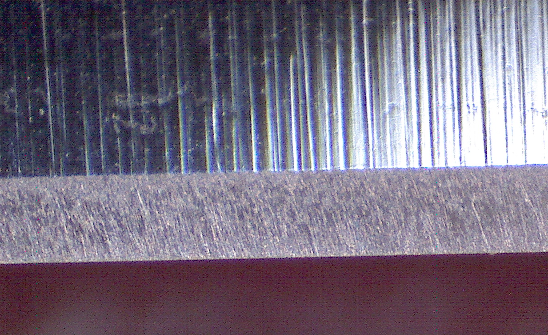
I took it to 8K, and it it is treetopping hairs nicely. I took it to a JNAT slurry, clear water and then a few passes on lather. Stropped on linen and the photo below is the result. I would appreciate you telling me what you think! To my eyes, maybe there are a few too many residual scratches from lower grits? It looks more uniform however, and looks like I am now honing to the edge?
It really is popping hairs on the arm like no man's business. I think I will shave test this on monday and hope it is smooth!
-
05-29-2016, 02:26 PM #57Senior Member


- Join Date
- Apr 2012
- Location
- Diamond Bar, CA
- Posts
- 6,553
Thanked: 3215
Yup, looks a lot better.
There is still some deep bevel setting stria on the bevel that should be removed, though the edge looks straight. Spend more time on the 3k, skip the Jnat and finish on the 12k.
You don’t have to remove all the deep stria from a bevel to make it shave, just the stria that will cause problems…
The Jnat is adding an unknown to your learning process, learn to hone on synthetics, then experiment with naturals, your Jnat may not be 12k. Like all naturals… few are finishers.


 84Likes
 LinkBack URL
 About LinkBacks


 Reply With Quote