
Results 31 to 38 of 38
 56Likes
 LinkBack URL
 About LinkBacks
-
01-25-2017, 01:49 AM #31Senior Member


- Join Date
- Jan 2012
- Location
- Spokane WA
- Posts
- 2,935
Thanked: 704
Scotch (3M) Super 88 here, too. It's a bit thicker and is also used by a certain cantankerous mountain man who lives up in the north woods. Right, Roy?
 --Mark
-
01-25-2017, 02:14 AM #32Senior Member

- Join Date
- Dec 2014
- Location
- Virginia, USA
- Posts
- 2,224
Thanked: 481
Hehe, I was kidding about using it for actual electrical work. I like the crimps that have built in heat shrink tubing. Cleaner, neater, more permanent everything proof seal. I only use tape in a pinch, or as a means to keep wires tucked inside those black plastic tubes with a slit down the side for keeping wires in order. Guess it's one of those, 'You know you've been working on cars too long when..." affairs. Originally Posted by Gasman

-
01-25-2017, 04:09 AM #33Member

- Join Date
- Nov 2016
- Location
- SF
- Posts
- 79
Thanked: 14
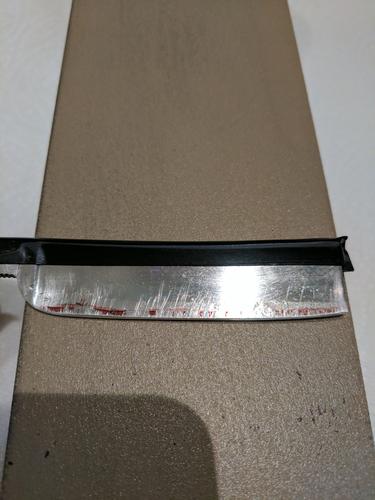
Two layer tape + red marker ready to hone!
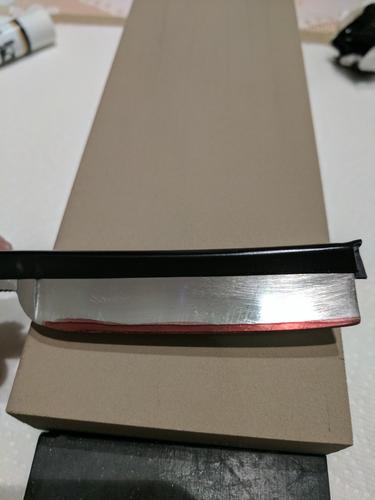
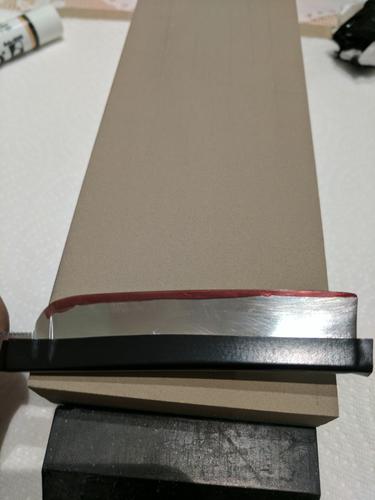
After some x-strokes to check how to marker paint look
After several x-strokes:
Last edited by cmsessa; 01-25-2017 at 04:11 AM.
-
01-25-2017, 04:36 AM #34'with that said'


- Join Date
- Aug 2010
- Location
- Walla Walla in WA State USA
- Posts
- 11,250
Thanked: 4237
First and foremost; End your tape at the stabilizer instead of allowing it to go on down the tang.
Also, give this a try:
http://straightrazorpalace.com/hones...than-mile.htmlOur house is as Neil left it- an Aladdins cave of 'stuff'.
Kim X
-
The Following User Says Thank You to cudarunner For This Useful Post:
Gasman (01-25-2017)
-
01-25-2017, 04:46 AM #35Member
- Join Date
- Nov 2016
- Location
- SF
- Posts
- 79
Thanked: 14
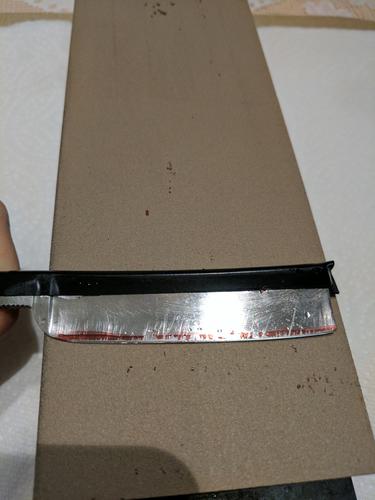
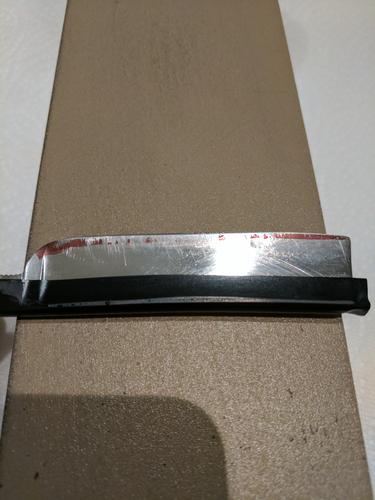
I did a couple of strokes more.
I think this side is kind of finished:
On This side, getting a bevel on the toe is driving me crazy!
Roy: I will check your link now
-
01-25-2017, 01:59 PM #36Skeptical Member

- Join Date
- Nov 2016
- Location
- Colorado Springs
- Posts
- 10,548
Thanked: 2194
Nice link Roy. If i continue to have an issue with the Boker im working on, im going to give this 1" line and rolling x stroke a try.
It's just Sharpening, right?
Jerry...
-
01-26-2017, 07:43 AM #37Member
- Join Date
- Nov 2016
- Location
- SF
- Posts
- 79
Thanked: 14
Update:
Yesterday after talking a bit with Roy I figured out certain things I was not doing correctly:
- Pressure. I should have put more pressure on the toe.
- I wasn't focus in parts of the bevel which require more attention
After some video watching I came back home today and finished the whole process.
My steps this night:
1) With two layers of tape I started on the 1k focusing on the toe. After I got to what I considered a more equal bevel, I did 10-20 strokes on the 1k.
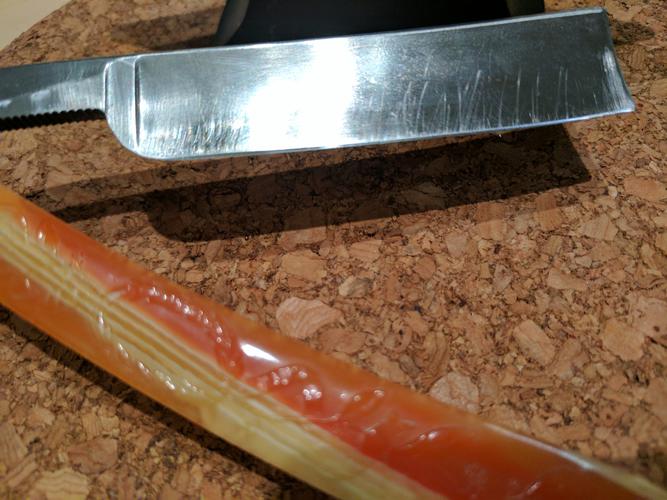
2) Since the tape was a bit worn out, I changed it. In the process, the SR slip and I cut myself
1,2,3,4...10. Cool, they are all there, let's keep going!
3) I moved to 4k. Did a couple of passes. When using the magnifier I noticed the heel was kind of dull. I applied some pressure to the heel and did a couple of more passes.
4) Moved to 8k. Not sure what needs to happen to go from 4k to 8k but I felt that it was almost ready.
5) 50 lapping strokes
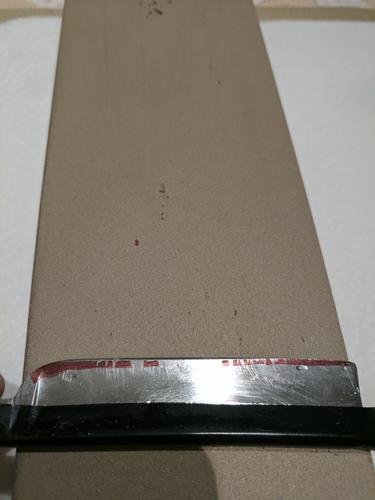
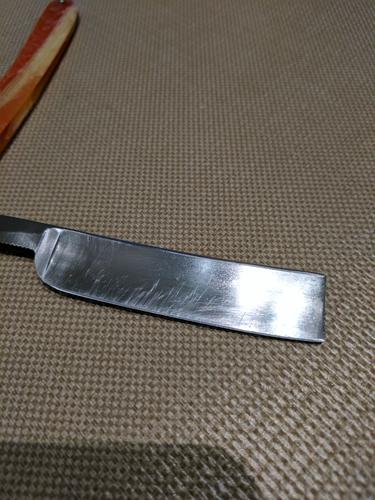
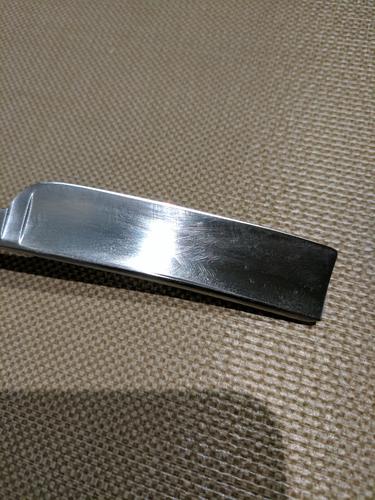
Here's how it looks in the end:
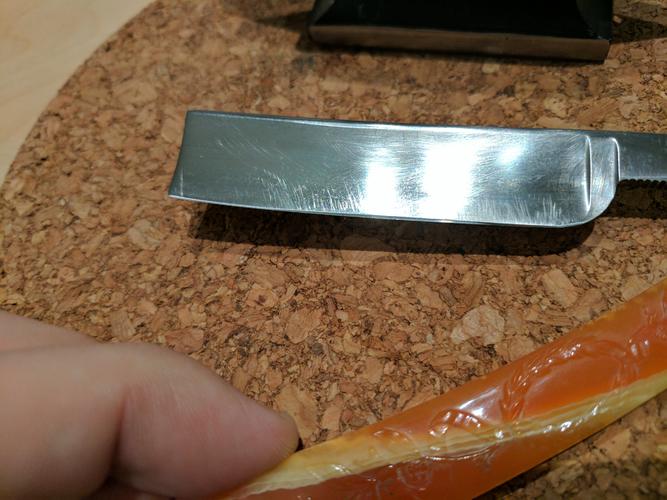
I did a shave test and it felt much better than expected.
I will return this razor to BJ and see what he thinks about it
Thanks for reading!
-
01-26-2017, 05:25 PM #38Senior Member
- Join Date
- Aug 2014
- Location
- East Central Illinois
- Posts
- 782
Thanked: 101
[QUOTE=MODINE;1701192]
Use the ball pein of your light hammer to do mushroom the pin heads. Originally Posted by cmsessa
MikeB52 likes this.


 Reply With Quote
