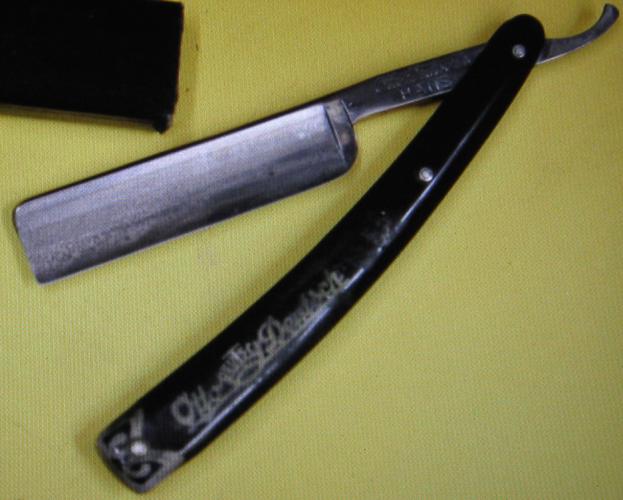
Here is how I cleaned up my Otto Deutsch Hans I recently got off eBay. The first pic is what it looked like when I first got it. As you can see the scales looked black & were filthy.
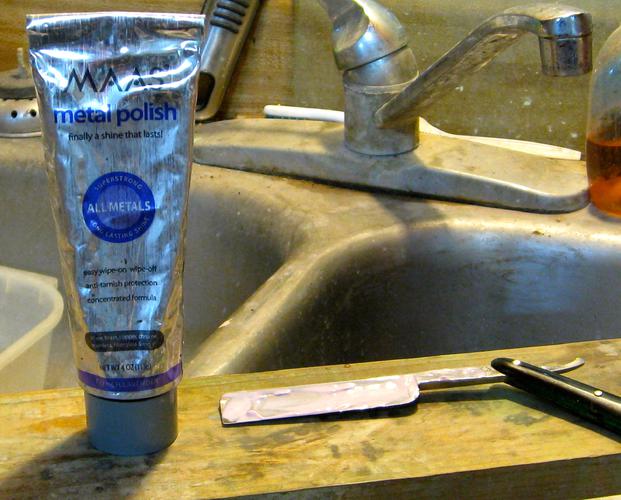
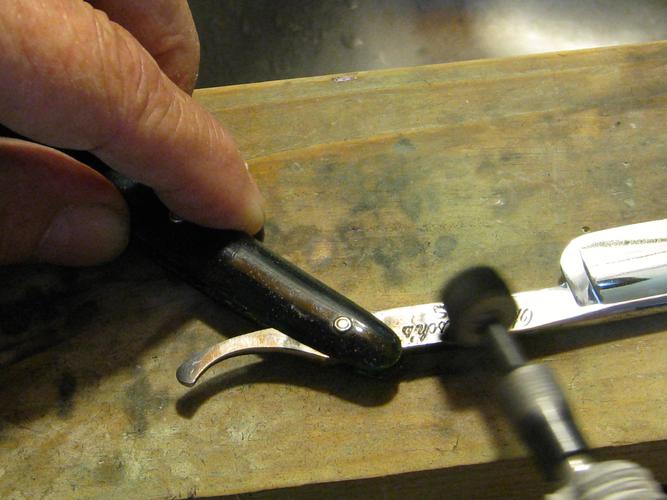
I took it to my kitchen sink where I did the work to it. I did it here so when the blade got warm, I just turned the faucet on & cooled the blade, wiped it off with a dry rag & started polishing again. You can also do this with a glass of water nearby. I usually take the razor apart but this one I didn't, I just carefully worked around the scales. If I leave the scales on I usually put tape on them to protect them but I wanted you to get a better picture of how I did this. I have had several members on here say that they would never use a Dremel on a straight razor but I learned from Lynn's dvd on how to use a Dremel the correct way on a blade. I have not screwed up yet......knock on wood. I cannot stress enough that you must be very careful if using a Dremel on a straight razor or it can be disastrous. You must alway watch which way the tool is spinning or it may grab your blade & crack or chip it. I applied Maas Metal Polish to the blade & went to work with my Dremel. I start polishing.
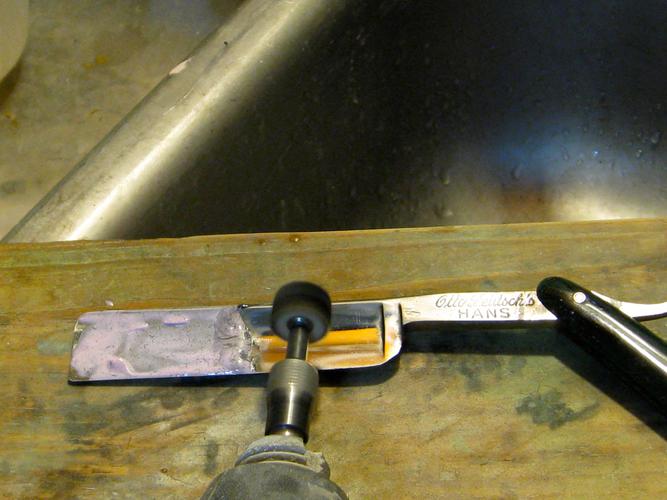
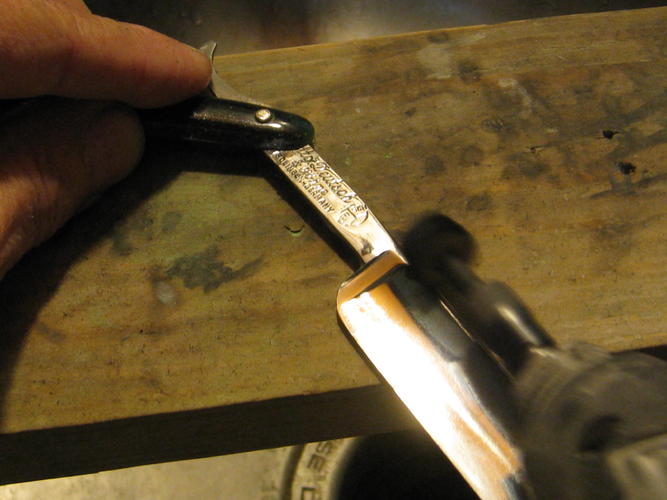
The same method applies to the shoulder except I am polishing perpendicular to the blade but with the polishing wheel spinning away from the blade to prevent any damage when I work my way to the toe as you can see in the photo. I then carefully polish the tang & tail. I also polish the spine as well. If it starts to get warm, it is of course a good idea to cool the blade before you begin again.
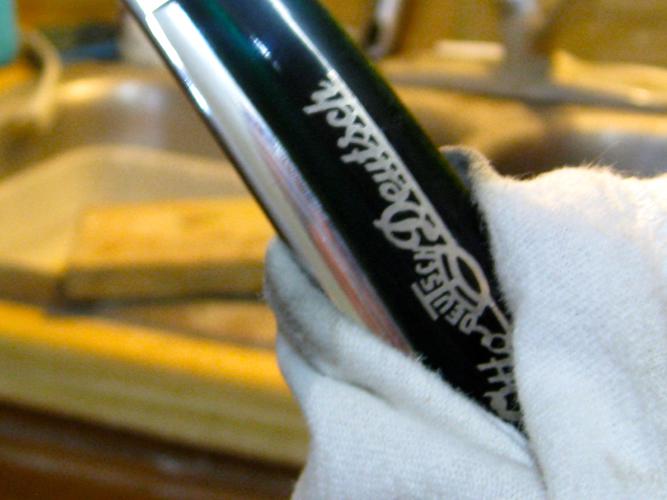
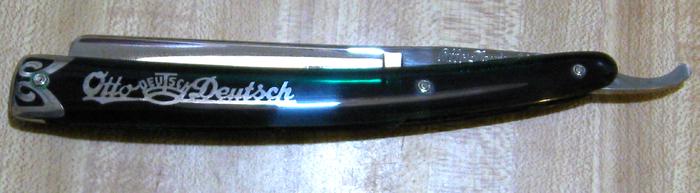
The next photo is of the name on the scales after just wiping them off with warm soapy water, rinsing & drying them with a dry rag.
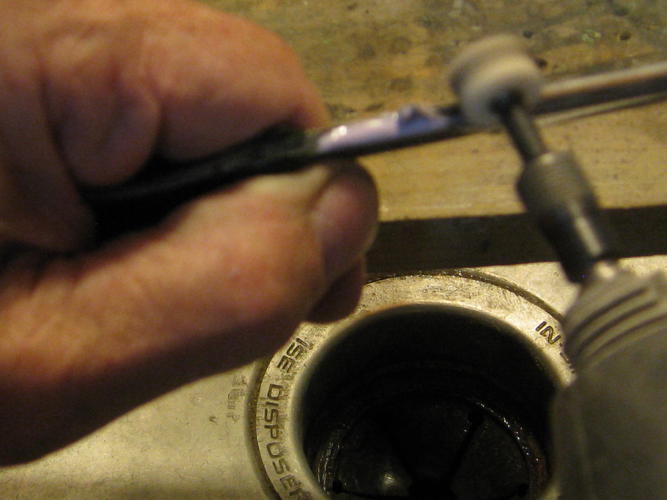
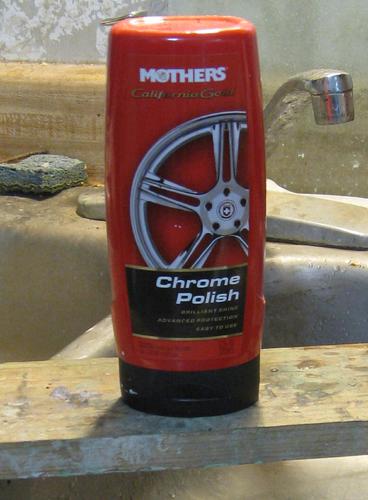
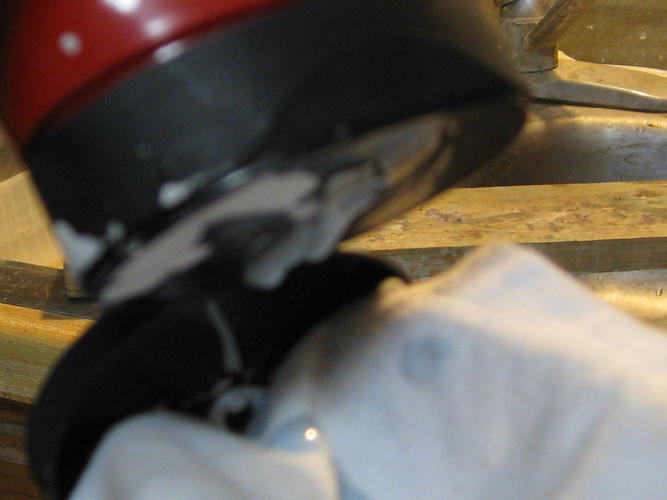
I then used Mothers Chrome Polish on the outside of the scales. I also used a thin popsicle stick with a rag around it which had some Mothers on it to polish between the scales.
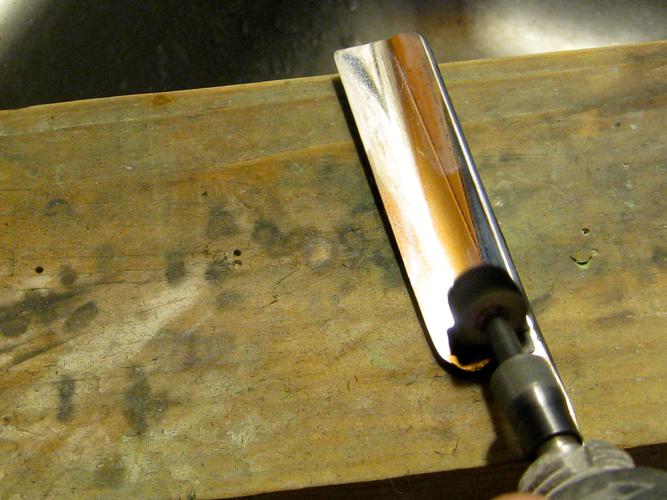
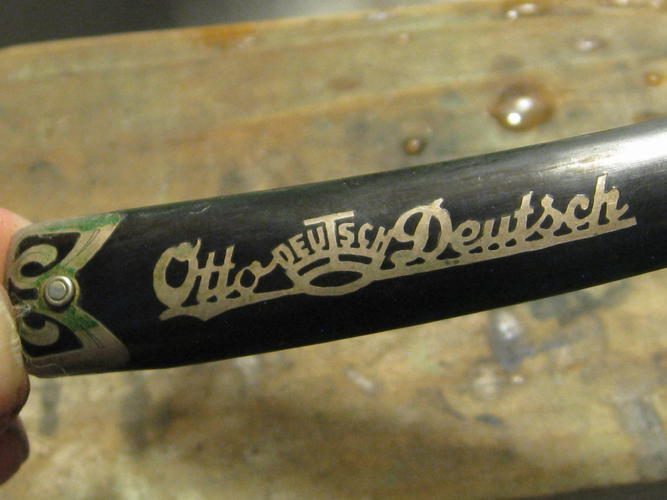
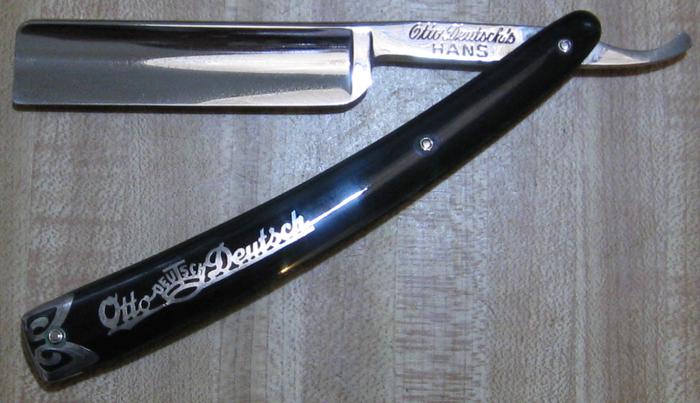
There you have it, nicely polished!
If you look close enough, the scales are translucent instead of the black color they appeared to be at first. The dull spots are glare, not smudge from my fingers. After polishing them, you can barely see the blade through the scales when it is closed. They're dark green as those scales always are!

 Blog Categories