
Results 11 to 20 of 26
Thread: Photographing Razors
 LinkBack URL
 About LinkBacks
-
07-10-2010, 10:39 PM #11Senior Member


- Join Date
- Aug 2009
- Location
- New Hampshire
- Posts
- 3,955
Thanked: 581
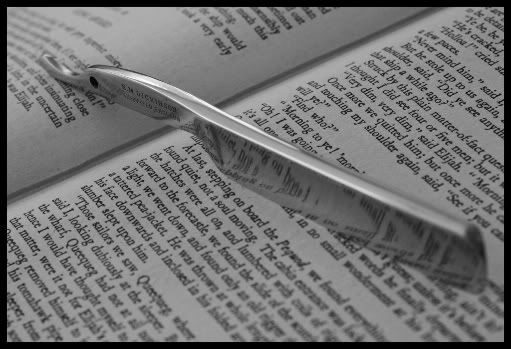
I think a less busy background shows off the razor , JMHO
-
-
07-10-2010, 11:27 PM #12This is not my actual head.


- Join Date
- Nov 2009
- Location
- Middle of nowhere, Minnesota
- Posts
- 4,624
- Blog Entries
- 2
Thanked: 1371
I've been thinking that too. I was bored with the plain white backgrounds though so wanted to do something different. I think I need to find a happy medium. Originally Posted by nessmuck

Strange women lying in ponds distributing swords is no basis for a system of government.
-
07-14-2010, 07:54 AM #13yes im a newbie help me out.
- Join Date
- Aug 2009
- Location
- Pasadena, CA
- Posts
- 19
Thanked: 3
nice and very informative i know where to look once i get a good camera.
-
07-14-2010, 08:35 AM #14Senior Member

- Join Date
- Jun 2010
- Location
- Aussie, Aussie, Aussie!
- Posts
- 318
Thanked: 91
I might chime in here as a former professional photographer.
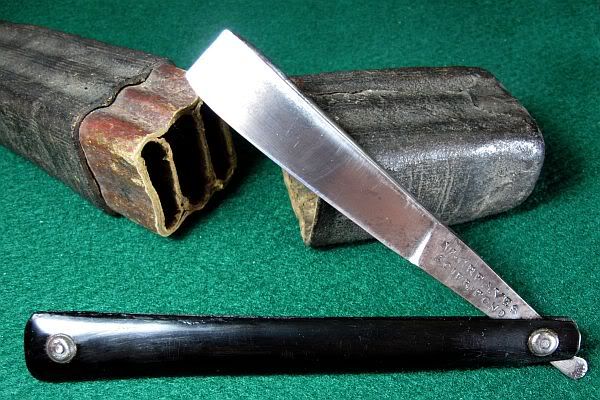
In the studio one of the hardest things to photograph are reflective objects. The thing to remind yourself is, this blade is a mirror. It is always going to reflect something. I cant stop that, but I can control what it reflects. This is the point of the neat little lightboxes that others have shown. Not only do they soften the light but the provide a reflection of nothing, which basically makes the whole or part of the blade a spectral highlight. Looks nice and clean.
Also, opening the lens up and having a shallow depth of field is fine, but the bit that is in focus needs to be something you want your eye drawn to. My biggest criticism of your pictures (and I don't mean to be critical) is that there is no real point of focus. Everything is slightly soft and that just makes the razor disappear into the background.
I'll include this shot, not because it is a good photo, it was really just a quick snap so I could show someone my blade polish, but it sort of shows what I'm on about. Lens open, but focused on a part of the blade that has detail, the stamp. I control the reflection so it is of something I want, in this case to show how polished the blade is. I use one point light source (in this case just the sun) which looks most natural, and just a fill card to lighten the shadows.
Apart from the camera and lens, total equipment value = $0
-
-
07-14-2010, 10:49 AM #15Predictably Unpredictiable

- Join Date
- Jan 2010
- Location
- Northern NJ
- Posts
- 3,588
Thanked: 1487
Originally Posted by Legion
Great information, thanks.Two things are infinite: the universe and human stupidity; and I'm not sure about the universe.
Albert Einstein
-
07-15-2010, 09:35 AM #16This is not my actual head.
- Join Date
- Nov 2009
- Location
- Middle of nowhere, Minnesota
- Posts
- 4,624
- Blog Entries
- 2
Thanked: 1371
No worries at all about being critical, this is why I asked... Thanks for the feedback, and for the other tips. Originally Posted by Legion
Strange women lying in ponds distributing swords is no basis for a system of government.
-
02-15-2011, 05:16 AM #17This is not my actual head.
- Join Date
- Nov 2009
- Location
- Middle of nowhere, Minnesota
- Posts
- 4,624
- Blog Entries
- 2
Thanked: 1371
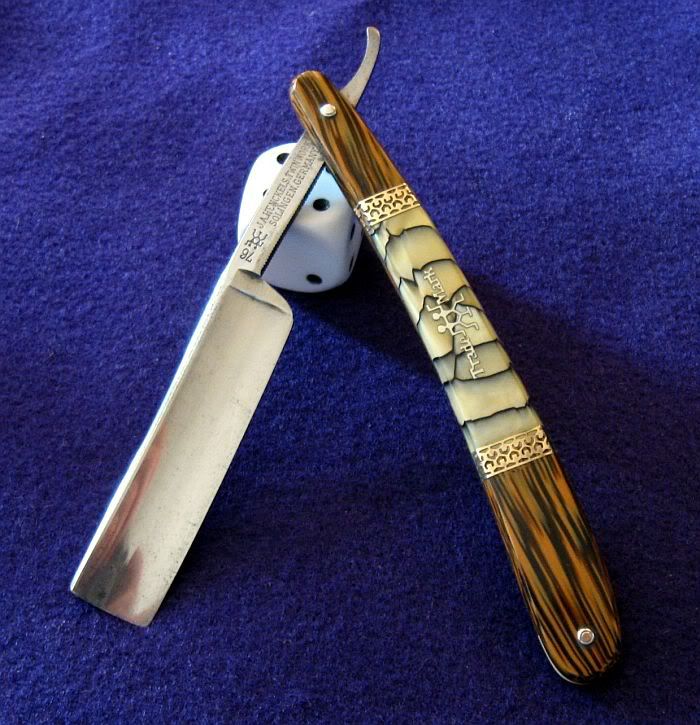
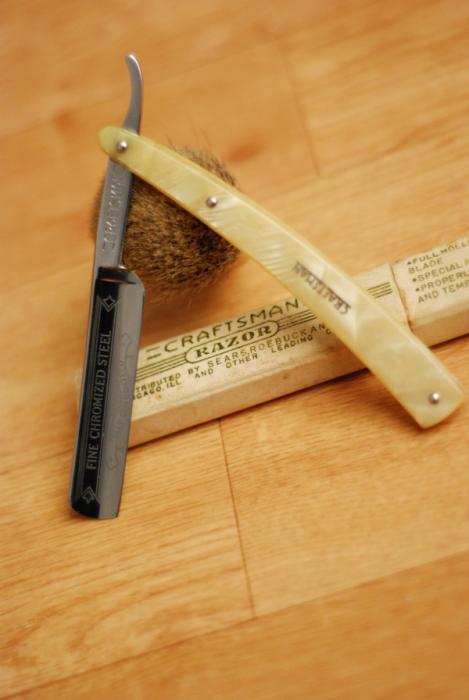
I've been doing a little more learning and a little more experimenting.
I built a fully enclosed white lightbox, and still didn't get the results I was looking for... There is another thread somewhere started by holli4pirating that gets into lightboxes, and he mentions that the problem isn't the lighting as much as the reflections. That has been one of my problems as well...
I've been doing some research, and one thing that had never occurred to me (mostly because I'm a moron!) is that (if it's mirror finished) you don't ever see the blade. What you see in pictures are what reflects off of the blade. The angle of incidence equals the angle of reflection... With that in mind I've been getting much better results.
Then... a friend was kind enough to lend me some studio photography equipment, and I finally think I'm getting pretty close.
Feedback and critiques are welcomed.
Strange women lying in ponds distributing swords is no basis for a system of government.
-
02-15-2011, 01:31 PM #18Senior Member

- Join Date
- Jul 2008
- Location
- Knoxville, TN
- Posts
- 874
Thanked: 312
I found using a light box to be too restrictive. Instead I use two swing arm lamps clamped on either side of a table. In these I put GE helical 20w bulbs that are full spectrum, or daylight rated, with a color temperature between 5,000k and 6,000k (bought at Walmart). This equates to natural light and gives a more even color balance. Over the reflectors of these lamps is taped a single sheet of tracing paper to act as a diffuser. (You could also use a translucent white plastic bag that comes from your grocer.) To give variety to the background I use 9" x 12" felt sheets sold at my local crafts store for less than a buck and come in a rainbow of colors. This is a very flexible setup that allows for a wide variety of camera angles and lighting options.
Regards - Walt
-
The Following User Says Thank You to Walt For This Useful Post:
HNSB (02-15-2011)
-
02-15-2011, 03:03 PM #19Junior Member

- Join Date
- Dec 2010
- Location
- Tacoma, WA
- Posts
- 28
Thanked: 6
HNSB those last few shots are great! Since finding SRP, I have supplemented my NAS (Nikon Acquistion Syndrome) for RAD!! If you really want to dial in your shots I recommend checking out David Hobby's Strobist.com! Probably the best site for low tech shooting. David has done an excellent job of providing lighting maps with light ratios and there are lessons to practice in the archives!
rob
-
-
02-15-2011, 04:16 PM #20Senior Member
- Join Date
- Jan 2011
- Location
- wisconsin
- Posts
- 169
Thanked: 21
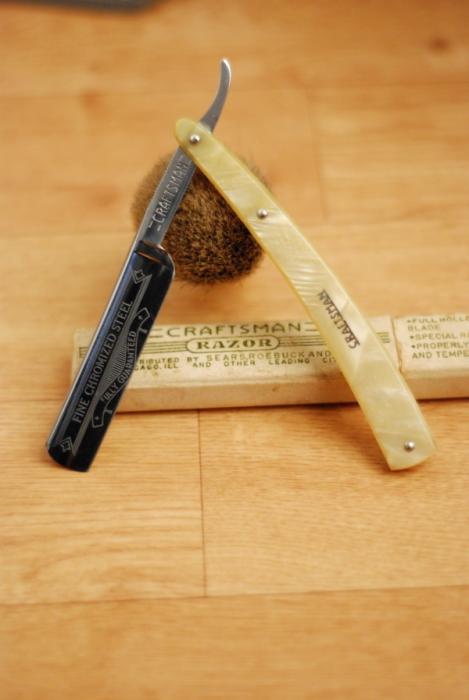
Well have not heard NAS for a while I too have that. After all this photo talk I thought I better play a little. I used one continuos light high right diffused. This blade is chrome looking in reality but to show the etch I draped a black cloth over me and the camera to reflect black. I did not need it but I do have a pro studio in my basement with strobes and backdrops for family portraits.
-
The Following User Says Thank You to knightwolf For This Useful Post:
HNSB (02-15-2011)


 Reply With Quote