
Results 21 to 26 of 26
Thread: Photographing Razors
 LinkBack URL
 About LinkBacks
-
02-15-2011, 04:24 PM #21Know thyself


- Join Date
- Feb 2008
- Location
- New York
- Posts
- 11,930
Thanked: 2559
Eric, the new photos do look great. If you would change anything and what you would change would depend on what you want to show in the photo. For example, in the last photo (the Friodur), you can see the factory grind marks. That is because you have the line of black to white reflection. A photo like that is great if you want to show the factory finish (or if you want to accurately show the finish on a restored blade that isn't quite mirrored). Conversely, if you wanted to hide that, you could use an all white reflection.
From my minimal observations, the black/white line is great for showing the finish, but an all white reflection is better for showing staining. A greyish reflection seems to show frosting/light etching (like in the Craftsman photos above this post) well, while a deep, dark etch is best with a white reflection.
From what I remember of cameras, it's because a camera's sensor (or film, if you use that) can only accurately show light across a rather narrow band of intensity. Beyond that band, things look washed out or much darker than they are. So to show a faint etch, you have to have a medium intensity reflection. But if the etch is very clear, you can use a higher intensity reflection and the exaggerated contrast makes the dark, clear etch stand out even more. The same is true to really show staining on a razor - a high intensity reflection makes the staining appear darker so it looks "worse" in the photos than in person. This is the same effect that makes grind marks stand out; the black/white creates very intense reflections off certain faces of the grinds while the opposite sides of the grinds are very dark. This alternation of exaggerated bright to exaggerated dark makes the grind marks stand out like black and white strips.Last edited by holli4pirating; 02-15-2011 at 04:32 PM.
-
-
02-15-2011, 05:05 PM #22This is not my actual head.


- Join Date
- Nov 2009
- Location
- Middle of nowhere, Minnesota
- Posts
- 4,624
- Blog Entries
- 2
Thanked: 1371
Thanks Walt. It sounds like you've got the low budget version of what I'm playing with figured out. I think I might be headed in the same direction soon. (unless I can work a trade to hang on to the fun lighting toys that I have) Originally Posted by Walt

Thanks for that website Rob. I didn't get too much time to look at it, but I've already gotten some great ideas for some non-razor photography. Originally Posted by wallyworld
Good advice. Thanks. Originally Posted by holli4pirating
I was more worried with getting a "pretty" looking photo; I didn't give much thought to what I want to show in the pictures.
Strange women lying in ponds distributing swords is no basis for a system of government.
-
02-15-2011, 05:34 PM #23Senior Member
- Join Date
- Jan 2011
- Location
- wisconsin
- Posts
- 169
Thanked: 21
HNSB the reason for all the lightboxes and the umbrellas you are now using is light diffusion. In your original setup that is why the light is so harsh you have something over the bulb it appears but it needs to be farther from the light source to diffuse it.
Less is more in photography sometimes so now with all the lights you have I would try to use just one so you learn to control the lighting.the more lights you juggle the more areas of glare there can be. If you need to fill in a shadow you can use anything white or silver. I use a car winshield shade it is silver and reflects light but it will be a little more harsh than a white card. That is why bouncing a flash off a wall or ceiling works it spreads the light out. Thats why photographers like brighter cloudy days there are less shadows and soft light.
In the quick photos I shot it is one light and a shoothrough umbrella such as you have now. But a white bed sheet works as well.
-
The Following User Says Thank You to knightwolf For This Useful Post:
HNSB (02-15-2011)
-
02-15-2011, 05:36 PM #24Senior Member
- Join Date
- Jan 2011
- Location
- wisconsin
- Posts
- 169
Thanked: 21
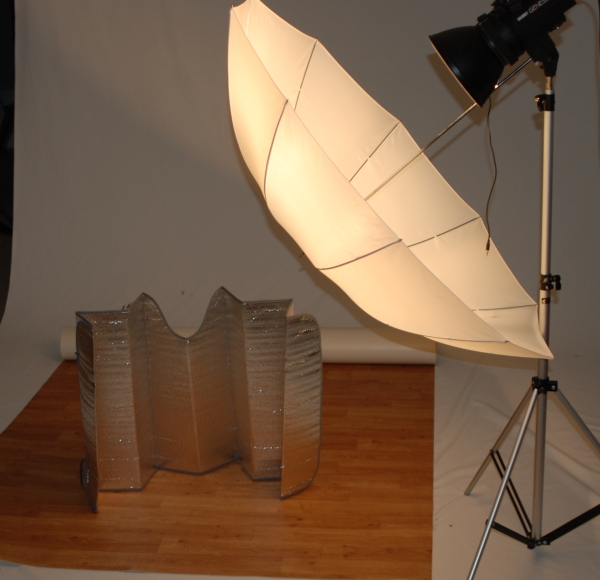
This was the setup.
-
The Following User Says Thank You to knightwolf For This Useful Post:
HNSB (02-15-2011)
-
02-15-2011, 05:59 PM #25This is not my actual head.
- Join Date
- Nov 2009
- Location
- Middle of nowhere, Minnesota
- Posts
- 4,624
- Blog Entries
- 2
Thanked: 1371
Maybe I have my brain too twisted up in multi-light setups... A more intense light on one side and a less intense on the other to fill shadows. Originally Posted by knightwolf
I will give a single light a shot and see what it looks like.
Strange women lying in ponds distributing swords is no basis for a system of government.
-
02-15-2011, 09:12 PM #26Senior Member

- Join Date
- Jun 2010
- Location
- Aussie, Aussie, Aussie!
- Posts
- 318
Thanked: 91
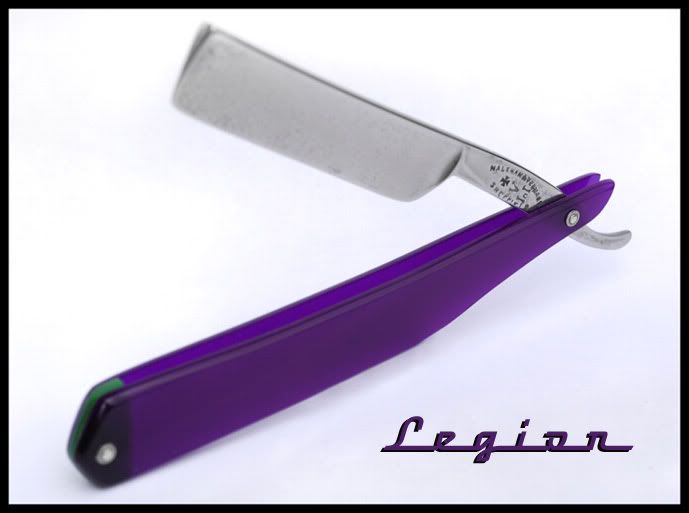
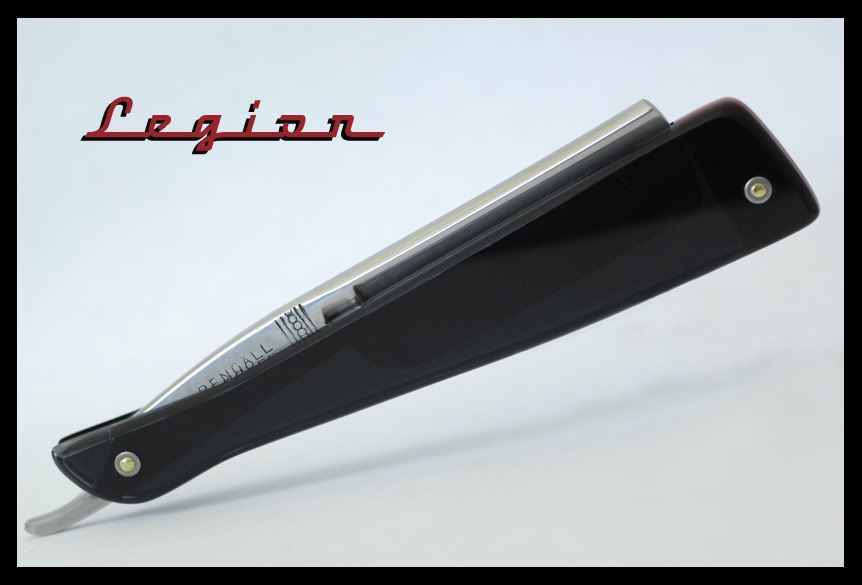
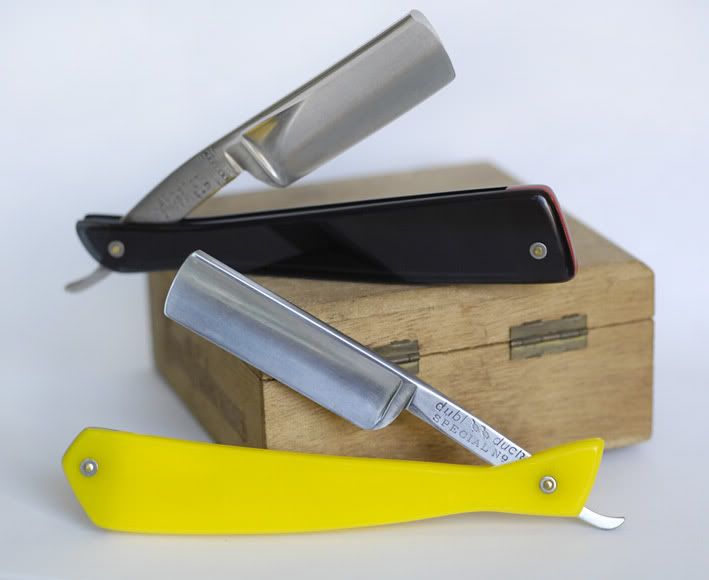
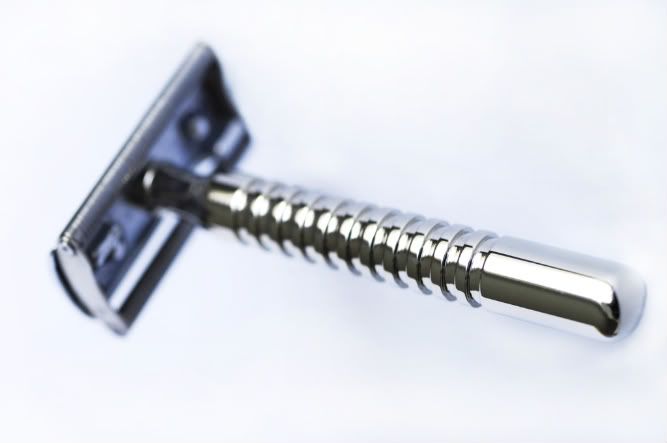
It really doesn't even need to be that fancy. For these quick photos all I used was a piece of curved white paper for the background and natural lighting. Just be sure to control the reflections and you are fine.
Last edited by Legion; 02-15-2011 at 09:18 PM.


 Reply With Quote