
Results 71 to 80 of 170
 317Likes
 LinkBack URL
 About LinkBacks
-
10-16-2018, 07:08 PM #71Junior Member

- Join Date
- Oct 2018
- Posts
- 19
Thanked: 25
Ah...that I agree completely with. Sorry, thought you were talking about a hollow grind.
It certainly started life as a wedge with a slight hollow. The wear hasn't reached the spine (there's a slight "back bevel" at the spine that hasn't been worn through yet). It's close enough at this point to a true wedge that it makes the most sense to take it the rest of the way there. The angles support it..and are pretty consistent along the length of the blade.
I was thinking of addressing that narrowing/dip at the heel of the blade, but I think I'll leave it be -- it provides some protection for the thumb (rather than resting in plane with the edge).
-
10-16-2018, 09:34 PM #72Captain ARAD.


- Join Date
- May 2011
- Location
- Pacifica, CA
- Posts
- 2,474
Thanked: 2227
I’m away from my desktop with the citation, but it was a 10” wheel. Originally Posted by ScienceGuy

One of these days I'll learn to wait until I've got sources in front of me...
One of these days.
The correct answer is 12-15" stones.
Here's what Holtzapffel had to say about it after visiting Sheffield manufacturers.
Mind you, Holtzapffel was looking at a later version of the process (he mentions that 5" to 6" stones made the best razors -- it's unlikely many razors were made with stones of those sizes in the mid 18th century), but it makes for a very good idea.
After giving this some thought, I honestly can't imagine a worse way to approach honing this razor in terms of preservation. Originally Posted by srsimon
Most likely, the original owner stopped using it because they didn't have access to a wheel or someone who had one. When the bevel gets as wide as it is on this razor, it becomes incredibly time consuming to hone -- flattening it to a full wedge will make that much worse.
Preserve your sanity. Simply use 3-4 layers of tape.Last edited by Voidmonster; 10-16-2018 at 10:37 PM. Reason: Much editing.
-Zak Jarvis. Writer. Artist. Bon vivant.
-
The Following 3 Users Say Thank You to Voidmonster For This Useful Post:
Fikira (10-29-2018), MikeT (10-17-2018), ScienceGuy (10-16-2018)
-
10-16-2018, 11:08 PM #73Senior Member

- Join Date
- Sep 2011
- Posts
- 1,650
Thanked: 1342
I speak from experience - I did the "hone it to death" approach on a 18th c. razor once, ending up with 1/3+ of the razor face in contact with the stone. It makes it near impossible to get an edge, as any pressure differential or slip up means you have to set the ENTIRE thing over again, and you end up with an ugly looking blade face. +1 to using layers of tape at the spine or better yet shelling out $80-100 to get it a fresh regrind.
-
The Following 2 Users Say Thank You to ScienceGuy For This Useful Post:
MikeT (10-17-2018), Voidmonster (10-17-2018)
-
10-17-2018, 12:33 AM #74Senior Member

- Join Date
- Jun 2015
- Location
- South Carolina
- Posts
- 1,838
Thanked: 516
Man I love threads like these!
Thank you guys for the great read! It really does draw you in, the depth of the puzzle as it comes through in cryptic bits and pieces. Awesome!
As far as the grind goes, I also tried honing a wedge like that.. with at least a third connecting with the hone.
It was really hard to keep it from rolling away from the edge, so I had spots on the edge that pulled a bit when shaving.
Took a while to realize what was going on. Still figuring it out.You must unlearn what you have learned.
Yoda
-
The Following 2 Users Say Thank You to MikeT For This Useful Post:
Fikira (10-29-2018), Voidmonster (10-17-2018)
-
10-17-2018, 01:26 AM #75Junior Member
- Join Date
- Oct 2018
- Posts
- 19
Thanked: 25
The razor is very close to a true wedge as it stands -- it's not a large time investment to finish that process off, and doing so is going to smooth out a couple of spots along the sides that I'd like to even up to make future honing easier. Again, I have the razor in front of me -- this is the best for it. Taking it to a true wedge won't even reach the spine (there's a short bevel narrowing the width as you approach the spine). That ridge line running down the blade is going to move back to or near the spine, but that's about the extent of it...and a relatively small change to bring the sides back to true.
My plan, such as it is, is to take it to a true wedge and test the edge. If there are any issues, then I tape the spine (since it will all be even at that point) and put in a new bevel.
One question for the tapers in the audience: have you run into any issues with taping a spine that doesn't match the profile of the edge? That's the case with dip-at-toe, though the change in bevel angle should be _slight_.
-
10-17-2018, 02:51 AM #76Captain ARAD.
- Join Date
- May 2011
- Location
- Pacifica, CA
- Posts
- 2,474
Thanked: 2227
The tape should descend past the edge of the spine into the hollow of the blade, so the edge isn't touching the hone. On some razors, the spine can have a tall enough profile that it's necessary to use a piece on each side (unless you find very wide electrical tape). Originally Posted by srsimon
These razors were ground so that the part of the spine that lays on the hone is the same width even below the part at the toe that's been slightly concaved.
Really though, that's all somewhat moot since these razors have enough variability that you're going to be using reasonably large swooping motions to make contact along the entire edge. More likely than not you're only really going to have 3-4cm of edge touching the hone at any one time. This is part of the reason why flattening the blade face into one enormous bevel is a bad idea. You'll find that in order to get the entire edge flat on the hone, you'll need to remove a lot of the blade. I know it doesn't seem like it -- it looks like it was nearly a wedge to begin with. Believe me, the very slight concavity from the radius of the wheel makes a difference.
There aren't any true wedge razors for very good reason.
From the book linked to above:
-Zak Jarvis. Writer. Artist. Bon vivant.
-
-
10-17-2018, 09:09 PM #77www.edge-dynamics.com

- Join Date
- Feb 2013
- Location
- London
- Posts
- 3,066
Thanked: 512
Haven't had time to read all of this thread yet but I have some dip toe blades.
One in particular sticks in my mind but I need to dig deep into the stash
I took a few pictures, one is not dip at toe has an interesting sway.
I did come across some amazing razors which I will share one day..
will post more dip at toes with descriptions when I get some time..
Cheers
Joseph
-
The Following 4 Users Say Thank You to JOB15 For This Useful Post:
782sirbrian (10-31-2018), CrownCork (10-18-2018), MikeT (10-29-2018), Voidmonster (10-18-2018)
-
10-28-2018, 09:53 PM #78Senior Member

- Join Date
- Jan 2015
- Location
- Pinole, ca
- Posts
- 1,526
Thanked: 339
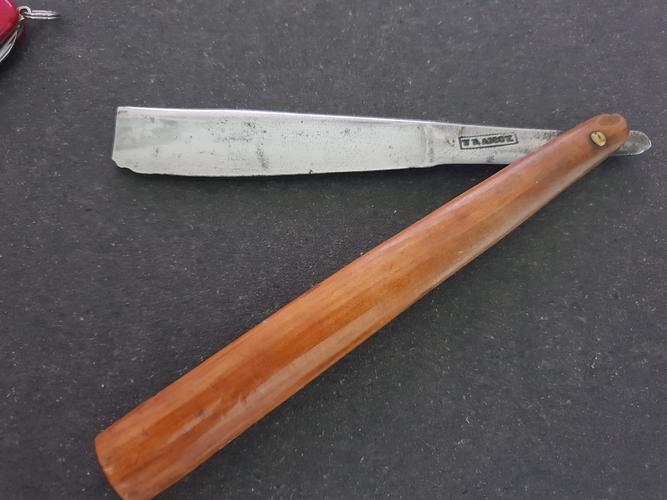
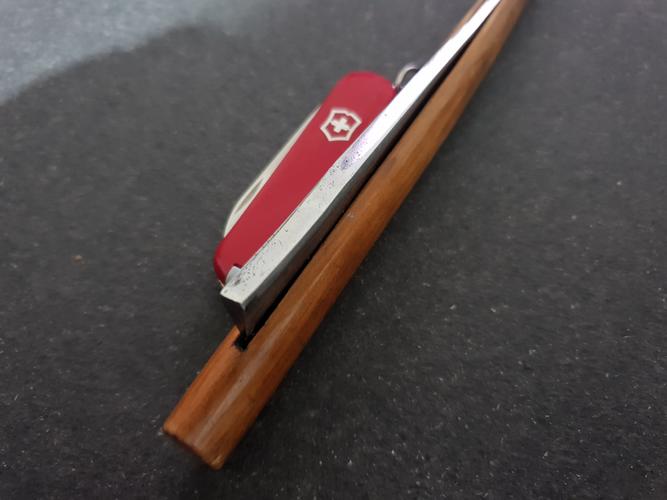
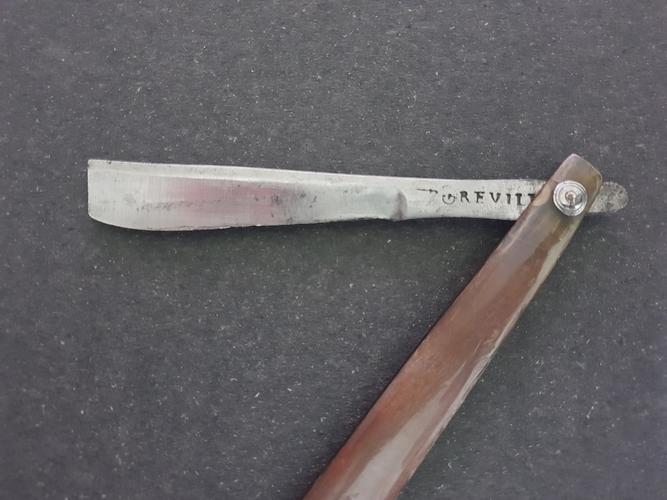
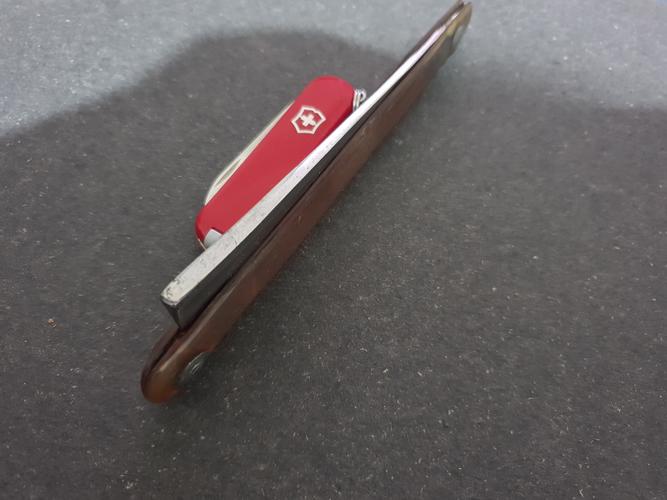
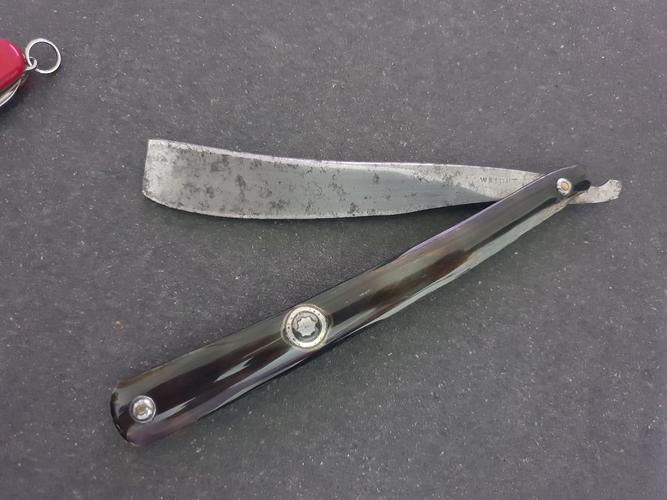
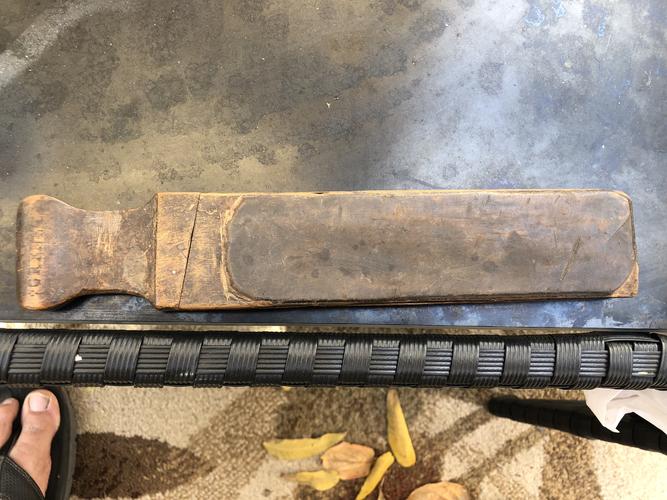
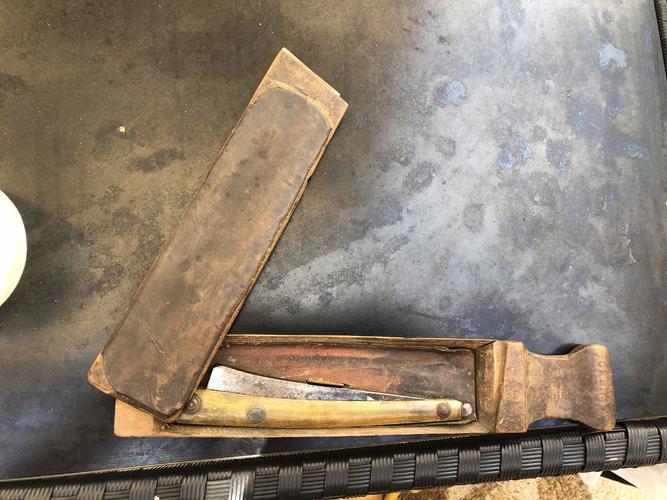
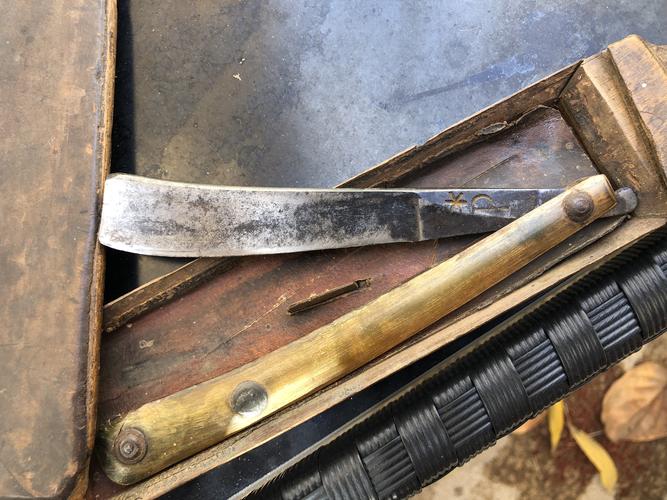
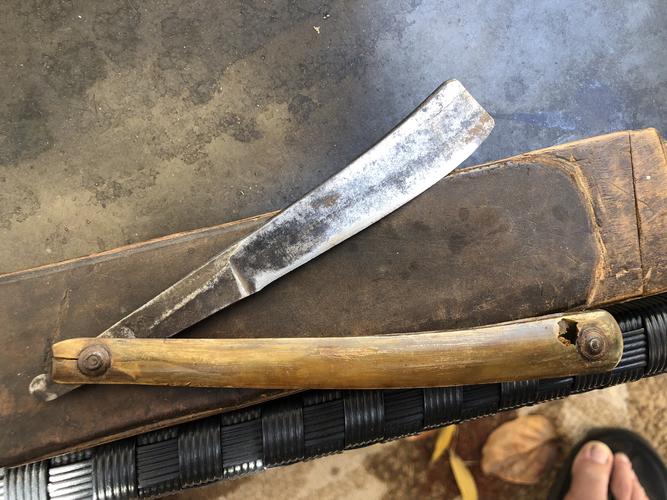
Just found this in the wild today. I have to do some research now. I’m hoping to go back next weekend and try and meet the guy who’s case this came out of. If I could find the other one to make a pair I’d be ecstatic.
-
The Following User Says Thank You to jfk742 For This Useful Post:
MikeT (10-29-2018)
-
10-28-2018, 09:59 PM #79Senior Member
- Join Date
- Jan 2015
- Location
- Pinole, ca
- Posts
- 1,526
Thanked: 339
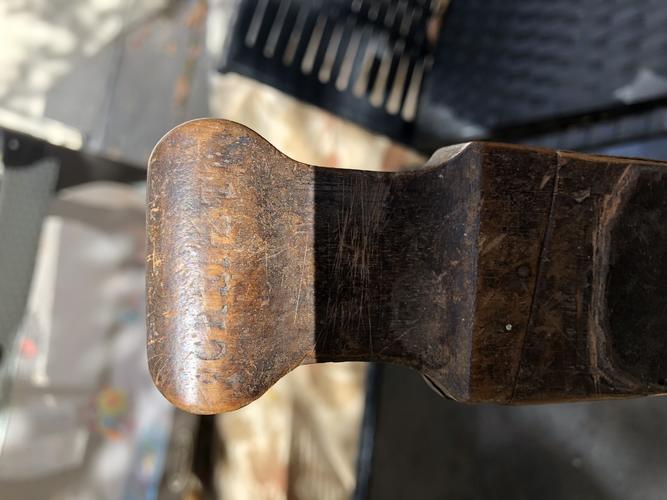
Isnt there a pretty comprehensive list of makers marks somewhere? I cant seem to locate it, I vaguely remember seeing one at one time.
-
10-28-2018, 10:03 PM #80Senior Member
- Join Date
- Sep 2011
- Posts
- 1,650
Thanked: 1342
You've got a nice Fox & Norris razor from the late 18th c. There is no historic fully comprehensive resource, just various pieces from different time periods and origins that we have today. One of the more comprehensive would be Gales & Martin's 1787 Directory of Sheffield.
-


 Reply With Quote